Table of Contents
This blog post may contain affiliate links. As an Amazon Associate I earn from qualifying purchases.
Camera Hacks I Learned After Shooting 10,000+ Photos [Pro Secrets]
My photography skills improved dramatically thanks to camera hacks, and I found more than 122 creative tricks that will make your photos better instantly. The best part? Most of these techniques use simple household items you already have. You can create ethereal effects with plastic bags or reduce lens glare with coffee sleeves.
Taking thousands of photos taught me an important lesson – stunning images don’t require expensive equipment. Simple DIY lighting setups and creative techniques like split lighting effects with cardboard boxes helped me achieve professional-looking results on a budget.
This piece contains my most valuable camera tricks and photography hacks that I learned over the years. You’ll find proven solutions that work on the ground when you face challenges with bad lighting, need creative composition techniques, or want to take better night photos.

Basic Camera Settings That Changed My Game
Camera settings changed my photography more than any expensive gear could. Learning two basic concepts made all the difference: the exposure triangle and focus modes.
The exposure triangle breakthrough
Everything clicked when I finally learned how aperture, shutter speed, and ISO work together. These three elements are the foundations of every great photo. Here’s how I think about each component:
- Aperture: Controls light entry and depth of field – smaller numbers like f/1.8 create beautiful background blur, while larger numbers like f/16 keep everything sharp
- Shutter Speed: Determines how motion appears – fast speeds freeze action, slow speeds create artistic blur
- ISO: Acts like your camera’s night vision – lower numbers for crisp, clear shots, higher numbers for dark situations
On top of that, it became clear that finding the right balance between these settings is vital. To name just one example, see sports photography – I learned to use a fast shutter speed (like 1/1000) to freeze motion, and then adjust the ISO and aperture to maintain proper exposure.
Focus modes I wish I knew earlier
Single autofocus (AF-S) became my go-to for landscapes and portraits because it locks focus perfectly on stationary subjects. With moving subjects, I switched to continuous autofocus (AF-C), which actively tracks movement – something I wish I’d known during my early wildlife photography attempts.
The hybrid autofocus mode proved especially useful for unpredictable situations. It automatically switches between single and continuous focus depending on whether your subject moves. This mode saved countless shots during street photography sessions where I couldn’t predict if my subject would stay still or start moving.
The sort of thing I love was finding that manual focus isn’t outdated – it’s actually better in certain situations. To name just one example, when shooting stars or in very low light, manual focus works better than autofocus. These focus modes helped me capture sharp images in situations where I used to struggle.
Quick Fixes for Common Photo Problems
Years of photo shoots have taught me simple fixes to common photography problems that work. Let me share some practical solutions that have saved my shots time and time again.
Dealing with bad lighting
Exposure compensation is my favorite tool to handle tricky lighting. Sunny days need a minus 1 or lower setting for darker exposure to balance bright conditions. In darker settings, pushing it up to +1 or +2 creates a brighter, balanced image.
Flash works great for sunlit portraits, even in daylight. The camera can meter for the bright sky while the flash lights up the foreground. Graduated neutral density filters are a great way to get control over extreme lighting contrasts.
Fixing blurry images
Experience has shown me that blur usually comes from three sources. The camera can’t focus in low light, shake happens in dim conditions, and wrong shutter speeds blur moving subjects. My rule is to match shutter speed with lens focal length to keep things sharp.
Action shots need at least 1/200 shutter speed to freeze motion. Low light situations work better with ISO above 1600 to keep those faster shutter speeds. This simple approach gives me sharp images almost every time.
Managing difficult backgrounds
A photo’s background can make it shine or ruin it. Here’s what works for me:
- Put subjects in front of open spaces for natural background blur
- Wide apertures blur distracting elements away
- Small subject adjustments left or right hide unwanted elements
- Higher angles make the ground your background and hide horizon distractions
Long focal lengths are my secret weapon. They narrow the view angle and show less of distracting backgrounds. This technique plus careful subject placement helps me create clean, professional shots consistently.
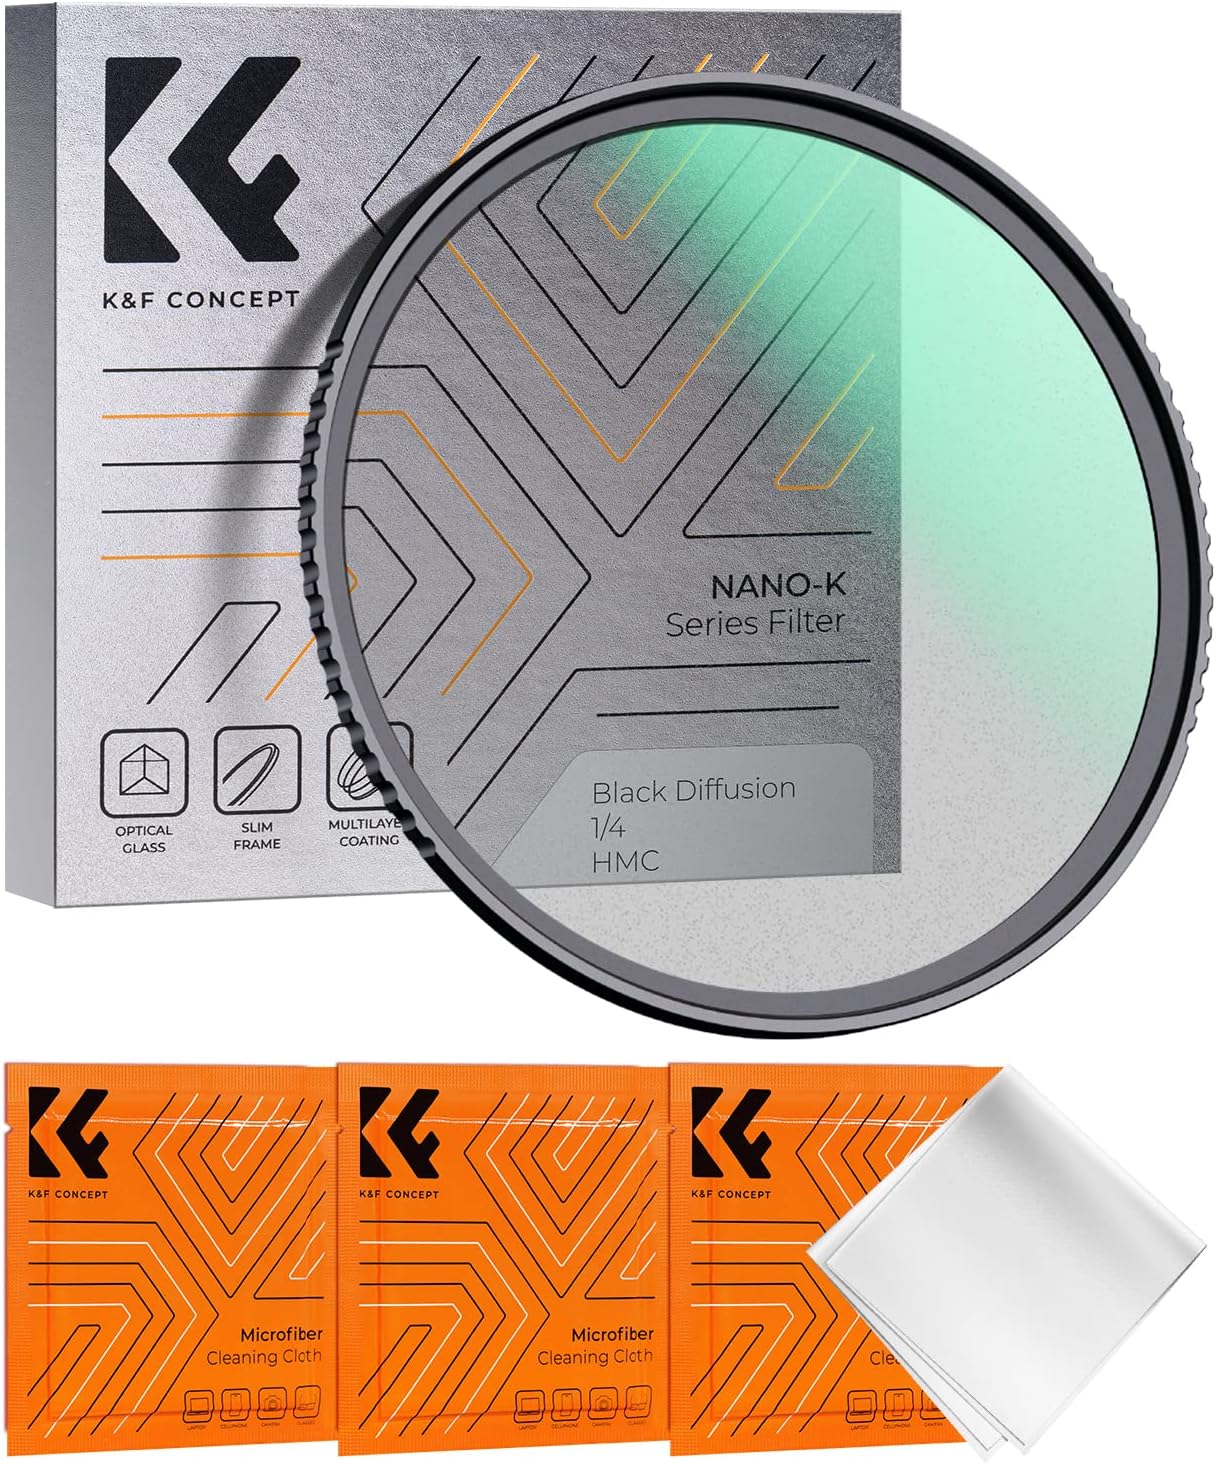
 K&F Concept 72mm Black Diffusion 1/4 Filter Mist Cinematic Effect Filter with 18 Multi-Layer Coatings for Video/Vlog/Portrait Photography (K-Series)
|
 K&F Concept 67mm Variable ND2-ND400 ND Lens Filter (1-9 Stops) for Camera Lens Adjustable Neutral Density Filter with Microfiber Cleaning Cloth (B-Series)
|
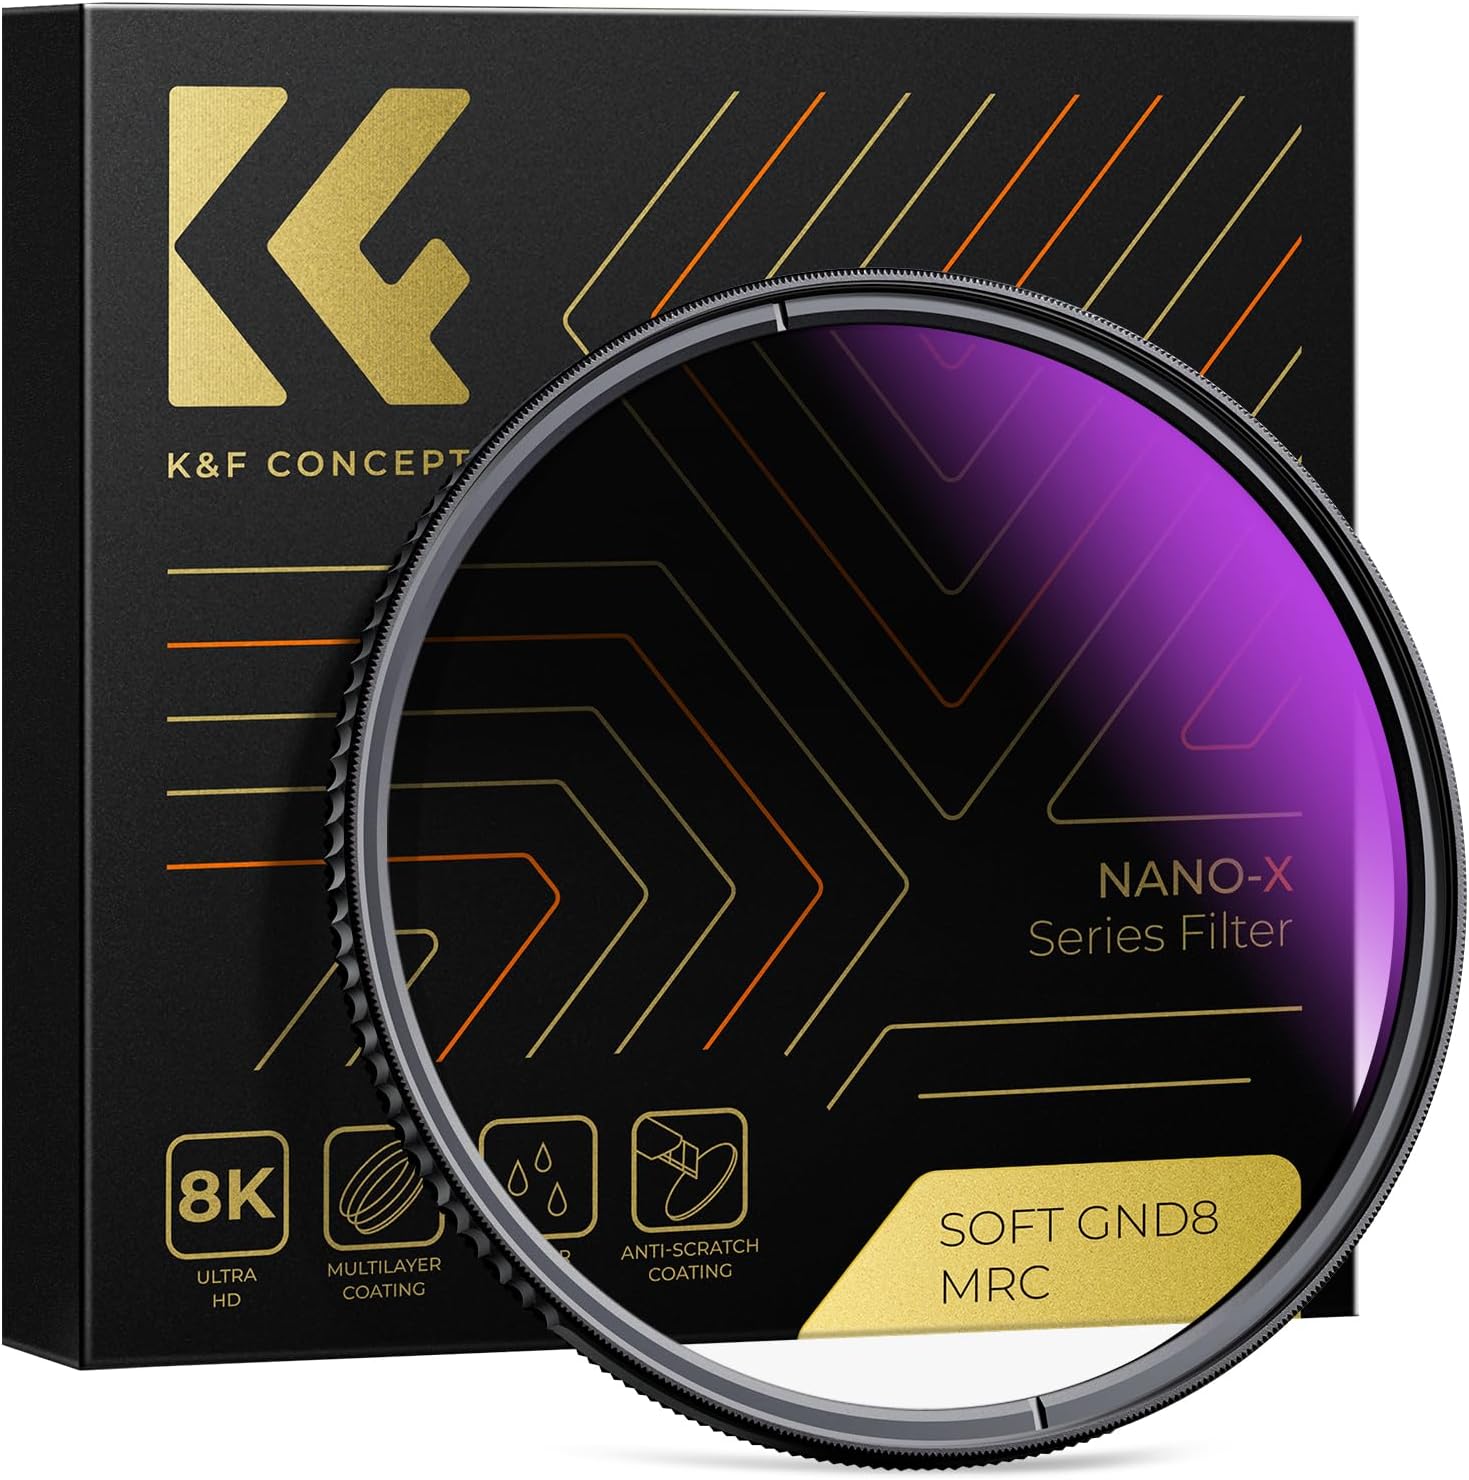
 K&F Concept 77mm Soft GND8 (3 Stop) Lens Filter Soft Graduated Neutral Density Filter with 28 Multi-Layer Coatings for Camera Lens (Nano-X Series)
|
|
|---|---|---|---|
| Buy Now | Buy Now | Buy Now | |
| Price | $29.44 | $37.99 | $69.99 |
| Customer Reviews | |||
| Brand | K&F Concept | K&F Concept | K&F Concept |
| Photo Filter Thread Size | 72 Millimeters | 67 Millimeters | 77 Millimeters |
| Photo Filter Effect Type | Diffusion | Neutral Density | Graduated Neutral Density |
Simple Tricks to Improve Composition
Two simple hacks completely changed my photography style. These methods helped me create eye-catching images without expensive gear.
The rule of thirds hack
The rule of thirds altered the way I frame my shots. I split the image into nine equal parts with two horizontal and two vertical lines, and I found four powerful intersection points that naturally catch the viewer’s attention. Research shows that people’s eyes are drawn to these intersection points more than the center of an image.
My subjects no longer sit in the middle of the frame. Instead, I place key elements along these gridlines or at their intersections. This simple camera trick creates balanced and dynamic compositions. The technique works because it gives visual space – I place people on a third line and leave room in the direction of their gaze.
This rule works in any type of photography, but it shines in landscape shots. The image’s effect improves instantly when you move the horizon to the upper or lower third line instead of the middle. Portrait shots become naturally engaging when the subject’s eyes align with the upper intersection points.
Leading lines technique
Leading lines became my go-to method to add depth to photos. These visual paths guide the viewer’s eye through the image toward the main subject. You’ll find leading lines everywhere – from roads and bridges to subtle elements like tree lines and shadows.
Here’s how different types of lines create maximum impact:
- Horizontal lines: Perfect for landscapes, they create stability and calmness
- Vertical lines: Add power and confidence to portraits and street photography
- Diagonal lines: Create dynamic movement and depth
- Curved lines: Offer natural flow, ideal for landscape compositions
The power of leading lines depends on where you place your camera. I walk around my subject to find the perfect angle where lines naturally draw attention to the focal point. The best shots happen when leading lines meet the rule of thirds – placing the subject where lines cross the thirds grid.
Natural and artificial lines appear in every scene. Rivers, tree lines, and mountain ridges create subtle natural paths, while streets, fences, and buildings give us bold artificial lines. My best images come from letting these existing lines shape the composition rather than forcing it.
Camera Tricks for Different Scenarios
Learning to shoot in different environments has opened new possibilities in my photography experience. Each scenario needs unique camera tricks and setting adjustments to get the best results.
Indoor photography hacks
I found that there was a natural softbox for indoor shots – window light. When you position subjects parallel to windows, you get even lighting and beautiful catchlights in the eyes. I learned to turn off all electric lights during shoots because natural light doesn’t mix well with artificial lighting. Mixed lighting creates conflicting color temperatures and unwanted shadows.
My camera settings for dimly lit indoor spaces work like this – aperture at f/1.8, ISO around 3200, and shutter speed between 1/200 and 1/1000 based on the room’s brightness. I quickly learned that Aperture Priority mode with a wide aperture setting helps keep proper exposure while creating pleasing background blur.
Outdoor shooting secrets
The success of outdoor photography depends on understanding light quality throughout the day. I keep my ISO as low as possible (usually 50) under direct sunlight and set the shutter speed higher (around 1/1600) to maintain a low aperture for attractive bokeh.
ISO 200 works great for shaded conditions when paired with a fast shutter speed of 1/1000 to get proper exposure. North-facing locations provide consistent, soft light throughout the day, making them perfect for outdoor portraits.
Night photography tricks
Night photography needs specific gear and settings to get stunning results. Here are my essential night shooting requirements:
- Camera Settings: 15-second shutter speed, f/2.8 aperture, and ISO 6400 for night sky shots
- Equipment: Tripod for stability during long exposures, remote shutter release for minimal camera shake
- Focus Technique: Manual focus works better than autofocus in very low light conditions
Slow shutter speeds help capture light trails from moving vehicles in urban night photography, which creates dynamic cityscapes. I always check weather conditions and moon phases before night shoots because these factors affect the final results.
A handy trick I found is using a flashlight to help with focusing in dark conditions – it helps the camera find focus points that would be impossible to detect otherwise. Using RAW format gives me maximum flexibility for post-processing adjustments.
Pro-Level Photography Hacks
My journey to professional photography excellence required me to become skilled at advanced techniques beyond simple camera settings. These specialized methods helped me create images that rise above ordinary snapshots.
Advanced focusing techniques
Focus stacking became my secret weapon that delivers tack-sharp images from front to back. This technique combines multiple shots at different focus points during post-processing. Without doubt, this method excels in macro photography and landscapes with prominent foreground elements.
Manual focus works better than autofocus, especially when you have challenging conditions. I found that live view mode with manual focusing gives the most accurate results in low-light situations. This approach lets me control the focal point completely and creates crystal-clear images even in tough shooting conditions.
The hyperfocal distance technique revolutionized my landscape photography. The optimal focusing point comes from doubling the distance from the closest object. This method will give a maximum sharpness across the frame, from nearby elements to distant horizons.
Creative exposure tricks
New creative possibilities emerged when I started experimenting with exposure techniques. Here are my favorite methods to create unique effects:
- High Key Photography: Slower shutter speeds and wider apertures create bright, airy images with excess white areas – perfect for portraits and still life
- Low Key Images: Fast shutter speeds paired with narrow apertures produce dramatic, moody shots with deep shadows
- Extreme HDR: Multiple bracketed exposures capture maximum detail in both highlights and shadows
- Long Exposure Effects: Extended shutter speeds turn moving water into silky streams and vehicle lights into stunning light trails
I learned to think over under or overexposing images for artistic effect. High-key shots need 1-2 stops of positive exposure compensation, while low-key images demand negative compensation to achieve the desired mood.
Neutral density filters became one of my most powerful exposure tricks for daytime long exposures. These filters cut down light reaching the sensor, which lets me capture motion blur effects even in bright conditions. This technique creates dreamy seascapes and dramatic urban scenes.
Years of experimentation showed me that mixing these advanced focusing and exposure techniques produces stunning results. To cite an instance, combining focus stacking with HDR captures landscapes with unprecedented detail and dynamic range. These professional-level camera techniques enhanced my technical skills and expanded my creative horizons.
Conclusion
My journey through thousands of photos and countless techniques has taught me that great photography relies on understanding fundamentals and applying quick tricks that work. I’ve improved my photography skills without spending big money on gear by learning the exposure triangle, solving common problems like poor lighting and blur, and using composition techniques like the rule of thirds.
These camera tricks are effective because they emphasize practical solutions instead of expensive equipment. The right approach makes every scenario manageable – from indoor shoots with window light to outdoor scenes during golden hour and night photography experiments.
You can achieve professional-level results by combining these techniques in smart ways. I’ve captured standout images by pairing focus stacking with creative exposure tricks. Understanding different focusing modes helps create sharp photos in any situation.
Photography skills take time to develop. Begin with simple camera settings and add composition techniques to your workflow. Your unique style will emerge as you gain confidence and try advanced methods. This journey will help you create stunning images that tell powerful stories.
