
Table of Contents
- Table of Contents
- Table of Contents
- How to Change Aperture on Nikon Cameras: A Comprehensive Guide
- Understanding Aperture
- Method 1: Changing Aperture in Aperture Priority Mode
- Method 2: Changing Aperture in Manual Mode
- Method 3: Changing Aperture with Lenses Featuring an Aperture Ring
- Using Live View and Camera Settings to Adjust Aperture
- Aperture Limitations and Lens Compatibility
- Tips for Using Aperture Effectively
- Conclusion
This blog post may contain affiliate links. As an Amazon Associate I earn from qualifying purchases.
Table of Contents
- Table of Contents
- How to Change Aperture on Nikon Cameras: A Comprehensive Guide
- Understanding Aperture
- Method 1: Changing Aperture in Aperture Priority Mode
- Method 2: Changing Aperture in Manual Mode
- Method 3: Changing Aperture with Lenses Featuring an Aperture Ring
- Aperture Limitations and Lens Compatibility
- Tips for Using Aperture Effectively
- Conclusion
This blog post may contain affiliate links. As an Amazon Associate I earn from qualifying purchases.
As a photographer, understanding how to change aperture on your Nikon camera is crucial for achieving the desired depth of field and controlling the amount of light entering the lens. Whether you’re shooting with a Nikon D3000, D5000, D3400, D3500, or any other model, the process may vary slightly depending on the specific camera and lens you’re using. In this comprehensive guide, we will explore different methods to change aperture on Nikon cameras, providing you with the knowledge you need to take your photography skills to the next level.
Table of Contents
- How to Change Aperture on Nikon Cameras: A Comprehensive Guide
- Understanding Aperture
- Method 1: Changing Aperture in Aperture Priority Mode
- Method 2: Changing Aperture in Manual Mode
- Method 3: Changing Aperture with Lenses Featuring an Aperture Ring
- Aperture Limitations and Lens Compatibility
- Tips for Using Aperture Effectively
- Conclusion
How to Change Aperture on Nikon Cameras: A Comprehensive Guide
Understanding Aperture
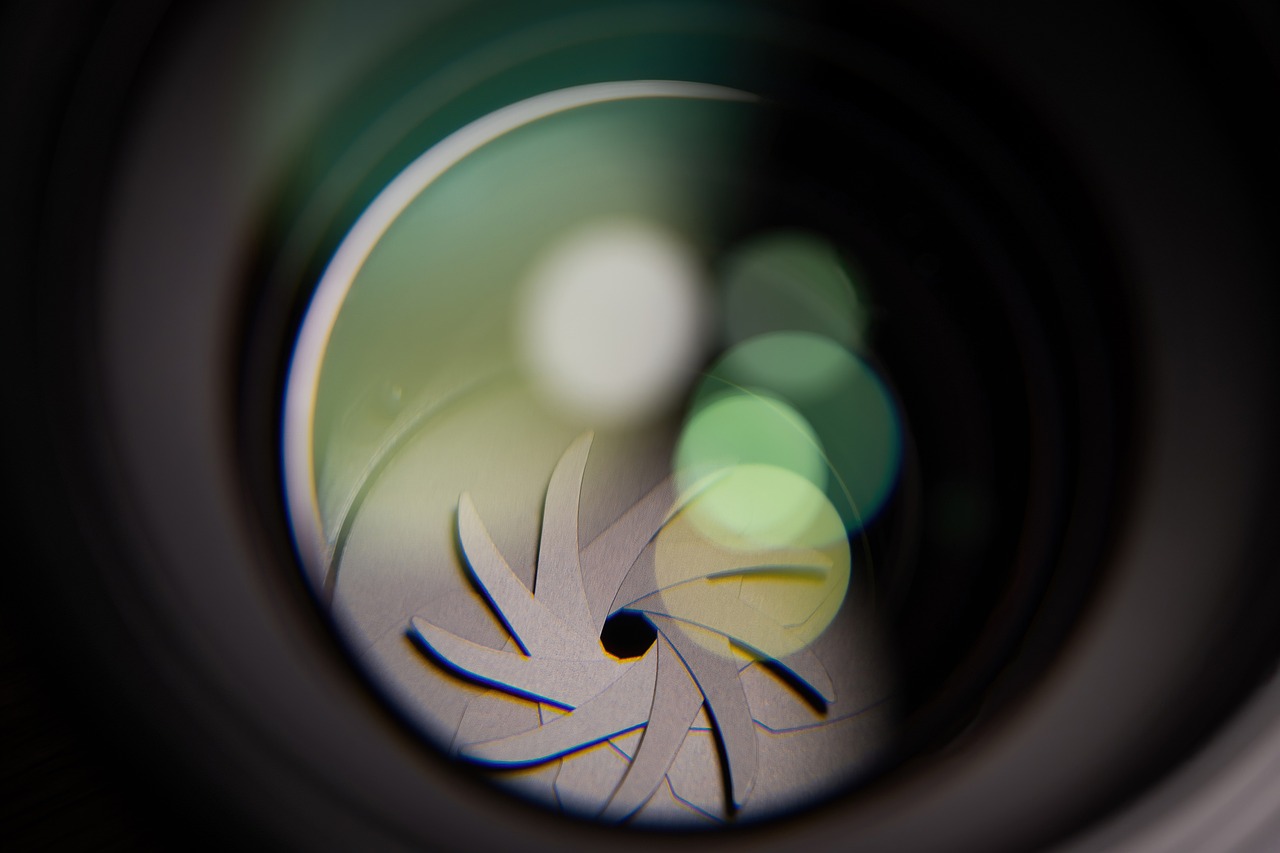
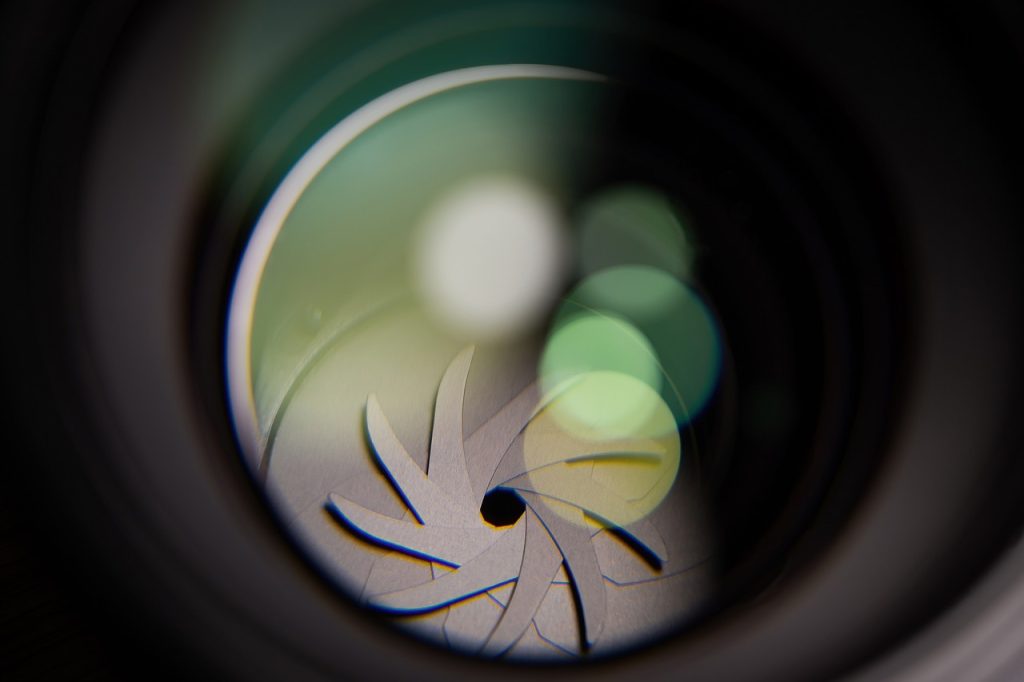
Before we delve into the various methods of changing aperture on Nikon cameras, let’s first ensure we have a clear understanding of what aperture is and its importance in photography. Aperture refers to the size of the opening in the lens that allows light to pass through and reach the camera’s image sensor. It is measured in f-stops, represented by a series of numbers such as f/1.8, f/2.8, f/4, f/5.6, and so on. The lower the f-stop number, the wider the aperture and the more light enters the lens. Conversely, a higher f-stop number indicates a smaller aperture and less light being let in.
Adjusting the aperture not only controls the amount of light but also determines the depth of field in your images. A wider aperture (lower f-stop number) results in a shallow depth of field, where only a small portion of the image is in focus while the rest is blurred. This is ideal for portraits or isolating a subject from the background. On the other hand, a narrower aperture (higher f-stop number) increases the depth of field, bringing more of the scene into focus. This is advantageous for landscape photography or situations where you want everything in the frame to be sharp. Selecting the correct aperture is essential for achieving proper exposure and focus in different photography situations, whether you are using manual settings or relying on your camera’s automated modes.
Method 1: Changing Aperture in Aperture Priority Mode
Aperture Priority (A) mode is a popular shooting mode among photographers, as it provides control over the aperture while the camera adjusts the other settings, such as shutter speed, for optimal exposure. Unlike other modes, Aperture Priority allows you to set the aperture manually while the camera handles the rest, making it ideal for situations where depth of field is a priority. Here’s how you can change the aperture in Aperture Priority mode on your Nikon camera:
- Set your camera’s mode dial to “A” (Aperture Priority) mode.
- Locate the command dial on the camera, usually positioned on the top right front.
- Rotate the command dial to the left to decrease the aperture or to the right to increase it.
- As you adjust the aperture, keep an eye on the camera’s LCD display or viewfinder to see the selected aperture value.
Remember, when you shoot in Aperture Priority mode, the camera will automatically adjust the shutter speed to maintain proper exposure based on the aperture you’ve chosen. This mode gives you creative control over depth of field while ensuring a well-exposed image.
Tip: When using Aperture Priority mode, you can use the AE lock button to lock the exposure after metering, especially if you want to recompose your shot without changing the exposure settings.
Method 2: Changing Aperture in Manual Mode
Manual (M) mode, also known as manual exposure mode, grants you full control over both aperture and shutter speed, allowing for complete creative freedom in your photography. Here’s how to change the aperture in Manual mode on your Nikon camera:
- Set your camera’s mode dial to “M” (Manual) mode.
- Locate the command dial on the camera, usually positioned on the top right rear.
- For aperture control, while holding down the +/- button located next to the shutter button, rotate the command dial to adjust the aperture.
- Turning the dial to the left will decrease the aperture, while turning it to the right will increase the aperture.
- Monitor the camera’s LCD display or viewfinder to see the selected aperture value as you make adjustments.
In Manual mode, you have complete control over both aperture and shutter speed, allowing for precise exposure control and the ability to experiment with different creative effects. This manual exposure approach lets you set each parameter deliberately for your desired result.
Method 3: Changing Aperture with Lenses Featuring an Aperture Ring
Some Nikon lenses, particularly older models or fully manual lenses, feature an aperture ring that allows you to directly adjust the aperture on the lens itself. If you’re using such a lens, follow these steps to change the aperture:
- Set your camera’s mode dial to “M” (Manual) mode.
- Locate the aperture ring on the lens, usually towards the base.
- Rotate the aperture ring to adjust the aperture to your desired value.
- As you change the aperture, keep an eye on the camera’s LCD display or viewfinder to monitor the selected aperture value.
When using manual lenses, the camera’s mirror mechanism can affect stability. Using the mirror lock-up function may help reduce vibrations caused by mirror movement, resulting in sharper images, especially during long exposures or stability-sensitive shots.
With lenses featuring an aperture ring, the camera may not be able to display the selected aperture value in the viewfinder or LCD screen. However, you can still achieve accurate exposure by using the camera’s built-in light meter or by checking the resulting image on the display.
Using Live View and Camera Settings to Adjust Aperture
The Nikon D7000’s Live View mode offers photographers a dynamic way to adjust aperture and fine-tune camera settings while previewing changes in real time. To activate Live View, simply flip the Live View lever, and the camera’s rear LCD screen will display a live feed of your scene. This feature is especially useful for composing shots, checking focus, and making precise exposure adjustments before you press the shutter button.
Once in Live View mode, adjusting the aperture is straightforward. Use the main command dial to set your desired aperture value—watch as the aperture setting updates instantly on the LCD screen. This immediate feedback makes it easy to see how different apertures affect depth of field and overall image brightness. If you’re shooting in Aperture Priority mode, the camera will automatically adjust shutter speed to maintain correct exposure, while in Manual mode, you can use the sub command dial to adjust shutter speed independently, giving you full creative control.
Live View also streamlines access to other essential camera settings. Press the INFO button to quickly view and modify options like white balance, ISO, and autofocus mode. Navigating the camera’s menu with the rear multi-selector allows you to fine-tune additional settings, such as selecting your focus point for pinpoint accuracy. This is particularly helpful when you want to ensure your subject is tack-sharp, especially in challenging lighting or when shooting with a shallow depth of field.
The Nikon D7000 supports a variety of exposure modes—including Normal mode, Aperture Priority, Shutter Priority, and Manual mode—all of which can be used in Live View. This flexibility means you can easily switch between modes to suit your shooting style, whether you want the camera to handle exposure or prefer to adjust aperture and shutter speed manually. For even more control, the AE-L/AF-L button lets you lock exposure and autofocus, which is invaluable when recomposing your shot or dealing with tricky lighting conditions.
For videographers, Live View mode unlocks manual movie settings, allowing you to adjust aperture, shutter speed, and ISO for video recording. The setup menu provides further customization, letting you configure the function of command dials and buttons to match your workflow. This level of control ensures you can adapt the camera to your preferences, whether you’re shooting stills or video.
It’s important to note that on the Nikon D7000, aperture is controlled via the main command dial rather than an aperture ring, as most modern Nikon G lenses do not feature an aperture ring. This design streamlines the process, letting you adjust aperture and other settings quickly and efficiently using the camera’s command dials and Live View interface.
In summary, the Nikon D7000’s Live View mode, combined with its intuitive command dials and customizable camera settings, provides photographers with a powerful toolkit for adjusting aperture and achieving the perfect exposure. Whether you’re working in Aperture Priority, Manual, or another exposure mode, Live View makes it easy to preview and refine your settings, helping you capture stunning images with confidence.
Aperture Limitations and Lens Compatibility
It’s important to note that not all lenses allow for the same range of aperture settings. Each lens has a maximum and minimum aperture value that determines the range of available f-stops. For example, a lens might have a maximum aperture of f/1.8 and a minimum aperture of f/16. The specific limitations depend on the lens model and focal length, and in some cases, these limitations are simply a matter of camera or lens design rather than a defect.
Zoom lenses, in particular, may have variable maximum apertures depending on the focal length. For instance, an 18-55mm lens might have a maximum aperture of f/3.5 when zoomed out to 18mm but only reach f/5.6 when fully zoomed in to 55mm. It’s essential to be aware of these limitations when changing aperture on zoom lenses to ensure you stay within the available range.
Additionally, not all Nikon cameras are compatible with older lenses that have an aperture ring. Newer camera models, such as the D3500, may not have the necessary mechanical linkage to control the aperture on these lenses. Some cameras may revert to default settings when an incompatible lens is attached, which can affect available functions. You can use the camera’s menus to check lens compatibility or adjust related settings. Compatibility may also depend on whether you are in a different mode, such as Manual or Aperture Priority, as some modes may offer more or fewer options with certain lenses. It’s crucial to check your camera’s compatibility with specific lenses before attempting to use them.
Tips for Using Aperture Effectively
Now that you know how to change aperture on your Nikon camera, here are some tips to help you make the most of this essential photographic tool:
- Explore Different Aperture Settings: Experiment with different aperture values to understand how they affect the depth of field and overall image look. Try shooting the same subject with both wide and narrow apertures to see the difference in background blur and subject isolation. Of course, remember to note how each setting changes the mood and focus of your image.
- Consider the Lighting Conditions: The aperture you choose can impact the amount of light entering the camera. In low-light situations, using a wider aperture (lower f-stop number) can help you capture well-exposed images without increasing the ISO too much. On the other hand, in bright conditions, using a narrower aperture (higher f-stop number) can help prevent overexposure.
- Utilize Aperture Priority Mode: Aperture Priority mode is a great starting point for photographers who want more control over the depth of field without worrying about other exposure settings. It allows you to set the desired aperture while the camera takes care of the rest.
- Master Manual Mode: Once you’re comfortable with Aperture Priority mode, challenge yourself to explore Manual mode. This mode offers complete control over both aperture and shutter speed, giving you the freedom to fine-tune your exposure settings according to your creative vision.
- Combine Aperture with Other Techniques: Aperture is just one element of the exposure triangle, which includes ISO and shutter speed. Understanding how these three components interact will enable you to achieve the desired exposure and creative effect in your photographs.
- Always check your SD card before shooting: Make sure your SD card is properly formatted and has enough space to store your images. This helps prevent data loss or corruption and ensures you don’t miss any important shots.
- Push your creative boundaries: Don’t be afraid to push yourself by experimenting with different aperture settings. Trying new approaches can lead to unique and compelling photos that stand out.
Conclusion
Changing aperture on your Nikon camera is a fundamental skill for any photographer. Whether you’re using Aperture Priority or Manual mode, or working with lenses featuring an aperture ring, understanding how to adjust the aperture allows you to control the depth of field and capture images with the desired creative effect. Remember to consider the limitations of your lenses and the compatibility with your camera when changing aperture. With practice and experimentation, you’ll develop a deep understanding of aperture and unleash your creativity to capture stunning photographs.
Disclaimer: This article is for informational purposes only. The specific methods and controls for changing aperture may vary depending on your Nikon camera model and lens. Always refer to your camera’s user manual for detailed instructions.