
Table of Contents
- Key takeaways
- Prerequisites and essential gear for motion photography
- Understanding shutter speed in motion photography
- Techniques for capturing motion: freezing, blur, and panning
- Common mistakes and troubleshooting in motion capture
- Expected results and how to measure success
- Enhance your photography with expert guides and gear
- How to capture motion: frequently asked questions
- Recommended
This blog post may contain affiliate links. As an Amazon Associate I earn from qualifying purchases.
Trying to capture motion frustrates many amateur photographers who end up with blurry, disappointing images. The secret lies in understanding shutter speed controls and motion techniques like panning. This guide teaches you the gear essentials, how to use shutter speed effectively, techniques for freezing or blurring motion, troubleshooting common mistakes, and evaluating your results to transform your motion photography.


Key takeaways
| Point | Details |
|---|---|
| Essential gear | A DSLR or mirrorless camera with manual controls, zoom lenses with wide apertures, and stabilization tools form your foundation. |
| Shutter speed mastery | Fast speeds freeze motion sharply, while slow speeds create artistic blur effects. |
| Three core techniques | Freezing action, motion blur, and panning each serve different creative goals for capturing movement. |
| Avoid common mistakes | Too slow shutter speeds without stabilization and poor focus cause unwanted blur. |
| Measure your success | Sharp frozen action at 1/500s or faster and smooth motion blur at slower speeds indicate progress. |
Prerequisites and essential gear for motion photography
Before you start shooting motion, you need the right equipment and knowledge. Using a DSLR or mirrorless camera with manual controls and fast continuous shooting is essential to effectively capture motion, allowing precise control over shutter speed, aperture, and ISO. Your camera choice directly impacts your ability to freeze or blur motion intentionally.
Zoom lenses with wide apertures such as f/2.8 or f/4 are optimal for motion photography, providing flexibility to frame subjects at varying distances and perform well in low light conditions. These lenses help you maintain faster shutter speeds without pushing ISO too high. If you’re building your kit, check out our guide on how to select camera gear or explore budget photography gear tips for affordable options.
Stabilization tools make a significant difference in motion capture. A sturdy tripod is crucial when using slow shutter speeds to avoid camera shake and maintain image sharpness during motion blur capture. For more mobile shooting situations, a monopod offers stability while allowing quick repositioning. Remote shutter releases eliminate the tiny camera movements caused by pressing the shutter button, particularly important for exposures longer than 1/60s.
Neutral density filters deserve a place in your bag too. These filters reduce light entering your lens, allowing slower shutter speeds in bright daylight to create motion blur effects. Understanding your camera’s essential camera controls is critical before attempting motion photography, as you’ll need to adjust settings quickly when shooting moving subjects.
Pro Tip: Start with continuous shooting mode to capture multiple frames per second, increasing your chances of getting the perfect moment when freezing action.
Understanding shutter speed in motion photography
Shutter speed controls how long your camera’s sensor receives light, fundamentally affecting how motion appears in your images. This single setting determines whether you freeze a runner mid-stride or turn them into an artistic blur. Learning to manipulate shutter speed transforms your motion photography from frustrating to rewarding.
Using a fast shutter speed of about 1/500th of a second or faster effectively freezes the motion of fast moving subjects, producing sharp images without blur. Think of shutter speed as a gate that opens and closes. A fast shutter opens and closes quickly, capturing a split second of action before any movement registers as blur. For our full explanation, read our shutter speed explained guide.
Slow shutter speeds of 1/30s or slower create artistic motion blur effects that suggest movement and energy. Water becomes silky smooth, car lights turn into streaks, and crowds blur into impressionistic scenes. The trade off is that everything moving during that longer exposure will blur, so you need a stable camera position.
Balancing ISO and aperture settings alongside shutter speed is necessary to maintain proper exposure and image quality. When you increase shutter speed to freeze motion, less light hits the sensor. You compensate by opening your aperture wider or raising ISO. Conversely, when slowing shutter speed for blur effects in bright light, you’ll need to close your aperture or add a neutral density filter.
Too slow shutter speeds without stabilization cause unwanted blur throughout your entire image, not just the moving subject. This camera shake ruins photos that should be sharp. Learning to change shutter speed settings quickly helps you adapt to changing conditions.
Pro Tip: Use the reciprocal rule as a starting point: your minimum handheld shutter speed should be 1/focal length to avoid camera shake (1/200s for a 200mm lens).
Research shows photographers who master the exposure triangle see a 60% improvement in technical image quality within three months of consistent practice.
Techniques for capturing motion: freezing, blur, and panning
Three core techniques form the foundation of motion photography, each creating distinct visual effects. Mastering these approaches gives you creative control over how movement appears in your images.
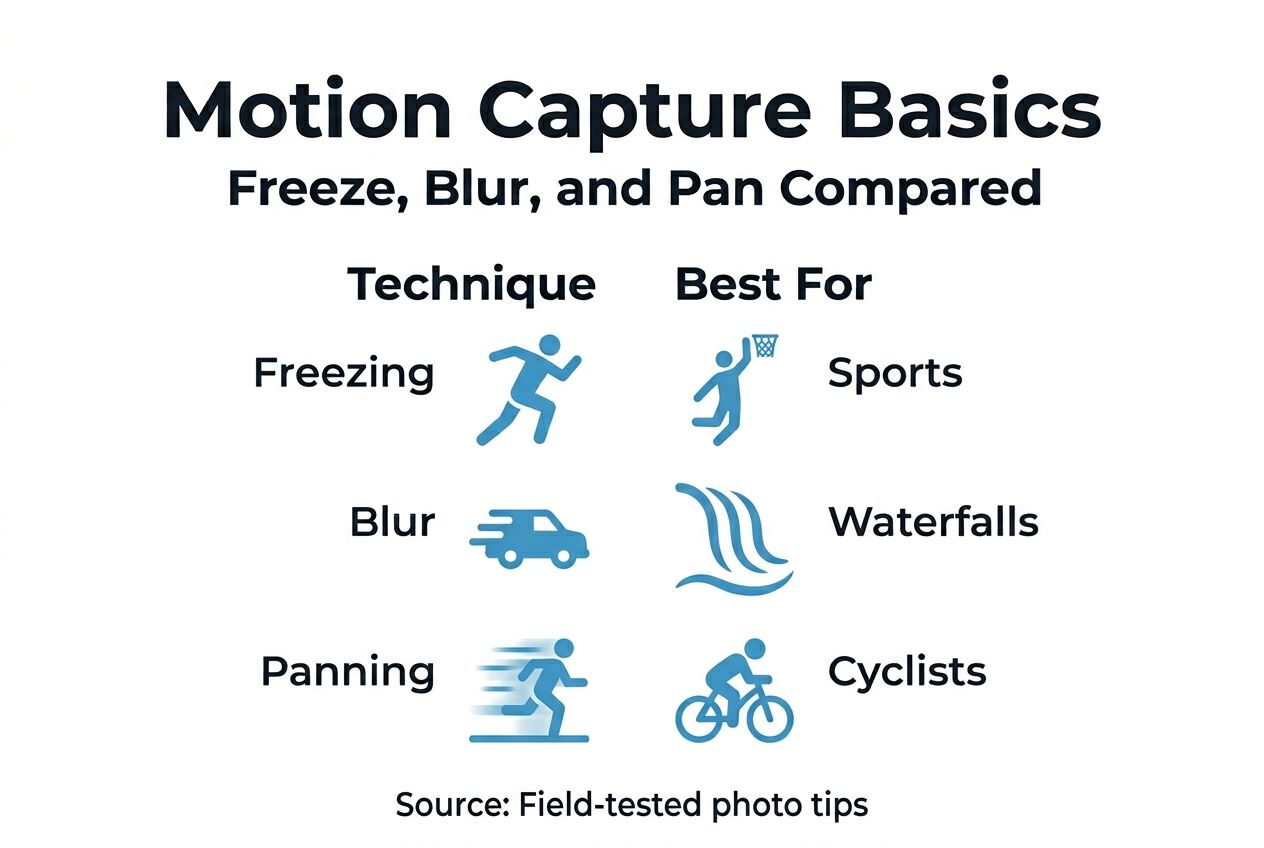
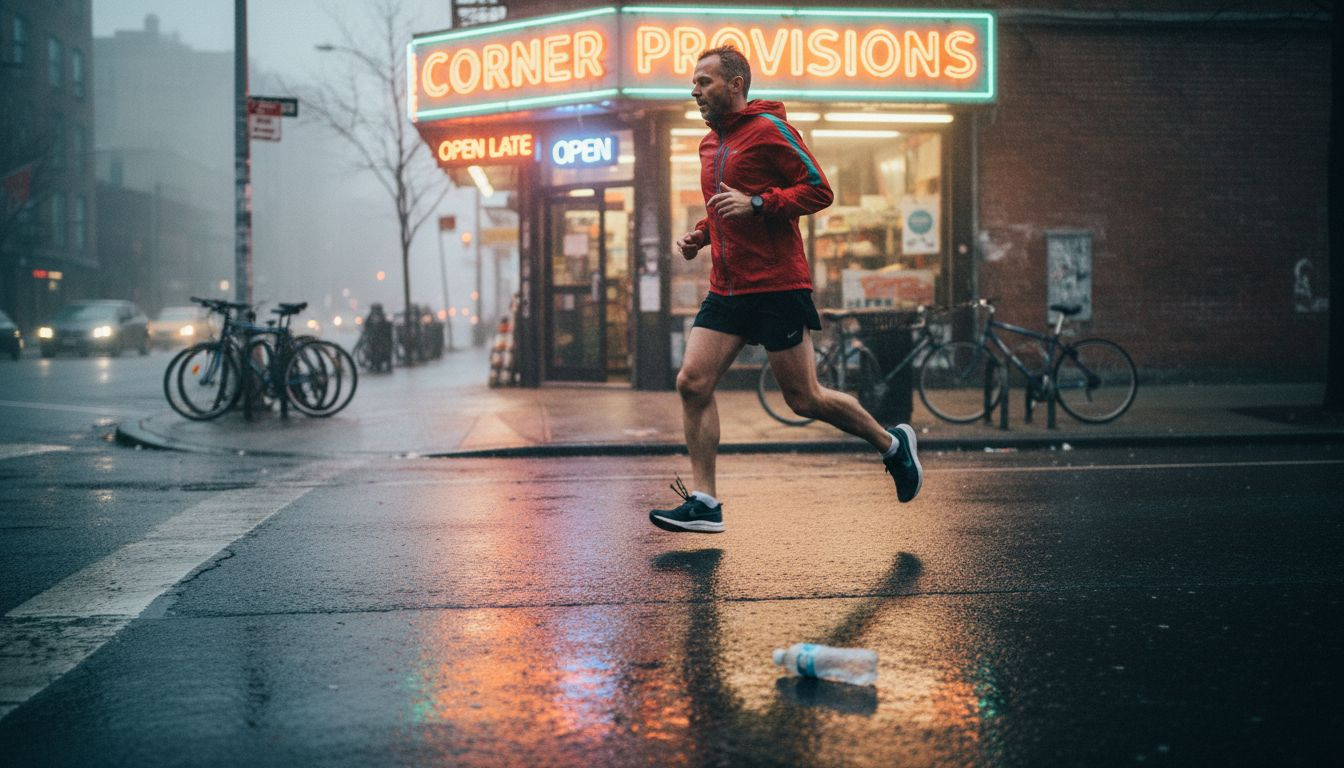
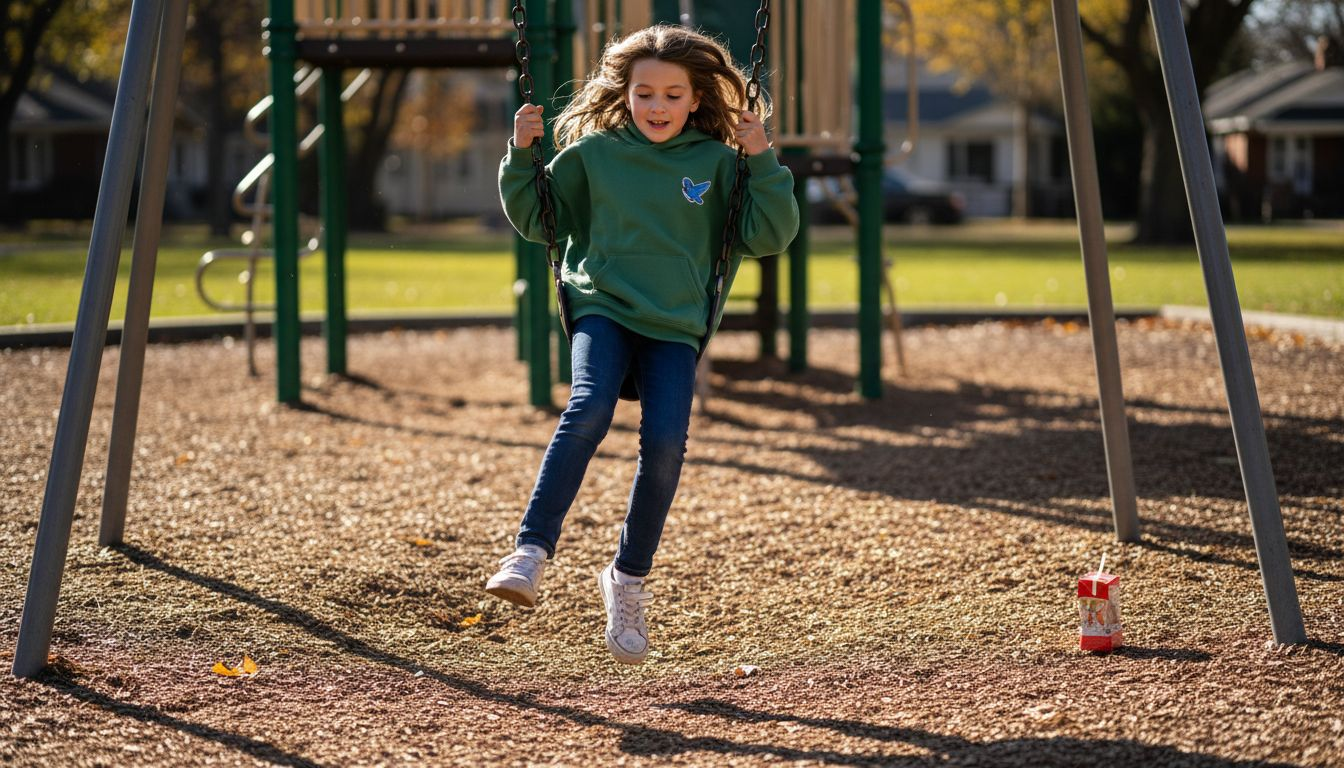
1. Freezing motion requires fast shutter speeds of 1/500s or faster to capture sharp details of moving subjects. This technique works perfectly for sports, wildlife, or any situation where you want to preserve crisp detail. The faster your subject moves, the faster your shutter speed needs to be. A walking person might freeze at 1/250s, but a racing car needs 1/2000s or faster.
2. Motion blur uses slow shutter speeds around 1/30s or slower to artistically suggest movement through intentional blur. This creative approach works beautifully for waterfalls, traffic at night, or conveying the energy of dancers and athletes. Your camera must remain completely still using a tripod while the subject moves through the frame.
3. Panning technique combines both approaches. Panning involves using a slow shutter speed while moving the camera to follow a moving subject, keeping the subject sharp and background blurred to emphasize speed and motion. You’ll typically use shutter speeds between 1/30s and 1/125s depending on subject speed. For more strategies, see our tips for moving subjects.
| Technique | Shutter Speed Range | Effect | Best For |
|---|---|---|---|
| Freezing motion | 1/500s to 1/4000s+ | Sharp, frozen action | Sports, wildlife, fast action |
| Motion blur | 1/30s to several seconds | Artistic blur showing movement | Waterfalls, traffic, crowds |
| Panning | 1/30s to 1/125s | Sharp subject, blurred background | Vehicles, runners, cyclists |
Pro Tip: When learning to pan, practice following your subject’s movement for a few seconds before pressing the shutter, then continue smoothly after the exposure to improve success rates up to 70%.
Common mistakes and troubleshooting in motion capture
Even experienced photographers encounter challenges with motion photography. Recognizing these common errors helps you troubleshoot quickly and improve your results.
Avoiding shutter speeds too slow for your subject’s speed prevents unwanted blur. A person walking might look acceptable at 1/125s, but appear as a ghost at 1/30s unless you want that effect. Match your shutter speed to both subject speed and your creative intent.
Camera shake ruins many otherwise great motion photos. Use a tripod or monopod for slow shutter speeds to eliminate this problem completely. When shooting handheld with moderate shutter speeds, proper stance and breathing technique matter. Tuck your elbows against your body and exhale slowly while pressing the shutter.
Focus issues plague moving subject photography. Employ continuous autofocus mode and pre focus on the zone where your subject will pass to keep moving subjects sharp. Many cameras offer tracking modes that follow a selected subject across the frame. Single shot autofocus rarely works well for motion because the subject moves between focusing and exposure.
Overdoing motion blur creates confusion rather than artistic effect. Balance the blur amount with subject visibility so viewers understand what they’re seeing. A completely unrecognizable blur rarely communicates effectively.
Iterate with test shots and adjust settings for best results rather than hoping your first attempt succeeds. Check your images on the LCD screen, zoom in to verify sharpness, and modify your approach based on what you see. For comprehensive guidance, review our articles on common photography mistakes and fixing photography mistakes.
Panning presents unique challenges that improve with practice. Keep your movements smooth and level, rotating from your hips rather than just moving your arms. Start tracking before the shutter fires and follow through after to reduce subject blur and improve frame composition.
Expected results and how to measure success
Setting realistic expectations helps you recognize progress and stay motivated as you develop motion photography skills. Different techniques produce different outcomes, and understanding what success looks like guides your practice.
Success in motion photography can be measured by the ability to freeze action sharply with clear details at shutter speeds above 1/500s, or create aesthetically pleasing motion blur without unwanted camera shake at slower shutter speeds. Sharp frozen action photos show crisp detail in your subject’s features, clothing texture, and environmental elements. Nothing appears smeared or ghosted unless intentional.
At slower speeds around 1/30s, expect smooth, pleasant motion blur without shake affecting the stationary elements of your scene. The background should remain sharp while moving subjects show directional blur that suggests speed and energy. This balance takes practice to achieve consistently.
Panning success rates improve dramatically with repetition. Initial attempts might yield only 10% to 20% keeper shots, but dedicated practice can improve sharp subject capture success up to 70%. You’ll know you’re succeeding when your subject stays in focus and relatively sharp while the background shows horizontal streaking.
Consistent focus on your subject and stable shot composition are key success indicators regardless of which technique you employ. Your intended subject should occupy the planned position in your frame with appropriate sharpness for your creative vision.
| Shutter Speed | Expected Result | Success Indicator | Practice Tip |
|---|---|---|---|
| 1/500s+ | Frozen action | Sharp details throughout moving subject | Start with moderately fast subjects |
| 1/250s to 1/500s | Slight motion in fastest elements | Most action frozen clearly | Good for walking people |
| 1/30s to 1/60s | Noticeable motion blur | Smooth directional blur, sharp background | Use tripod, experiment with timing |
| 1/30s to 1/125s (panning) | Sharp subject, blurred background | Subject recognizable, background streaked | Track subject smoothly before shooting |
Patience and repeated attempts typically yield steady improvement in motion shots. Review your results critically, noting what worked and what didn’t, then adjust your technique accordingly. Most photographers see noticeable improvement after capturing 200 to 300 motion images with intentional practice.
Enhance your photography with expert guides and gear
You’ve learned the fundamentals of motion photography, but your journey toward mastery continues with practice and deeper knowledge. Amateur Photographer Guide offers extensive resources to help you avoid frustrating mistakes and make confident equipment decisions.
Explore our beginner’s photography guide to fix camera mistakes that hold back your progress. We’ve compiled essential beginner tips that address the challenges amateur photographers face most frequently.

Choosing the right equipment accelerates your learning curve significantly. Our comprehensive camera gear selection guide helps you match equipment to your specific photography goals and budget. Whether you’re upgrading your first camera or adding specialized lenses, we provide practical recommendations based on real world testing and amateur photographer needs.
How to capture motion: frequently asked questions
What shutter speed should I use for slow moving subjects?
For slow moving subjects like walking people or gentle streams, start with 1/125s to 1/250s to freeze motion clearly. If you want some motion blur for artistic effect, try 1/60s to 1/30s while keeping your camera stable on a tripod.
Can I capture motion effectively with a smartphone camera?
Modern smartphones can capture motion using their sport or action modes, though manual control is limited. You’ll get better results freezing fast action than creating intentional motion blur. Dedicated cameras offer more creative control for advanced techniques like panning.
How do I prevent my photos from being blurry when panning?
Smooth, level camera movement is essential for sharp panning shots. Practice tracking your subject before pressing the shutter, use a moderate shutter speed between 1/60s and 1/125s, and follow through after the exposure. Your keeper rate improves significantly with repetition.
Is a tripod always necessary for motion photography?
Tripods are essential for intentional motion blur with slow shutter speeds but unnecessary when freezing action with fast shutter speeds. For panning, you’ll shoot handheld to follow your subject smoothly. Match your support method to your chosen technique.
What is the best way to practice motion photography as a beginner?
Start with moderately fast subjects like cyclists or cars at predictable locations where you can take multiple attempts. Begin with freezing motion at 1/500s to build confidence, then experiment with slower speeds and panning as your skills develop. Review each session’s results to identify patterns in your successes and failures.
Recommended
- Tips for Taking Photos of Moving Objects – Amateur Photographer Guide
- Action Photography Techniques Guide for Perfect Motion Shots – Amateur Photographer Guide
- How To Change The Shutter Speed On A Canon Camera – Amateur Photographer Guide
- What Is Panning in Photography? A Complete Overview
Last update on 2026-04-21 / Affiliate links / Images from Amazon Product Advertising API
