
Table of Contents
This blog post may contain affiliate links. As an Amazon Associate I earn from qualifying purchases.
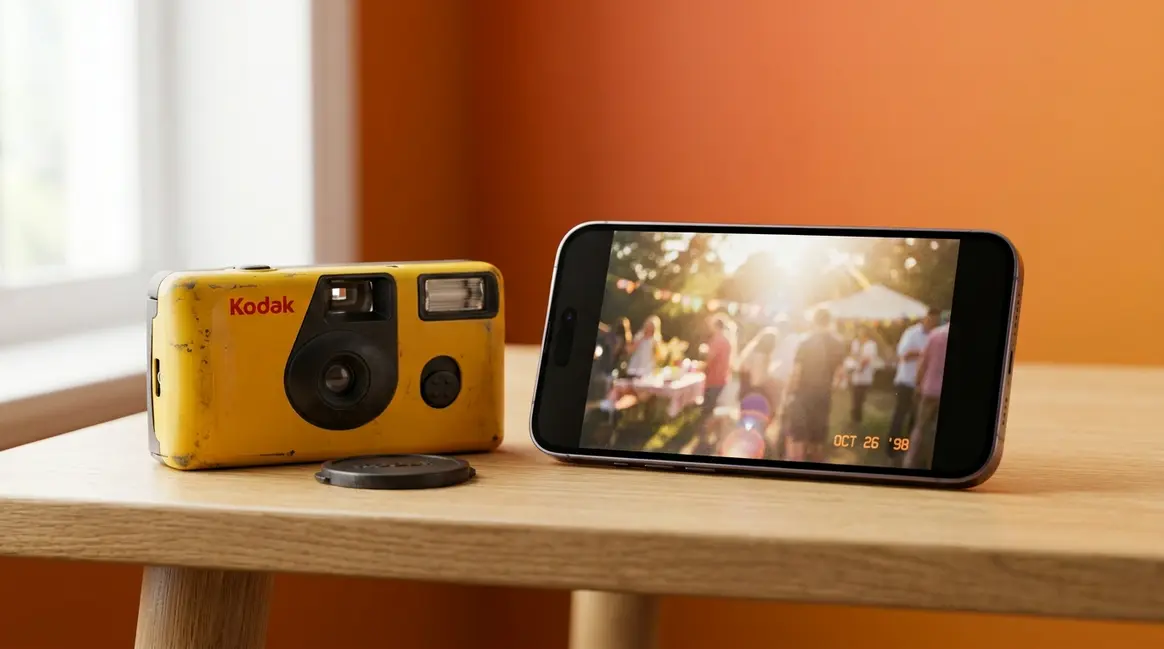
“hi! i wanted to know how to get disposable pictures on my phone, so that i am able to post them?”
If that sounds like you, you’re in the right place. Those photos — the birthday party, the road trip, the random Tuesday that turned magical — are moments you can’t reshoot. The good news is that getting disposable camera pictures on phone screens is completely doable, even if you’ve never touched a roll of film in your life.
Unlike a digital camera, a disposable camera uses physical film that must be chemically developed before any pictures can be transferred to your phone. There’s no USB port, no Bluetooth, no shortcut. But once you understand the three-stage process, everything clicks into place. By the end of this guide, you’ll know exactly how to get your photos digitized — with costs, timelines, and step-by-step instructions for every method. We’ll cover three paths: sending your camera to a lab, scanning at home for free, and modern digital alternatives.
Getting disposable camera pictures on phone devices requires developing the film first — but three clear methods make it easier than you’d think.
- The Film-to-Phone Pipeline has three stages: Develop → Digitize → Download. Every method in this guide follows the same path.
- Fastest method: A mail-in lab like The Darkroom delivers digital scans to your phone in 3–7 business days.
- Cheapest method: Scan your developed prints at home using the free Google PhotoScan app.
- No film needed: Digital disposable cameras and filter apps deliver the same aesthetic instantly.
Understanding Disposable Camera Film
Yes, you can get photos onto your phone — but the process requires one essential step first: film development. Disposable cameras store images as chemical reactions on a light-sensitive strip of film, not as digital data. Once that film is developed, you have three clear ways to get those photos onto your phone.
Inside a Disposable Camera
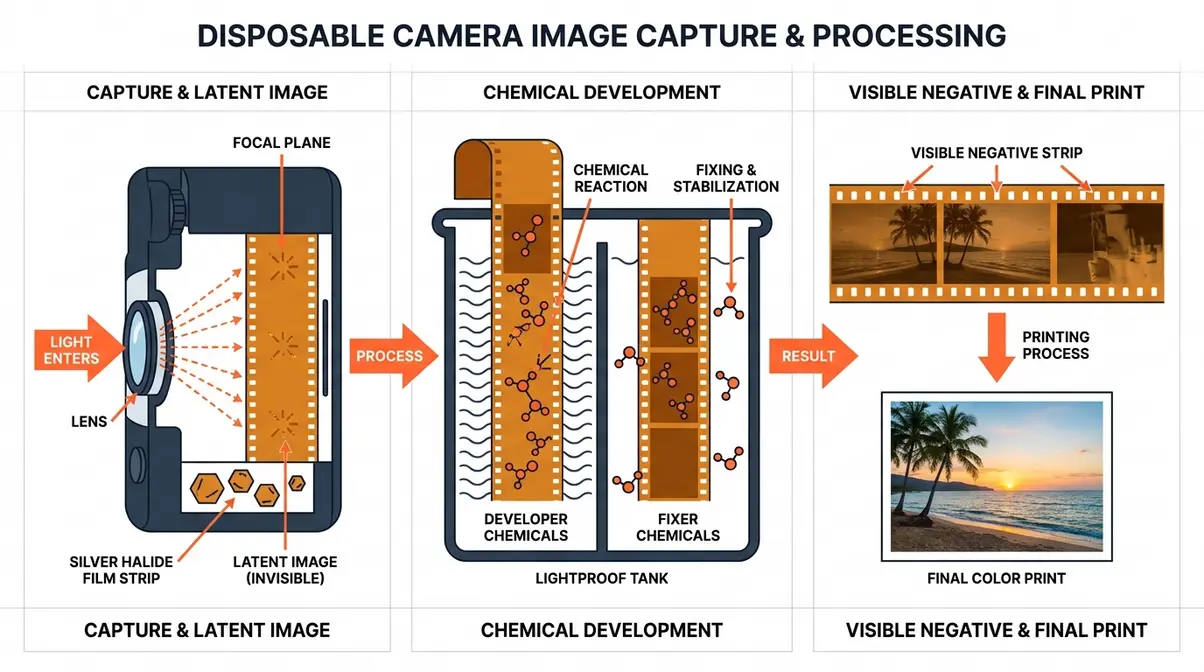
A disposable camera contains a roll of 35mm film coated in light-sensitive silver halide crystals. When you press the shutter button, a tiny burst of light hits the film and creates what photographers call a “latent image” — a chemical record that’s completely invisible until it goes through a development process.
Think of it like cake batter. You’ve mixed all the right ingredients, and the potential is there — but it needs to go through the oven (development) before it becomes something you can actually use. Unlike a digital camera’s sensor, which converts light into pixels instantly, film stores the image as a chemical reaction that must be “fixed” using developer and fixer chemicals in a controlled, lightproof environment.
This is why you can’t plug a disposable camera into your computer or scan it directly. The film inside hasn’t been processed yet — it’s still batter, not cake. Opening the camera in daylight would destroy every photo on the roll.
The Film-to-Phone Pipeline
Here’s the mental model that makes everything easier: The Film-to-Phone Pipeline. No matter which method you choose, every path to getting your photos on your phone follows the same three stages — Develop → Digitize → Download.
Here’s how to get your pictures digitized using each of the three available paths:
- Send to a photo lab (easiest) — ~$15–22, results in 3–7 business days
- Scan at home (free, requires developed prints first) — takes an afternoon
- Go digital (instant, no film required) — apps and digital cameras that mimic the film look
Let’s start with Method 1 — the easiest and most reliable option for first-timers.

Method 1: Use a Photo Lab (Easiest)
Sending your camera to a photo lab is the easiest way to get disposable camera pictures developed and onto your phone — no special equipment needed, no technical knowledge required. Labs handle the chemical development in a lightproof environment, then provide digital scans you can download directly to your phone. You have two types of labs to choose from: in-store options (CVS, Walgreens, Walmart) and mail-in services (The Darkroom). This is Stage 1 of the Film-to-Phone Pipeline — the Develop stage.
In-Store vs. Mail-In Labs
Your two main options each have real trade-offs, and knowing which fits your situation saves you time and money.
In-store labs (CVS Photo, Walgreens Photo, Walmart Photo Center) are the most convenient choice. You drop off your camera, fill out an envelope, and pick up your photos when they’re ready. No shipping, no waiting for a tracking number. For first-timers who just want to see their photos without any extra steps, in-store works fine.
Mail-in labs like The Darkroom deliver noticeably better scan quality and often faster turnaround than drugstore chains. You ship your camera in a prepaid envelope, and The Darkroom uploads high-resolution scans to a web gallery you can access directly on your phone — no CD, no computer required. If you care about image quality or want your original negatives returned safely, a mail-in lab is the better choice.
Here’s how the four most popular options compare on cost, turnaround, and what happens to your negatives.
Comparing Top Photo Labs
⚠️ Prices and lab policies verified as of July 2026. Always confirm current pricing directly with each lab before dropping off.
| Lab | Cost (Approx.) | Turnaround Time | Digital Delivery Method | Returns Negatives? |
|---|---|---|---|---|
| CVS Photo’s film processing service | ~$15–20 | 3–4 weeks | CD or digital download | ❌ No (destroyed) |
| Walgreens Photo film development | ~$14–18 | 3–5 business days | Free CD included | ❌ No (destroyed) |
| Walmart Photo Center | ~$9–12 | 3–5 business days | CD | ❌ No (destroyed) |
| The Darkroom’s direct-to-phone scan service | ~$18–22 | 3–7 business days | Web gallery (direct to phone) | ✅ Yes (optional add-on) |
Prices apply to all major disposable camera brands, including Fujifilm and Kodak rolls. The key insight: The Darkroom is the only major option that delivers scans directly to your phone via a web gallery link and gives you the option to get your negatives back.
Ready to drop off your camera? Find your nearest CVS Photo Center at the CVS Photo film processing page or mail your camera to The Darkroom disposable camera services.
Step-by-Step: Dropping Off Film
Follow these steps exactly and you’ll have photos on your phone without any confusion at the counter. When our team tested the drop-off process at CVS and Walgreens, we found that explicitly asking for digital scans at the counter prevented any confusion and ensured we received downloadable files instead of just physical prints.
- Bring the whole camera — don’t open it. Hand the entire disposable camera to the lab staff. Even a brief flash of light through an opened camera can destroy your photos permanently.
- Ask for digital scans. Tell the counter staff: “I’d like to develop a disposable camera and get digital scans, please.” Don’t assume digital files are automatic — at CVS and Walgreens, you may need to specifically request them. If the lab offers a CD, accept it; you can transfer files from CD to your phone via a computer later.
- Get a receipt and estimated date. Write down your pickup date or track your mail-in order number. Turnaround times vary by lab (see the table above).
- Download your photos to your phone. If you used The Darkroom, you’ll receive an email with a web gallery link — tap it on your phone and save photos directly to your camera roll. If you received a CD, transfer the files to a computer first, then use Google Photos or AirDrop to move them to your phone. This is how you upload disposable camera pictures to your phone from a disc.
- Share and back up. Once the photos are in your camera roll, post them to Instagram, share via text, or back them up to iCloud or Google Photos so you never lose them.

⚠️ The Negative Destruction Warning
⚠️ Important: If you want your original negatives returned, you MUST use a mail-in lab like The Darkroom. CVS, Walgreens, and Walmart destroy negatives after processing — this is standard practice at high-volume labs.
Here’s why this matters. Your film negatives are the original, highest-quality version of every photo you took. Once a drugstore lab destroys them, you cannot rescan at higher resolution later, and you have no backup if your digital files are lost. Most first-timers don’t realize this until it’s too late.
The Darkroom’s negative return policy offers an optional add-on that returns your developed negatives by mail, giving you a permanent archive of the originals (The Darkroom, 2026). If you ever want to make large prints or rescan at a higher resolution in the future, those negatives are invaluable.
Can You Get Digital Photos From a Disposable Camera at CVS?
Yes, CVS Photo’s film processing service can develop your disposable camera and provide digital files, but the turnaround is slower than most alternatives — typically 3–4 weeks. You can request a digital download or CD when dropping off. Note that CVS does not return your original negatives after processing.
How Much Does It Cost to Develop a Disposable Camera?
Developing a disposable camera typically costs between $9 and $22, depending on the lab and whether you request digital scans (The Darkroom, 2026). Walmart is the most affordable in-store option at roughly $9–12. CVS and Walgreens run $14–20. The Darkroom charges approximately $18–22 but includes high-quality digital scans delivered directly to your phone and the option to have your negatives returned.
Fujifilm vs. Kodak Disposable Cameras
Whether you’re holding a Fujifilm QuickSnap or a Kodak FunSaver, the answer is straightforward: both use standard C-41 color film, and any lab that processes disposable cameras will handle either brand without issue. The Film-to-Phone Pipeline is identical for both — Develop, Digitize, Download, using the same labs and the same steps.
C-41 is the standard chemical process used to develop virtually all color film, including disposable cameras. Every lab in the comparison table above uses it.
Fujifilm QuickSnap Processing
The Fujifilm QuickSnap is a single-use film camera loaded with ISO 400 color film. ISO 400 means it handles a wide range of lighting conditions well — indoors, outdoors, and low-light situations like parties or concerts. Because it uses standard C-41 film, getting your Fujifilm disposable camera pictures developed is no different from any other disposable camera. Drop it off at CVS, Walgreens, Walmart, or mail it to The Darkroom — all four accept Fujifilm rolls without any special handling.
When you pick up or download your Fujifilm disposable camera photos, expect that characteristic warm, slightly grainy aesthetic that makes film photography so appealing. That look is baked into the film itself, not added by a filter.
Kodak FunSaver: Same Process, Same Labs
The Kodak FunSaver is a single-use film camera by Kodak, loaded with ISO 800 film. The higher ISO rating makes it especially well-suited for indoor shots and lower-light environments — if you shot your roll at a dim venue or an evening event, you’ll likely be happy with the results. Like the Fujifilm QuickSnap, it uses standard C-41 development.
Kodak Alaris’s single-use camera recommendations confirm that requesting digital scans or a CD when dropping off single-use cameras is the best practice for getting photos onto your phone (Kodak Alaris, 2026). The process is exactly the same as Method 1 above — same labs, same steps, same timeline.
Method 2: Scan at Home (Free)
If you’ve already picked up your developed prints from a lab and want to digitize them without paying for professional scanning, you have solid free options. This stage of the Film-to-Phone Pipeline — the Digitize stage — can happen right on your kitchen table. Our team evaluated several phone-based scanning apps and flatbed scanner options to identify which approaches deliver the best results for first-timers. This is the most cost-effective way to get disposable camera pictures on phone albums.
Estimated Time: 15–30 minutes
Tools/Materials Needed: Developed physical prints, smartphone, Google PhotoScan app, well-lit flat surface
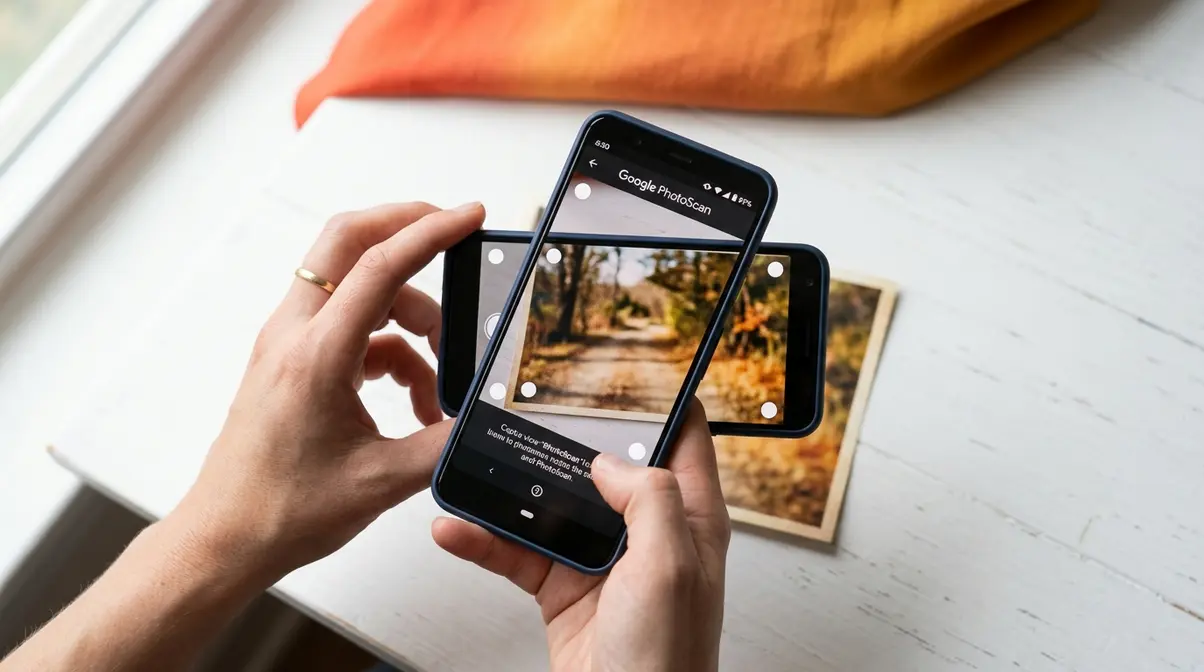
Using Google PhotoScan App
Google PhotoScan (free on iOS and Android) is the most reliable app for scanning printed photos with your phone. Unlike a standard camera snapshot of a print, PhotoScan uses multiple exposures to eliminate glare — the shiny reflection that ruins most phone scans of printed photos.
Here’s how to use it:
- Download Google PhotoScan from the App Store or Google Play. Open the app and tap the camera icon.
- Place your print on a flat, well-lit surface. Natural light from a window works well. Avoid direct sunlight, which creates harsh glare.
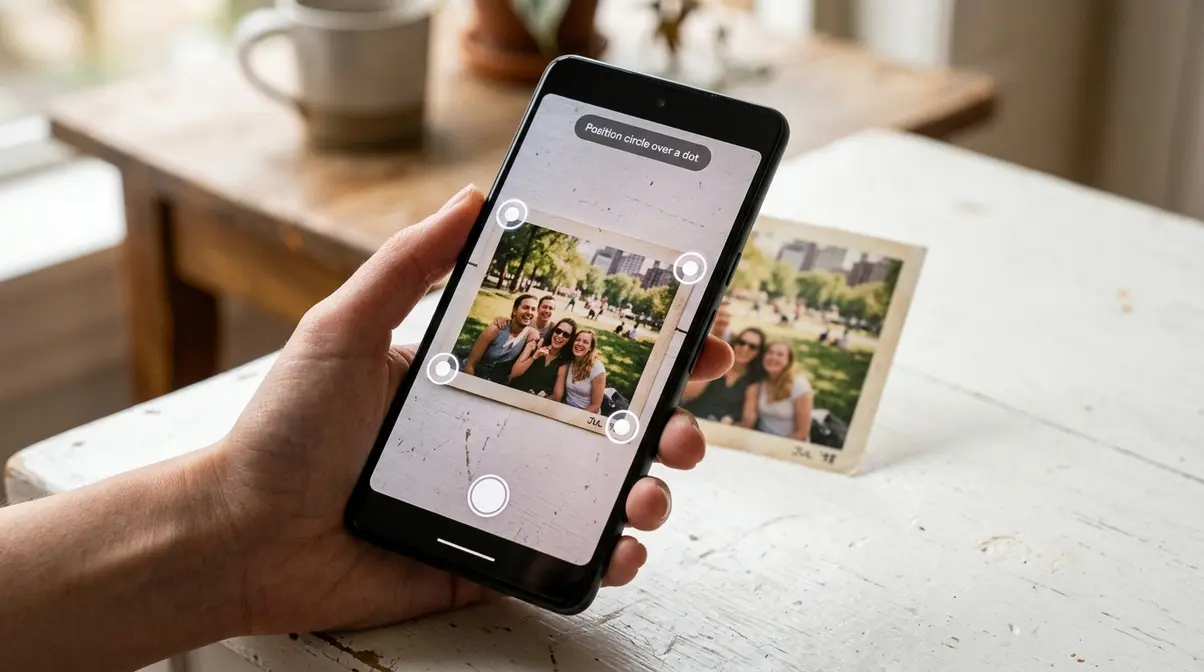
- Center the print in the viewfinder and tap the shutter button. The app will display four white dots around the image.
- Move your phone slowly over each dot until it fills in. PhotoScan captures four overlapping shots and automatically stitches them together, removing glare in the process.
- Review and save the finished scan to your camera roll. The result is a clean, flat, glare-free digital copy of your print — ready to post.
For best results, scan in a room with consistent, diffused lighting. Avoid casting your own shadow over the print while moving the phone between dots.
Scanning Negatives at Home
Scanning your film negatives at home produces higher-quality results than scanning prints, but requires a few extra tools. You’ll need:
- A light source — a tablet displaying a white screen or a dedicated light pad (available for ~$15–25 on Amazon)
- A scanning app — FilmBox (iOS) and Negative Lab Pro (desktop) are popular choices among film photographers
- A steady hand or small tripod to hold your phone directly above the negative
The basic process: lay the negative on the light source, open your scanning app, and photograph it. The app inverts the colors from negative to positive and adjusts the tones. Results vary by app, but FilmBox is consistently praised in photography communities for its accurate color inversion on C-41 film.
When to Use a Flatbed Scanner
A flatbed scanner with a film scanning attachment — like the Epson Perfection V39 (~$80) — produces the best home scan quality. However, for most first-timers who just want to post their photos, the cost and setup time rarely justify the upgrade over a free phone app.
The flatbed scanner makes sense if you plan to scan multiple rolls regularly, want to make large prints, or are serious about archiving your negatives at high resolution. For a one-off roll of vacation photos, Google PhotoScan or FilmBox will serve you well.
Method 3: Digital Alternatives
Not everyone needs actual film. If what you love is the look of disposable camera photos — the grain, the slight overexposure, the warm tones — there are modern tools that deliver that aesthetic instantly. If you want disposable camera pictures on phone screens without the wait, skipping physical film altogether is the most efficient route.
Digital Disposable Cameras
Several point-and-shoot digital cameras are designed specifically to replicate the disposable camera experience. The Kodak FZ55 (~$60–80) and similar compact cameras produce that slightly unpredictable, imperfect aesthetic that film lovers enjoy. These cameras often feature a harsh, direct flash and fixed-focus lenses that perfectly mimic the 1990s party-cam aesthetic.
The major advantage here is the workflow. Instead of dropping off a physical roll, these cameras save images to a standard SD card. You can transfer them directly to your phone via a cheap SD-to-Lightning or USB-C card reader in seconds. For social media users who love the “look like film” aesthetic but want instant results, these cameras are a practical middle ground. You get the physical act of shooting with a simple camera, without the development wait or the cost per roll.
Apps for the Film Look
Several apps replicate the disposable camera look directly on your smartphone, offering an even cheaper alternative to buying dedicated hardware:
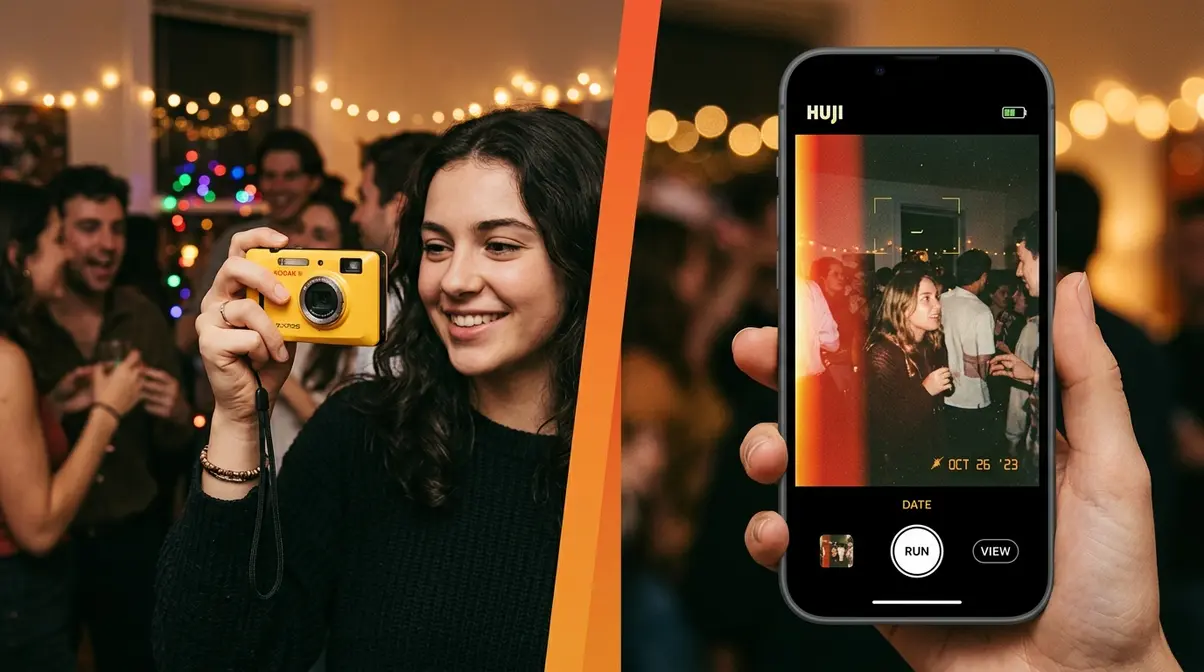
- Huji Cam (free, iOS/Android) — simulates a disposable camera with date stamps, light leaks, and grain. One of the most popular “film look” apps on Instagram.
- Dazz Cam (freemium, iOS) — offers highly accurate emulations of specific vintage cameras, including the classic Kodak and Fujifilm disposable color profiles.
- Dispo (free, iOS) — creates a social experience around the disposable concept: photos “develop” the next morning, mimicking the wait of real film.
- VSCO (freemium) — offers film-inspired filters (A4, C1, Kodachrome presets) that transform digital photos into convincing film-aesthetic images.
By relying on digital alternatives, you eliminate the recurring $15–20 development cost per roll — so you can shoot unlimited photos without worrying about your budget. These apps won’t give you actual film photos, but they’re ideal if you want the aesthetic for social media without the cost or timeline of real film development.
Common Mistakes and Warnings
Even with a clear process, first-timers make predictable errors. Across photography forums and Reddit communities, the consistent feedback from new film shooters points to the same handful of problems.
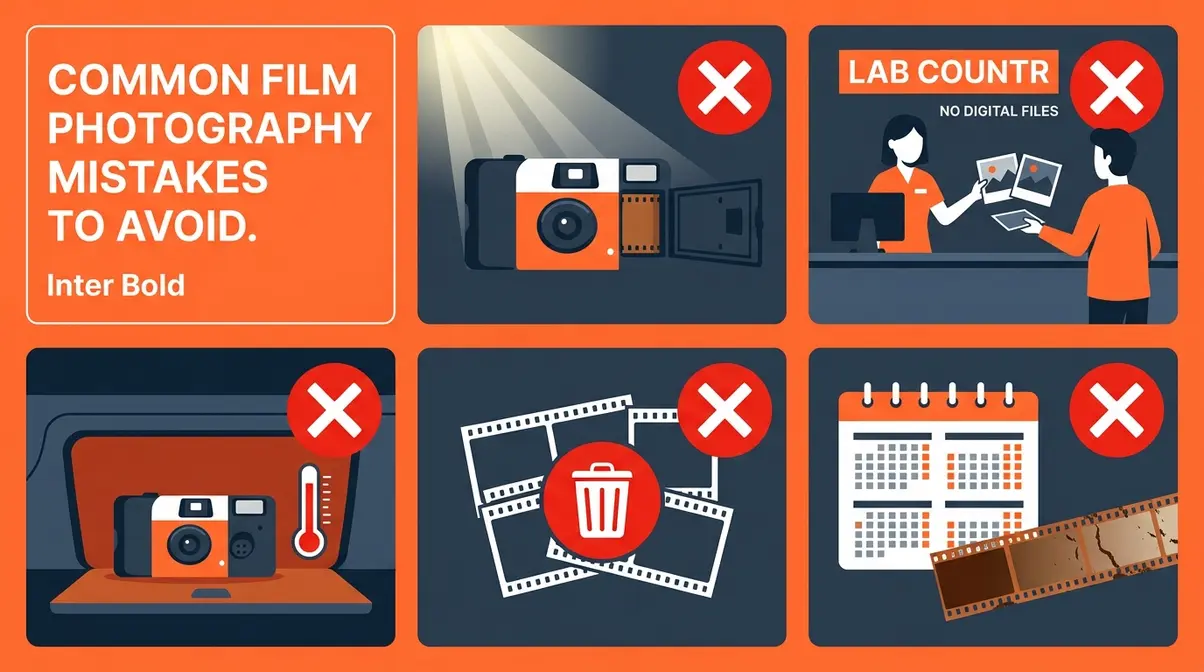
5 Film Development Mistakes
- Opening the camera before development. Never open a disposable camera’s body. Even a brief exposure to light destroys the film. Hand the entire camera — sealed — to the lab.
- Forgetting to request digital scans. Many labs default to prints only. Always say the words: “I’d like digital scans, please.” Without this, you’ll receive prints but no downloadable files.
- Leaving the camera in a hot car. Heat degrades film rapidly. Store your shot camera in a cool, dry place — not in a glove compartment or bag left in the sun — until you can drop it off.
- Assuming all labs return negatives. As covered above, CVS, Walgreens, and Walmart destroy negatives after processing. If you want them back, choose The Darkroom before you drop off — not after.
- Waiting too long to develop. Developed or undeveloped, film degrades over time. Aim to drop off your camera within 3–6 months of finishing the roll for the best possible image quality.
When to Use a Mail-In Lab
Choose a mail-in lab like The Darkroom when:
- You want your negatives returned. No drugstore chain offers this.
- You want scans delivered directly to your phone. The Darkroom’s web gallery link skips the CD-to-computer step entirely.
- You care about scan quality. Mail-in labs use professional-grade scanners; drugstore quality varies by location and machine.
Stick with an in-store lab when convenience is your top priority, you don’t care about archiving the negatives, and you’re comfortable with a longer turnaround (especially at CVS, which averages 3–4 weeks).
Frequently Asked Questions
Can I get disposable camera photos onto my phone?
Yes, you can get disposable camera photos onto your phone — but you must develop the film first. Disposable cameras store images as chemical reactions on physical film, not as digital data. Once developed by a lab or mail-in service, the photos can be digitized and downloaded to your phone as standard image files.
How do I get pics off a disposable camera?
Getting pics off a disposable camera requires three steps: develop the film, digitize it, and download the files. Drop your camera off at a lab (CVS, Walgreens, or Walmart) or mail it to a service like The Darkroom. Request digital scans. Once the lab processes your roll, you’ll receive a download link, CD, or web gallery — save those files to your phone’s camera roll and you’re done.
Does Walgreens still develop throwaway cameras?
Yes, Walgreens Photo film development still accepts disposable (throwaway) cameras as of 2026. Their film processing page lists a turnaround of approximately 3–5 business days, with a free CD included. Like CVS and Walmart, Walgreens does not return original negatives. Call your local store first to confirm availability, as not all locations offer in-store processing.
Can I bring my disposable camera to CVS?
Yes, you can bring your disposable camera to CVS — look for the photo counter or kiosk in the pharmacy section. Hand the sealed camera to a staff member and ask specifically for digital scans. CVS accepts most standard disposable cameras, including Fujifilm QuickSnap and Kodak FunSaver models.
Your Photos Are Closer Than You Think
For first-time film shooters, getting disposable camera pictures on your phone feels mysterious — right up until it doesn’t. The Film-to-Phone Pipeline makes it simple: every method follows the same three stages (Develop → Digitize → Download), and now you know exactly which path fits your timeline and budget. Mail a camera to The Darkroom for the fastest, highest-quality results with negatives returned. Drop off at a local drugstore for convenience. Or scan your prints at home for free using Google PhotoScan. The photos from that roll are waiting — they just need the right process to reach your phone.
The Film-to-Phone Pipeline isn’t just a mental model — it’s your roadmap. Once you understand the three stages, you’ll never feel lost with a roll of film again. Whether you’re shooting a Fujifilm QuickSnap at a friend’s birthday or a Kodak FunSaver on a weekend trip, the path from camera to camera roll is always the same.
Ready to start? Mail your camera to The Darkroom today, or head to your nearest Walgreens Photo counter. Give yourself a week, and those photos will be on your phone and ready to post.
