

In This Guide: Mastering Post-Processing Photography
This blog post may contain affiliate links. As an Amazon Associate I earn from qualifying purchases.
How to Master Post Processing Photography: A Beginner’s Blueprint That Actually Works
Post processing photography unlocks the true potential of your images. The right editing touches can elevate your photos from good to exceptional, regardless of your current skill level.
Think of post-processing as your digital darkroom – it’s everything that happens after you transfer your RAW files to your computer. Professional and amateur photographers alike rely on these essential techniques daily, with Adobe Creative Cloud standing as a trusted companion in this creative journey.
This practical guide walks you through the art of photo editing, from basic adjustments to advanced techniques. You’ll discover proven methods that enhance your images, backed by real-world experience and practical applications. The techniques shared here work consistently across different photography styles and situations.

Essential Post Processing Tools for Beginners
The right tools make your photo editing journey smoother and more enjoyable. Let’s explore the equipment and software you’ll need to bring your creative vision to life.
Popular editing software options
Adobe Lightroom shines as the go-to choice for beginners, offering an intuitive way to store, organize, and edit your photos. Your computer’s built-in options – Apple Photos, Google Photos, and Microsoft Photos – provide capable editing features to start your journey.
Software Comparison Table:
| Type | Benefits | Best For |
|---|---|---|
| Adobe Suite | Professional tools, regular updates | Serious photographers |
| Free OS Tools | Basic editing, no cost | Casual users |
| Standalone Apps | One-time purchase, specific features | Budget-conscious |
Basic hardware requirements
Your editing software needs these essentials to run smoothly:
- Minimum 16GB RAM (32GB recommended for panorama editing)
- SSD storage for faster performance
- Multi-core processor (Intel or AMD)
- GPU with DirectX 12 support and minimum 1.5GB VRAM
Free vs paid tools comparison
Free editors like GIMP offer solid basics, while paid options unlock additional creative possibilities. Adobe’s Photography Plan bundles Lightroom and Photoshop at £9.98 monthly. Online alternatives like Photopea mirror many Photoshop features without cost, though premium AI features cost USD 5.00 monthly.
Pro Tip: Start your editing journey with your computer’s free photo editor. Master the basics before investing in professional software.
Recommended Hardware:
- Samsung 970 EVO Plus SSD 1TB – Fast storage for smooth editing
- Crucial 32GB RAM Kit – Ideal for handling large photo files
- NVIDIA RTX 3060 – Excellent GPU for photo editing tasks
Getting Started with Basic Adjustments
Basic adjustments are your first steps toward photo editing mastery. These fundamental techniques will help you develop confidence while enhancing your images.
Understanding exposure settings
The exposure triangle brings together three powerful elements: ISO, aperture, and shutter speed. Your ISO choice flows from the available light – stick to ISO 100 on sunny days and gradually increase up to ISO 1600 when light dims. Your aperture settings control focus depth – remember, smaller f-numbers create that beautiful background blur photographers love.
Dos
Check histogram for clipping
Maintain detail in shadows
Use tripod for slow speeds
Don’ts
Overexpose highlights
Push ISO too high
Ignore ambient light
Color correction fundamentals
Start your color journey with white balance – it’s your key to natural-looking colors. Fine-tune your image’s vibrancy and saturation to bring out rich colors while keeping them true to life. The white balance tool makes this easy – simply click neutral areas for quick corrections.
Recommended Color Correction Tools:
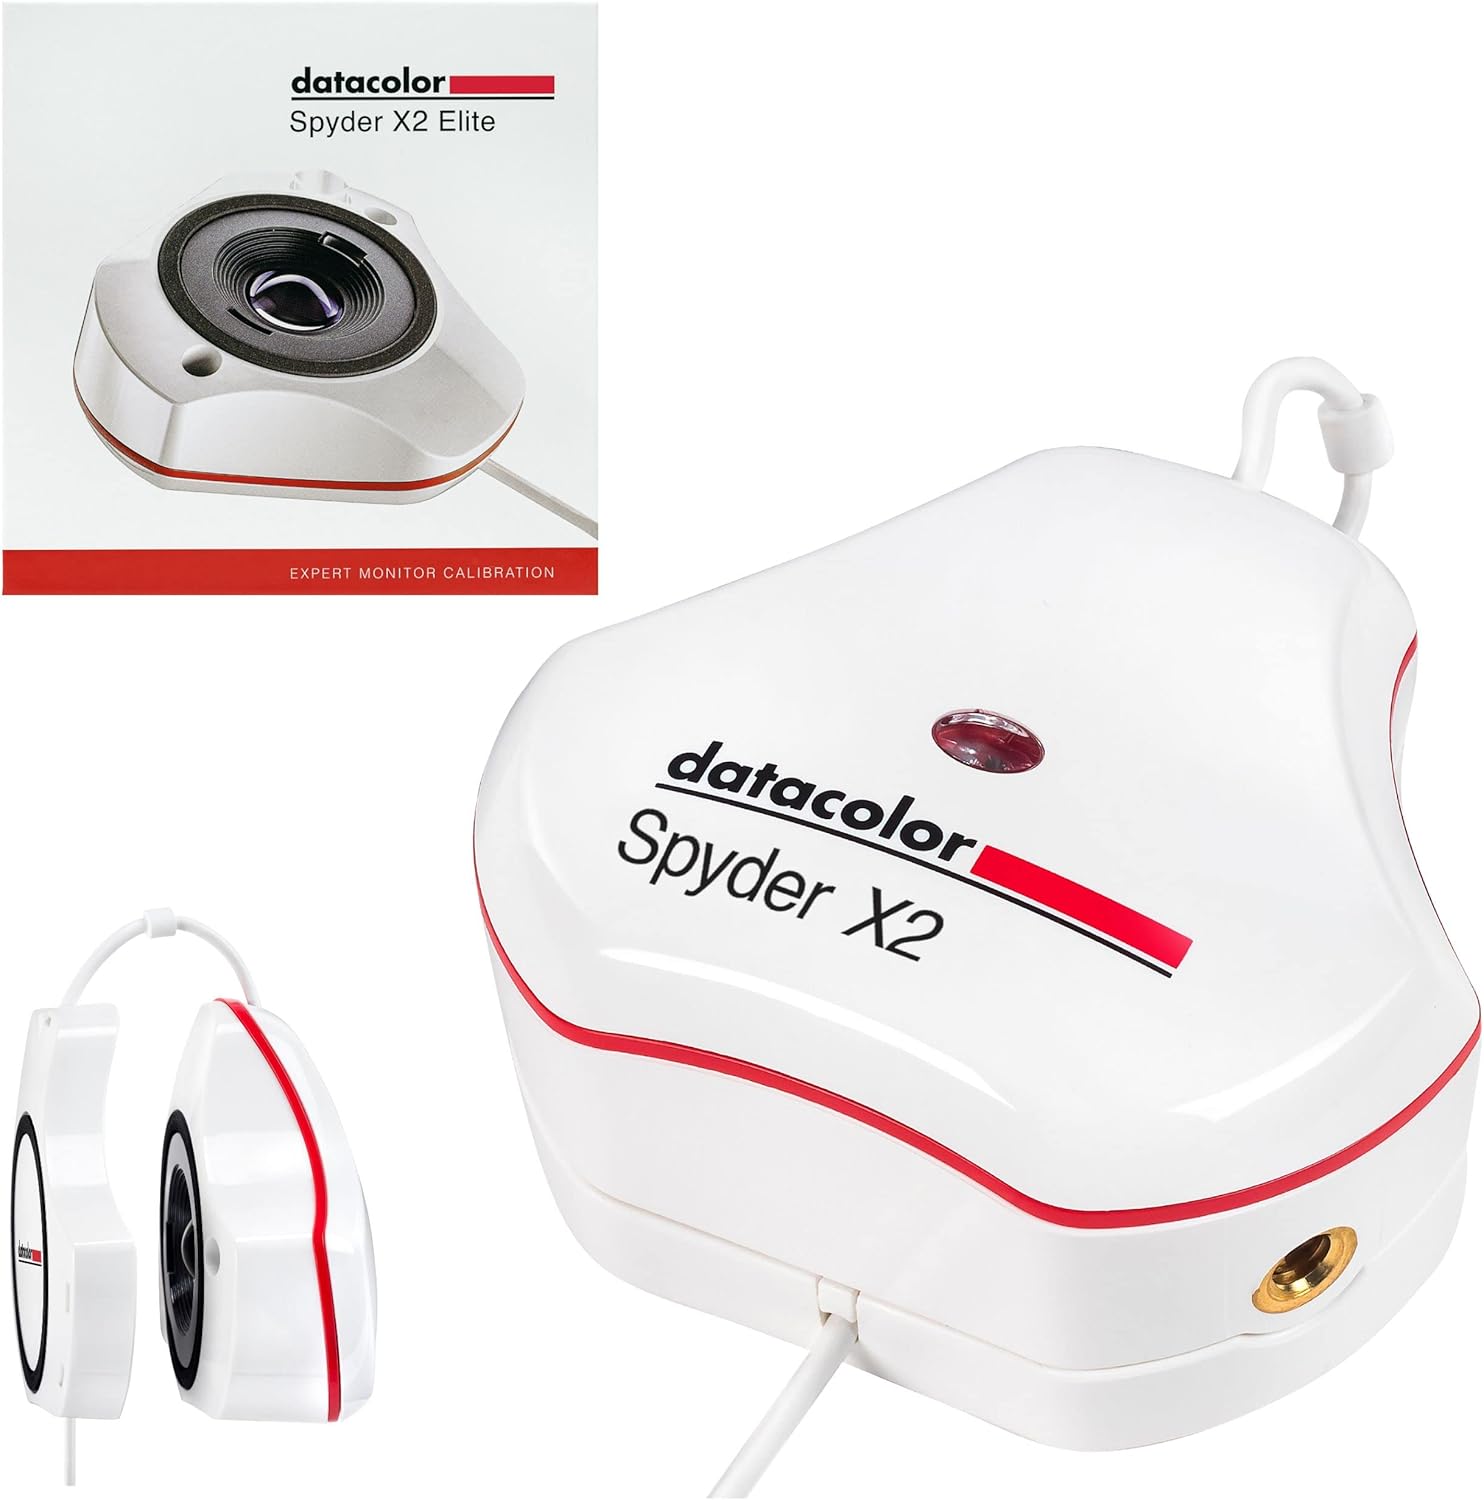 Datacolor Spyder X2 Elite – Monitor Color Calibrator for Photographic, Video and Digital Design Work. Datacolor Spyder X2 Elite – Monitor Color Calibrator for Photographic, Video and Digital Design Work. |  X-Rite ColorChecker Classic (MSCCC) X-Rite ColorChecker Classic (MSCCC) |  Datacolor SpyderCube – 3D Advanced Calibration Tool and Profiling Solution for Accurate Color Matching and Consistency Datacolor SpyderCube – 3D Advanced Calibration Tool and Profiling Solution for Accurate Color Matching and Consistency | |
|---|---|---|---|
| Buy Now | Buy Now | Buy Now | |
| Price | $264.90 | $258.99 | $53.69 |
| Customer Reviews | |||
| Brand | datacolor | X-Rite | Datacolor |
Simple cropping techniques
Smart cropping breathes new life into your compositions and removes unwanted distractions. The rule of thirds guides you to place your subject off-center, creating more dynamic images. Match your crop ratio to your end goal – 4:6 works beautifully for prints, while 1:1 shines on social media.
Pro Tip: Protect your original image by unchecking “Delete Cropped Pixels” in your editing software. You’ll thank yourself later when trying different crops.
Mastering Color and Light
Color and light shape the mood and impact of your photographs. These elements hold the power to turn good photos into remarkable ones.
White balance adjustments
White balance brings truth to your colors through temperature adjustments, measured in Kelvin (K). Your daylight photos typically sit around 5000-5500K, while shaded scenes move up to 7000-7500K.
Dos
Use RAW format for flexibility
Check neutral areas
Update settings with changing light
Don’ts
Rely solely on auto settings
Over-correct warm tones
Mix different light sources
Working with contrast
Contrast paints the relationship between light and dark areas in your image. The sweet spot lies in maintaining rich details while adding depth and clarity to your photos.
Managing highlights and shadows
Dynamic range tells the story between your brightest highlights and darkest shadows. Remember this golden rule: proper exposure during shooting gives you more editing flexibility later. Gentle highlight reduction saves detail in bright areas, while shadow adjustments reveal hidden gems in darker spots.
Your mastery of these elements grows with each edit you make. Start small, experiment often, and watch your confidence bloom alongside your editing skills.
Advanced Editing Techniques
Ready to push your editing skills further? These advanced techniques give you precise control over your creative vision.
Local adjustment tools
Local adjustments let you paint your creative vision onto specific areas of your photo, leaving the rest untouched. The Adjustment Brush becomes your digital paintbrush, perfect for fine-tuning exposure, clarity, and brightness in selected spots. Your skies will thank you for the Graduated Filter tool – it adds drama and depth through smooth, gradual adjustments.
Dos
Use soft brush edges
Work in small increments
Check mask visibility
Don’ts
Over-apply effects
Ignore mask overlays
Rush through selections
Creating presets
Presets become your editing shortcuts, saving precious time and ensuring consistency. Here’s your path to preset mastery:
- Apply desired adjustments to an image
- Click the plus icon next to Presets panel
- Select settings to include
- Name and save the preset
Batch processing workflow
Batch processing becomes your secret weapon for editing multiple photos quickly. This technique shines when:
- Photos share similar lighting conditions
- Images come from the same shooting session
- Your series needs a consistent style
Your workflow gains speed when you apply presets during import, keeping your editing style consistent across related images.
Final Thoughts – Post Processing Photography
Your photo editing journey mirrors the development of a photograph – it takes time, patience, and care to reach its full potential. The fundamentals serve as your foundation, much like proper exposure forms the base of a great image. Adobe Lightroom and quality hardware smooth your path, but remember – many successful photographers started with simple, free tools.
Photo editing skills bloom like a garden – first master exposure adjustments, then watch as your understanding of color and white balance grows naturally. These building blocks lead you toward sophisticated techniques when you’re ready. Take your time with each step; rushing toward advanced methods often leads to frustration.
Every photographer you admire once sat where you sit now, wondering how to begin. Start small, play with different tools, and watch your creativity flourish. Your unique editing voice will emerge through practice, just as every photographer develops their distinctive shooting style. Trust in your creative journey – you’re already on your way to creating images that speak your vision.