

Table of Contents
- Quick Summary
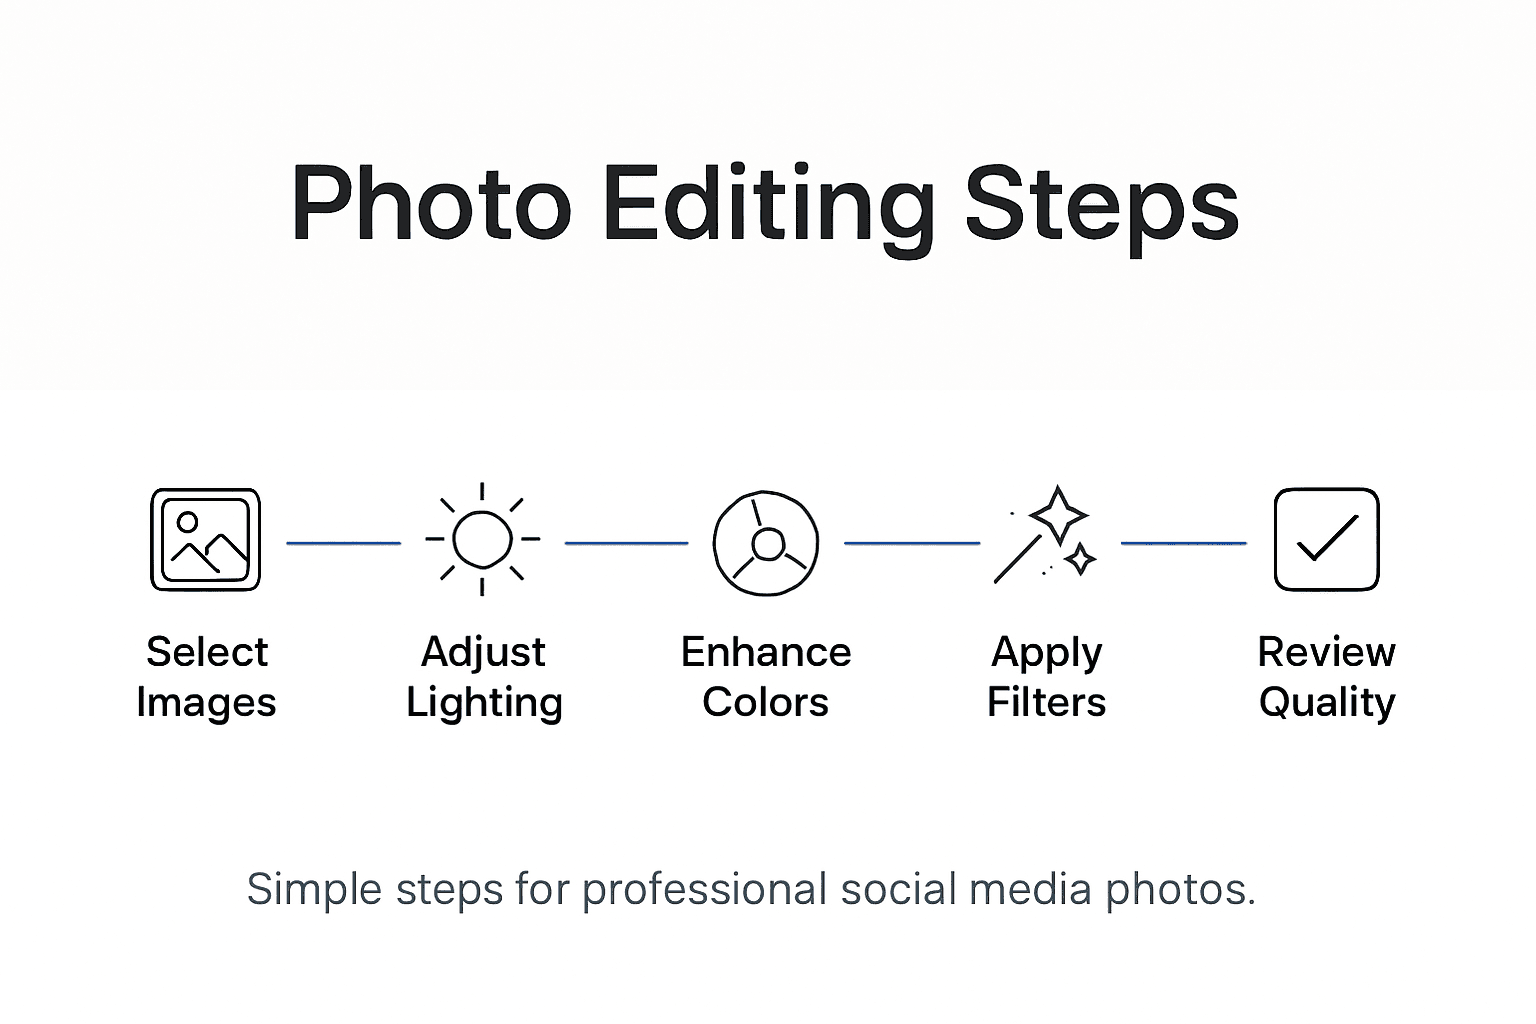
- Step 1: Select and Prepare Your Best Images
- Step 2: Adjust Lighting and Exposure for Clarity
- Step 3: Enhance Colors for Social Media Impact
- Step 4: Apply Filters and Creative Effects
- Step 5: Resize and Export for Each Platform
- Step 6: Review Edits for Consistent Quality
- Take Your Photo Editing Skills to the Next Level Today
- Frequently Asked Questions
- Recommended
This blog post may contain affiliate links. As an Amazon Associate I earn from qualifying purchases.
Over 80 percent of American social media users say visually appealing photos inspire more engagement. If you ever scroll through Instagram or Facebook wondering how others make their feeds stand out, you are not alone. For amateur photographers worldwide, mastering the art to edit photos for social media is the difference between fading into the background and making a lasting impression. This guide breaks down practical editing steps so your images look polished and grab real attention.
Quick Summary
| Key Insight | Explanation |
|---|---|
| 1. Select Strong Images | Choose photos with good composition, lighting, and emotional impact to enhance overall quality. |
| 2. Master Lighting and Exposure | Adjust exposure settings to create balanced lighting that highlights important details. |
| 3. Enhance Color Dynamics | Use tools to subtly adjust saturation and vibrancy for a more engaging visual presentation. |
| 4. Apply Filters Thoughtfully | Use filters that complement your images without overpowering their natural characteristics. |
| 5. Review for Consistency | Evaluate edits carefully to maintain a cohesive style and professional quality across your portfolio. |


Step 1: Select and Prepare Your Best Images
Selecting and preparing the right images is the foundation of creating stunning social media photography. Your goal is to identify the most compelling photos from your collection and get them ready for professional editing. This initial step determines the quality and impact of your final visual content.
Start by culling your photographs systematically. Review your images and immediately eliminate shots that are blurry, poorly composed, or technically flawed. Look for photos with strong composition, good lighting, and clear subjects. Pay attention to details like sharpness, color balance, and emotional resonance. Focus on images that tell a story or evoke a specific feeling.
Once you have your initial selection, organize your chosen images into a dedicated folder. Ensure you always work with copies of your original files, keeping the raw images untouched. This practice protects your original photographs and allows you to experiment freely during the editing process. Convert your images to high-quality file formats like JPEG or TIFF that maintain color depth and support advanced editing techniques.
Here’s a quick comparison of common image file types for social media editing:
| File Type | Color Depth | Best Use Case | Supports Transparency |
|---|---|---|---|
| JPEG | 24-bit | Social media sharing | No |
| TIFF | Up to 48-bit | High-quality editing | No |
| PNG | 24-bit | Graphics with transparency | Yes |
| RAW | 12-16 bit | Editing and adjustments | No |
Pro tip: Always keep your original raw files stored in a separate backup location to protect against potential editing mistakes or accidental file corruption.
Step 2: Adjust Lighting and Exposure for Clarity
Mastering lighting and exposure is critical for creating social media images that grab attention and look professionally polished. Your goal in this step is to transform average photos into visually striking images by understanding and manipulating key photographic elements.

Start by exploring exposure fundamentals in photography. Exposure controls how light or dark your image appears and is determined by three primary settings: aperture, shutter speed, and ISO. Adjust these settings carefully to prevent underexposure (too dark) or overexposure (too bright). For social media images, aim for balanced lighting that highlights your subject without losing important details in shadows or highlights.
When editing, use your photo editing software’s histogram and exposure sliders to fine-tune brightness and contrast. Make subtle adjustments to bring out textures, enhance color depth, and create a balanced look. Pay special attention to recovering details in darker areas and preventing blown-out highlights in bright regions. Experiment with exposure compensation to add depth and dimension to your images, ensuring they look natural and visually appealing.
Pro tip: Always shoot in RAW format when possible, as these files provide significantly more flexibility for exposure adjustments during post-processing.
Step 3: Enhance Colors for Social Media Impact
Color enhancement is the secret weapon that transforms ordinary photos into scroll-stopping social media content. Your mission is to make your images pop with vibrant, authentic colors that capture attention and communicate your visual story effectively.
Begin by understanding your image’s color dynamics. Use color correction techniques to adjust white balance, ensuring your colors appear natural and true to life. Experiment with saturation and vibrancy sliders carefully. Too much saturation can make images look artificial, while subtle increases can breathe life into dull photographs. Focus on enhancing colors that draw the viewer’s eye to your main subject.
Master selective color adjustments in your editing software. This technique allows you to modify specific color ranges independently, giving you precise control over your image’s emotional tone. Adjust individual color channels to create mood compelling visuals that resonate with your audience. Pay attention to skin tones, landscape colors, and overall color harmony to create images that look professional and engaging.
Pro tip: Create a consistent color palette across your social media feed by developing a personalized preset or filter that subtly enhances your images while maintaining a unified visual style.
Step 4: Apply Filters and Creative Effects
Filters and creative effects are powerful tools that can transform your social media images from ordinary to extraordinary. Your goal is to add unique visual style while maintaining the authenticity and essence of your original photograph.
Explore the world of creative photography filters strategically. Start by understanding each filter’s impact on mood and visual storytelling. Some filters enhance color vibrancy, while others create vintage or cinematic looks. Experiment with different styles but avoid overdoing effects that might distract from your image’s core message. Focus on filters that complement your photo’s natural characteristics and align with your personal aesthetic.
Apply creative effects with intention and subtlety. Modern editing software offers a range of sophisticated tools that go beyond simple color overlays. Use gradient adjustments, texture overlays, and selective color modifications to create depth and visual interest. Pay attention to how each effect interacts with your image’s composition, ensuring the final result looks professional and intentional rather than randomly manipulated.
Pro tip: Create a signature editing style by developing a consistent set of filter combinations that work across different types of images, helping you build a recognizable visual brand on social media.
Step 5: Resize and Export for Each Platform
The final stage of photo editing for social media is preparing your images for optimal display across different platforms. Your mission is to ensure your carefully crafted images look stunning no matter where they are shared.
Understand the specific image requirements for each social media platform. Different networks have unique dimension preferences for photo sizing that can dramatically impact image quality. Instagram prefers square or vertical rectangles, while Facebook works best with wider landscape orientations. Use your editing software’s crop and resize tools to adjust images precisely. Maintain your image’s aspect ratio to prevent distortion and preserve the visual integrity of your composition.
Pay close attention to file format and compression. Export high-quality JPEG files for most platforms, using moderate compression to balance image quality and file size. For images with transparency or complex graphics, consider PNG format. Always save a high-resolution master copy of your edited image, which allows you to create multiple versions for different platforms without losing original detail.
Below you’ll find optimal image sizes for popular social media platforms:
| Platform | Preferred Dimensions | Orientation |
|---|---|---|
| 1080×1080 pixels | Square | |
| 1200×630 pixels | Landscape | |
| Twitter / X | 1200×675 pixels | Landscape |
| 1000×1500 pixels | Vertical |
Pro tip: Create a custom export preset in your editing software for each social media platform to streamline your workflow and ensure consistent image quality across all your posts.
Step 6: Review Edits for Consistent Quality
The final checkpoint in your photo editing process is a meticulous review that ensures your images meet professional standards. Your objective is to critically examine each edited photo to guarantee visual consistency and high quality across your entire social media portfolio.
Carefully assess your editing techniques by examining images at 100% zoom. Look for subtle details like noise levels, sharpness, color accuracy, and overall balance. Compare your edited versions side by side with the original to verify that your adjustments enhance rather than degrade the image quality. Pay special attention to skin tones, shadow details, and highlight preservation to maintain a natural and authentic look.
Develop a consistent editing style that reflects your personal brand. This means establishing a uniform approach to color grading, exposure, and creative effects across different images. Create a series of preset filters or editing templates that you can apply with minor adjustments, ensuring your social media feed looks cohesive and professionally curated. Remember that subtle consistency is key professional photographers use to create a recognizable visual signature.
Pro tip: Create a personal editing checklist with specific quality criteria to quickly and objectively evaluate each image before posting, helping you maintain high standards across all your social media content.
Take Your Photo Editing Skills to the Next Level Today
Editing photos for social media like a pro requires mastering challenges such as selecting the right images, adjusting exposure, enhancing colors, and applying creative effects that truly capture attention. If you want to overcome the frustration of inconsistent edits or confusing terminology like “selective color adjustments” and “exposure compensation” here is where you can find real solutions. Imagine confidently creating scroll-stopping visuals that reflect your unique style and make your social media feed stand out.

Start transforming your photography journey by exploring detailed tutorials, expert advice, and practical tips on Amateur Photographer Guide. From mastering photo preparation to perfecting final exports for every platform explore invaluable resources that simplify complex concepts and empower you to create stunning images. Don’t wait to develop a consistent editing style that elevates your social presence. Visit Amateur Photographer Guide now and unlock your full editing potential.
Frequently Asked Questions
How do I select the best images for social media editing?
To select the best images, start by systematically reviewing your collection and eliminating any that are blurry or poorly composed. Aim for photos with strong composition, good lighting, and emotional resonance; organize your final choices into a dedicated folder for easy access.
What are the key steps to adjust lighting and exposure in photo editing?
Adjusting lighting and exposure involves balancing your image’s brightness using settings like aperture, shutter speed, and ISO. Focus on using histogram tools in your editing software to fine-tune exposure for clarity and contrast, ensuring that important details are visible without being overexposed or underexposed.
How can I enhance colors effectively for social media?
Enhance colors by adjusting white balance and applying subtle changes to saturation and vibrancy. Focus on ensuring colors look natural and true to life; you can also make selective color adjustments to draw attention to your main subject while maintaining overall harmony in the image.
What is the best way to apply filters and creative effects to my photos?
Apply filters and creative effects thoughtfully to enhance your photo’s mood without overpowering its message. Experiment with different styles using your editing software, but aim for subtleness to maintain your original photograph’s authenticity and visual appeal.
How do I resize and export my images for different social media platforms?
Resize and export images by understanding the specific dimension requirements for each social media platform. Use crop and resize tools to adjust images accurately, and export high-quality JPEG files while saving a high-resolution master copy for future edits.
What should I review to ensure consistent quality across my social media photos?
Review your edits at 100% zoom to check for noise levels, sharpness, and color accuracy. Develop a checklist of quality criteria for evaluating each image, ensuring that your final edits reflect a consistent style across your social media portfolio.
Recommended
- How to Edit Photos on Mac: A Comprehensive Guide for Amateur Photographers
- How to Edit Photos on iPhone/iPad: A Comprehensive Guide
- 7 Essential Editing Techniques for Beginners to Try Now
Last update on 2026-07-14 / Affiliate links / Images from Amazon Product Advertising API
