Table of Contents
- 1. <strong><strong>Familiarize yourself with the different parts of the camera</strong> </strong>
- 2. <strong><strong>Choose the right shooting mode for your situation</strong></strong>
- 3. <strong><strong>Adjust the settings on your camera to match the lighting conditions of your environment</strong></strong>
- 4. Use the viewfinder to compose your shot
- 5. <strong>Press the shutter button halfway down to focus the camera on your subject</strong>
- 6. Press the shutter button all the way down to take the photo
- 7. <strong><strong>Review your photos and make any necessary adjustments to your settings or composition</strong></strong>
- 8. Experiment with different settings and techniques to see how they affect your photos
This blog post may contain affiliate links. As an Amazon Associate I earn from qualifying purchases.
Digital Single Lens Reflex (DSLR) cameras are a popular choice among photographers because they offer a wide range of features and settings that allow users to capture high-quality photos. If you are new to using a DSLR camera, here is a step-by-step guide on how to get started…
1. Familiarize yourself with the different parts of the camera
Learn where the viewfinder, the lens, the flash, the shutter button, and the mode dial are. The viewfinder is the eyepiece that you look through to compose your shots. The lens is the part of the camera that captures light and focuses it onto the image sensor. The flash is a built-in light source that can be used to add more light to a scene. The shutter button is the button that you press to take a photo. The mode dial is a wheel or lever on the top of the camera that allows you to select different shooting modes.
2. Choose the right shooting mode for your situation
The mode dial on a DSLR camera typically has several different shooting modes to choose from, including automatic, semi-automatic, and manual modes. In automatic mode, the camera makes all the exposure decisions for you. In semi-automatic modes (such as aperture priority and shutter priority), you can control one setting while the camera adjusts the other. In manual mode, you have complete control over all the camera’s settings.
Which mode you choose depends on the type of photo you want to take and your level of experience. If you are just starting out, it may be easier to use one of the automatic or semi-automatic modes. As you become more familiar with the camera, you can experiment with manual mode to have more control over the final result.
3. Adjust the settings on your camera to match the lighting conditions of your environment
Three key settings that affect the exposure of a photo are ISO, aperture, and shutter speed. ISO measures the sensitivity of the camera’s image sensor to light. Aperture refers to the size of the camera’s aperture (the opening in the lens that allows light to pass through). Shutter speed refers to the length of time that the camera’s shutter stays open.
In general, a lower ISO, a wider aperture, and a slower shutter speed will result in a brighter photo. Conversely, a higher ISO, a narrower aperture, and a faster shutter speed will result in a darker photo. You can adjust these settings on your camera to get the right exposure for the scene you are photographing.
4. Use the viewfinder to compose your shot
Look through the viewfinder and use the focus points to choose what you want to be in focus. The focus points are the small squares or dots that you can see through the viewfinder. By placing a focus point over your subject, you can tell the camera where to focus.
5. Press the shutter button halfway down to focus the camera on your subject
Before you take a photo, it is important to focus the camera on your subject. To do this, press the shutter button halfway down. This will cause the camera to focus on whatever is in the centre of the frame.
6. Press the shutter button all the way down to take the photo
Once the camera has focused, you can press the shutter button all the way down to take the photo.
7. Review your photos and make any necessary adjustments to your settings or composition
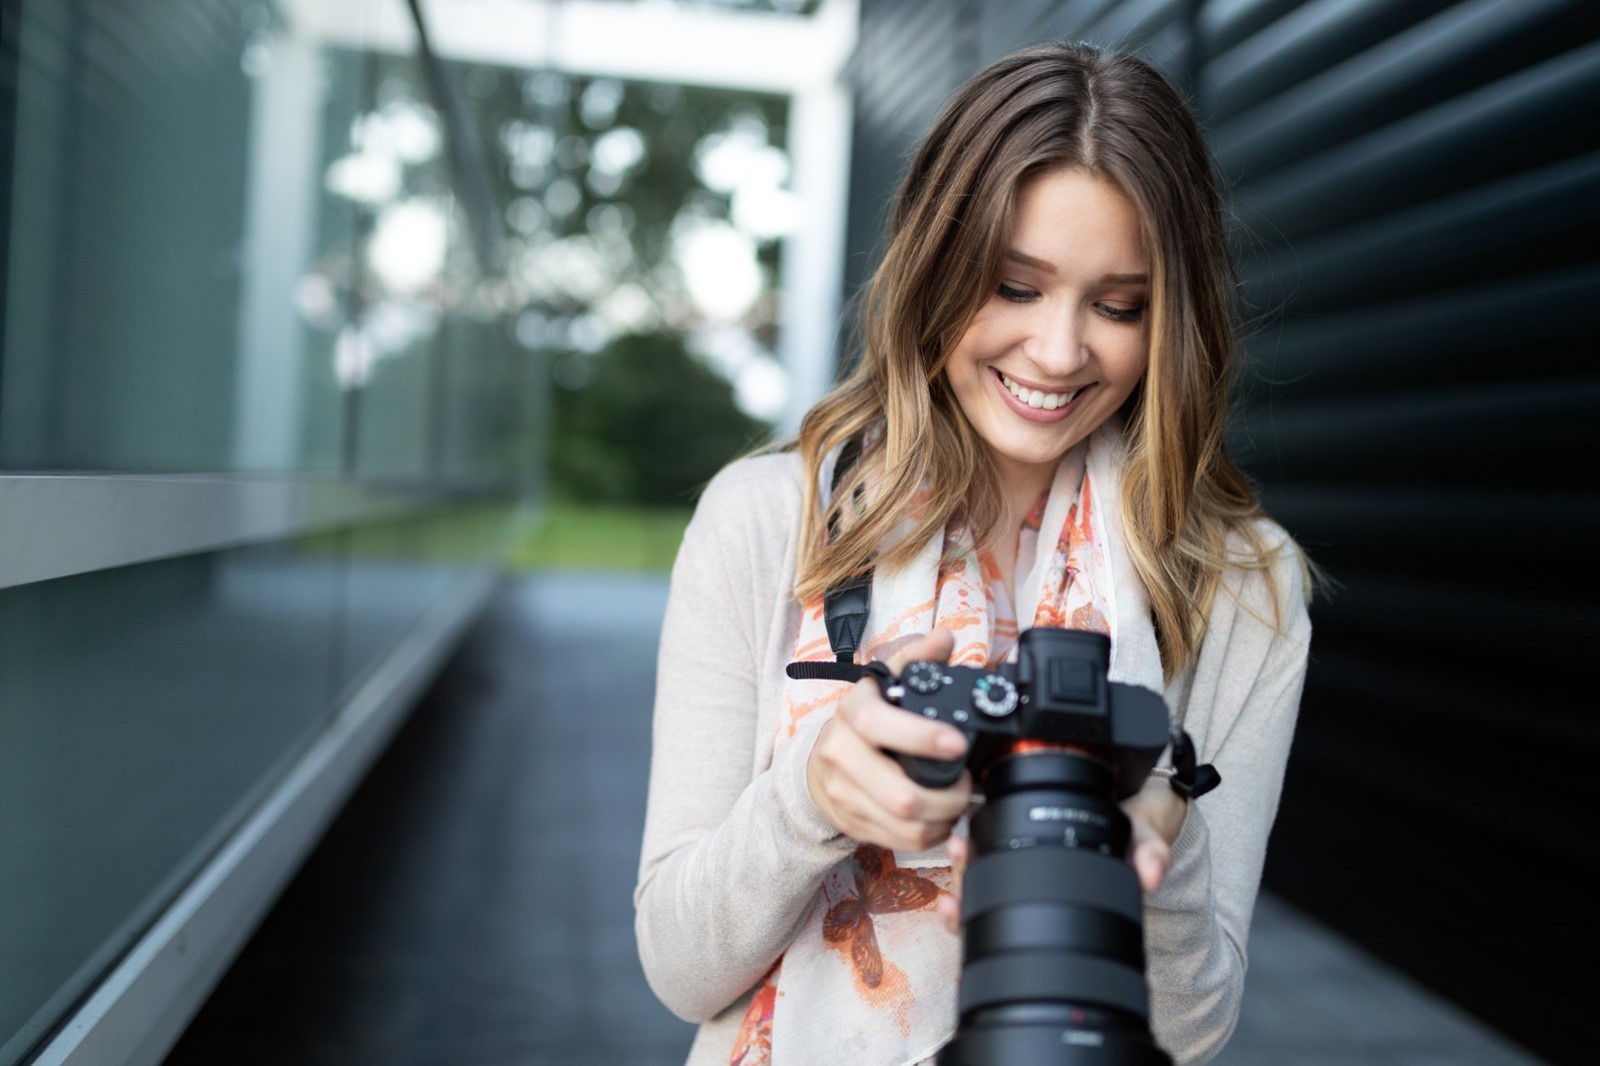
After you take a photo, it is a good idea to review it to see how it turned out. You can do this by looking at the LCD screen on the back of the camera or by transferring the photos to a computer and viewing them on a larger screen. As you review your photos, pay attention to things like exposure, focus, and composition. If you notice any problems, you can adjust your camera’s settings or try re-composing the shot to get a better result.
8. Experiment with different settings and techniques to see how they affect your photos
One of the best things about using a DSLR camera is that you have a lot of control over how your photos turn out. By experimenting with different settings and techniques, you can learn how to create the types of photos that you want. For example, you can try using a wide aperture (small f-number) to create a shallow depth of field (blurred background) or a slow shutter speed to capture movement. You can also experiment with different lens focal lengths, white balance settings, and more to see how they affect your photos.
Have Fun With Your DSLR Camera
In conclusion, using a DSLR camera requires some practice and experimentation, but with time and experience, you can learn how to take stunning photos. Don’t be afraid to experiment with different settings and techniques to see what works best for you. With a little bit of practice, you will be well on your way to becoming a skilled photographer.

