
Table of Contents
- Quick Summary
- Step 1: Choose and Set Up Macro Equipment
- Step 2: Compose and Light Your Macro Subject
- Step 3: Refine Focus and Adjust Camera Settings
- Step 4: Capture Sharp Macro Images
- Step 5: Evaluate and Enhance Your Results
- Elevate Your Macro Photography Skills with Expert Guidance
- Frequently Asked Questions
- Recommended
This blog post may contain affiliate links. As an Amazon Associate I earn from qualifying purchases.
Most amateur photographers are surprised to discover that over 60 percent of striking macro photography images rely on specialized equipment setup. Learning how to master close-up photography can turn everyday objects into fascinating visual stories. This guide gives clear steps on choosing gear, composing shots, and refining your technique so you can create close-up photos full of detail and impact.
Quick Summary
| Key Insight | Explanation |
|---|---|
| 1. Use Specialized Macro Lenses | Macro lenses ensure exceptional sharpness and detail in close-up photography, essential for capturing tiny subjects. |
| 2. Employ Proper Lighting Techniques | Controlled and diffused lighting minimizes shadows and highlights intricate textures in macro subjects. |
| 3. Focus on Stability and Camera Settings | Use a tripod and proper aperture settings to prevent motion blur and enhance depth of field in your images. |
| 4. Evaluate and Refine Your Images | Post-processing is crucial for enhancing details, correcting colors, and improving overall image quality post-capture. |
| 5. Experiment with Different Accessories | Testing various macro accessories helps determine the best setup for flexibility and visual impact in your shots. |


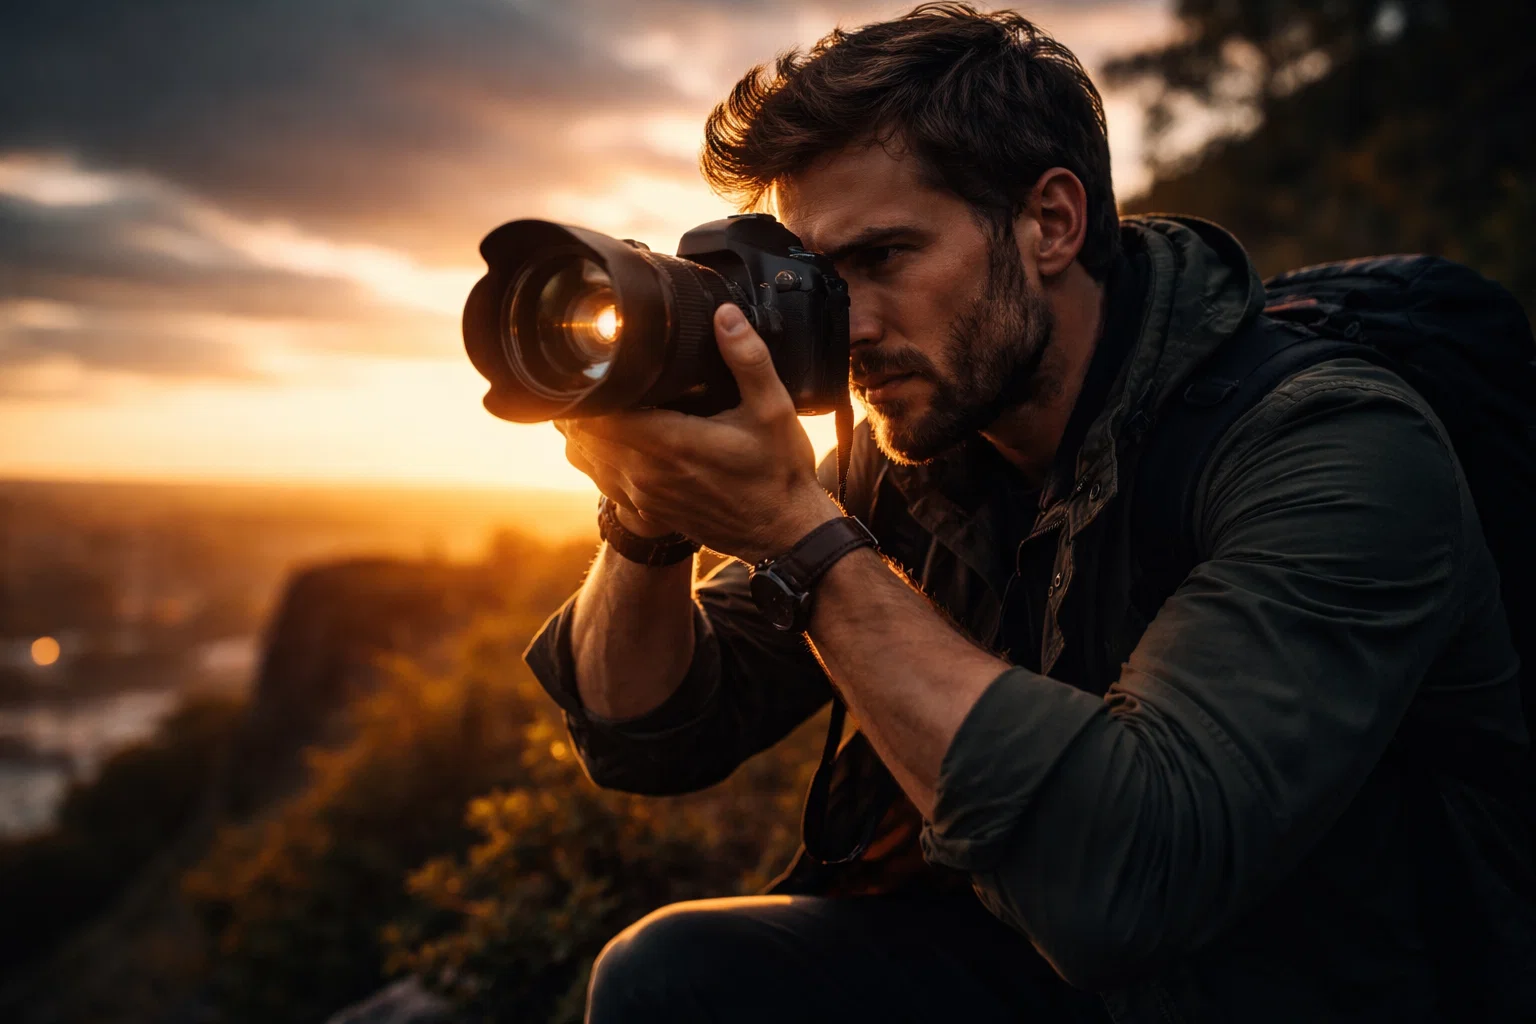
Step 1: Choose and Set Up Macro Equipment
Choosing the right equipment is fundamental to capturing stunning macro photography results. Your gear selection will determine the quality and precision of the close-up images you create, transforming tiny subjects into extraordinary visual narratives.
At the core of macro photography, you need a specialized macro lens designed to focus extremely close to subjects while maintaining exceptional sharpness. While dedicated macro lenses can help improve macro techniques, photographers also have alternative options like extension tubes and close-up filters. These accessories can convert standard lenses into macro-capable equipment, providing flexibility for those starting out or working within budget constraints.
Stabilization becomes critical when shooting macro images. Even slight camera movements can blur microscopic details, so invest in a sturdy tripod with adjustable positioning and consider using a remote shutter release or camera timer to minimize vibration. Lighting is another crucial consideration selective ring lights or small diffusers can help illuminate intricate subjects evenly without casting harsh shadows.
Pro tip: Experiment with different macro accessories and settings before an important shoot to understand how each piece of equipment performs and interacts with your specific camera system.
Here is a comparison of common macro photography lens and accessory options:
| Equipment Type | Key Benefit | Typical Cost |
|---|---|---|
| Dedicated Macro Lens | Highest image sharpness | $300-$1,000 |
| Extension Tubes | Increases magnification affordably | $30-$150 |
| Close-up Filters | Easy to use, budget-friendly | $15-$80 |
| Reversal Rings | Extreme magnification, low cost | $10-$40 |
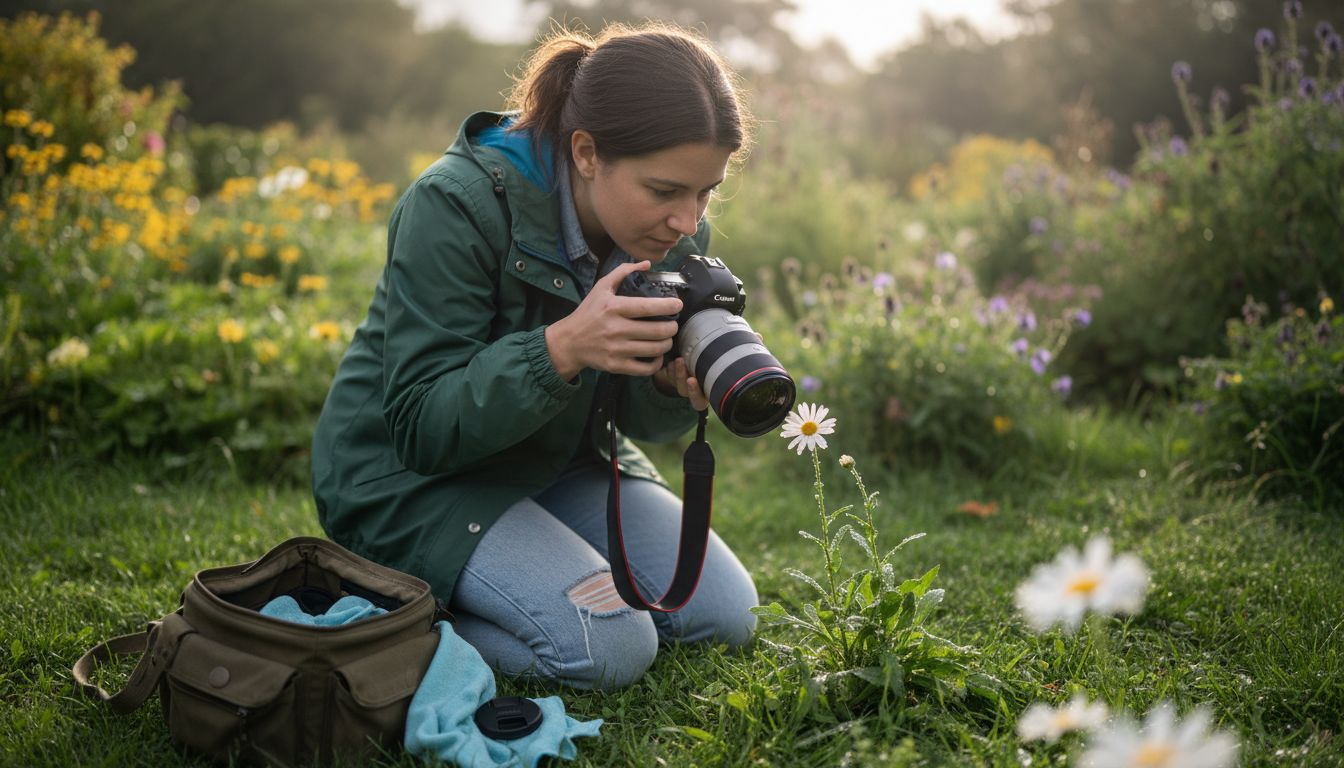
Step 2: Compose and Light Your Macro Subject
Capturing breathtaking macro photographs requires mastering two critical elements: composition and lighting. Your goal is to transform tiny subjects into visually compelling images that reveal intricate details and textures often invisible to the naked eye.
Composition in macro photography is about creating visual impact through strategic framing and positioning. Understanding photographic composition techniques helps you maximize the subject’s presence within the frame and isolate it from potentially distracting backgrounds. Experiment with different angles and perspectives to highlight unique textures and shapes. Position your camera to create depth by ensuring your primary subject remains sharply focused while gently blurring background elements.
Lighting plays an equally crucial role in macro photography. Natural light works wonderfully, but controlled artificial sources can provide consistent illumination. Consider using soft diffused light sources to minimize harsh shadows and reveal intricate surface details. The placement and intensity of your light source can dramatically transform your image quality by controlling contrast and highlighting subtle textures. Ring lights and small LED panels offer excellent controlled lighting options for macro subjects.
Pro tip: Practice the inverse square law by moving your light source closer or further from your subject to understand how light intensity and quality change dramatically with tiny distance adjustments.
Step 3: Refine Focus and Adjust Camera Settings
Macro photography demands precision in both focus and camera configuration to capture extraordinary close up images. Your technical settings will determine the clarity, depth, and overall quality of your microscopic visual exploration.

Focus becomes critically important in macro photography due to the extremely narrow depth of field. Understanding how autofocus works can help you navigate challenging close up scenarios, but manual focus often provides superior control. Switch to manual focus and use your camera’s focus peaking or magnified live view features to ensure absolute sharpness. Adjust your aperture strategically smaller apertures like f8 or f11 can increase depth of field and keep more of your subject in crisp focus.
Camera settings require careful balancing to compensate for low light and limited depth of field in macro photography. Consider using a tripod to stabilize your camera and prevent motion blur during longer exposures. Experiment with ISO settings finding the lowest possible value that maintains image quality and prevents excessive digital noise. Shutter speed becomes crucial shoot slower than 1/125th of a second will likely introduce motion blur unless you are using advanced stabilization techniques.
Pro tip: Use focus stacking techniques by taking multiple images at slightly different focus points and combining them in post processing to achieve maximum sharpness across your entire macro subject.
Step 4: Capture Sharp Macro Images
Capturing razor sharp macro images requires a combination of technical precision and strategic shooting techniques. Your goal is to transform microscopic subjects into crystal clear visual masterpieces that reveal intricate details with stunning clarity.
Stability becomes the cornerstone of macro image sharpness. Understanding focus stacking techniques can elevate your image quality significantly. Use a sturdy tripod and minimize camera movement by employing a remote shutter release or camera timer. Consider mirror lock up features on DSLRs to reduce internal vibrations that could compromise image sharpness. Select an optimal aperture between f8 and f11 to balance depth of field and overall image clarity.
Lighting and technique play equally crucial roles in achieving sharp macro photographs. Control your environment by using soft diffused light sources that minimize harsh shadows and reveal subtle textures. Keep your ISO as low as possible typically between 100 and 400 to reduce digital noise. When shooting subjects with complex surfaces or multiple focal planes, consider taking multiple shots at slightly different focus points and combining them in post processing to maximize overall sharpness.
Pro tip: Always review your images at 100% magnification immediately after shooting to confirm absolute sharpness and make real time adjustments to your technique.
Below is a summary of essential camera settings for sharp macro shots:
| Setting | Recommended Value | Why It Matters |
|---|---|---|
| Aperture | f/8 to f/11 | Balances depth and sharpness |
| ISO | 100 to 400 | Minimizes digital noise |
| Shutter Speed | 1/125s or faster (with handholding) | Prevents motion blur |
| Focus Mode | Manual focus | Ensures critical sharpness |
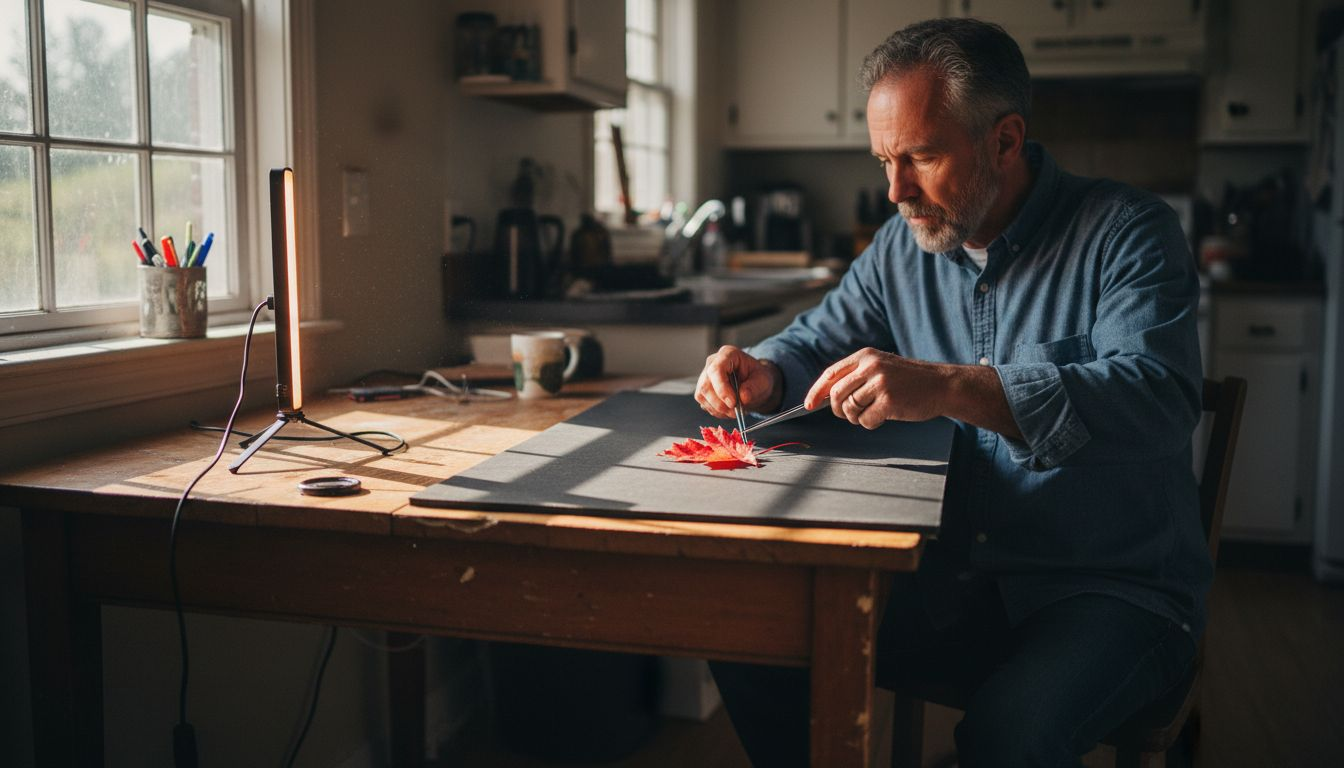
Step 5: Evaluate and Enhance Your Results
Macro photography is an art of refinement where your initial capture represents just the beginning of creating a truly remarkable image. The post processing stage allows you to transform good photographs into extraordinary visual narratives that reveal microscopic worlds with stunning precision.
Critical image evaluation starts with a meticulous review of your macro photographs at full resolution. Image enhancement techniques can dramatically improve visual quality by adjusting key parameters like brightness, contrast, and sharpness. Zoom into your images at 100% magnification to assess critical details such as edge clarity, texture definition, and potential noise artifacts. Pay close attention to color accuracy and ensure that your post processing maintains the natural essence of your original subject.
Software tools provide powerful options for refining macro images. Use selective adjustments to enhance specific areas without compromising overall image integrity. Techniques like targeted sharpening can reveal intricate surface details while noise reduction algorithms help clean up digital artifacts introduced during high ISO shooting. Consider creating multiple versions of your image with subtle variations in processing to understand how minor adjustments can dramatically transform visual impact.
Pro tip: Develop a consistent post processing workflow and create preset configurations that can be quickly applied across similar macro photography subjects to streamline your editing process.
Elevate Your Macro Photography Skills with Expert Guidance
Mastering macro photography means overcoming challenges like precision focusing, effective lighting, and selecting the right equipment to capture those stunning close-up details. If you have ever struggled with achieving razor-sharp images or struggled to understand complex terms like aperture settings and focus stacking this article is your first step toward unlocking the secrets of incredible macro shots. Boldly step beyond frustrating trial and error and embrace practical solutions that will transform your photographic journey.
Discover proven techniques and gear insights designed specifically for amateur photographers eager to advance their skills at Amateur Photographer Guide. From understanding how to compose striking macro subjects to refining your camera settings for crisp clarity, our easy-to-follow tutorials and expert advice empower you to create breathtaking images now. Challenge yourself to explore new creative possibilities and take confident action today by visiting Master the Macro Photography Process for Stunning Close-Ups and start building your portfolio with stunning close-ups that truly stand out.
Frequently Asked Questions
What equipment do I need to start with macro photography?
To start with macro photography, you need a specialized macro lens or accessories like extension tubes and close-up filters. Invest in a sturdy tripod and a remote shutter release for better stability, which will help you capture sharp images.
How can I improve the composition of my macro images?
Improving composition in macro photography involves experimenting with angles and perspectives to highlight the subject’s textures and shapes. Focus on isolating the subject from distracting backgrounds, ensuring that your main point of interest is sharp while the background is gently blurred.
What camera settings should I use for sharp macro shots?
For sharp macro shots, set your aperture between f/8 and f/11 to achieve good depth of field. Use low ISO settings, typically between 100 and 400, to minimize noise, and ensure your shutter speed is faster than 1/125th of a second to prevent motion blur.
How do I evaluate and enhance my macro images during post-processing?
To evaluate and enhance your macro images, review them at full resolution, checking for sharpness and color accuracy. Apply selective adjustments to improve brightness and contrast, and use noise reduction techniques to clean up any unwanted artifacts from high ISO shooting.
What tips help ensure sharp focus on my macro subjects?
To ensure sharp focus on macro subjects, switch to manual focus and utilize your camera’s focus peaking or magnified live view features. Consider using focus stacking techniques by taking multiple images at slightly different focus points to achieve overall sharpness across the subject.
Recommended
- How To Get Better At Macro Photography
- 7 Creative Macro Photography Ideas for Amateur Photographers
- What Is Focus Stacking and Why It Matters
- Mastering Landscape Photography Workflow: Complete Step Guide
- 8 Travel Photography Essentials for Stunning Shots
Last update on 2026-04-21 / Affiliate links / Images from Amazon Product Advertising API
