

Table of Contents
This blog post may contain affiliate links. As an Amazon Associate I earn from qualifying purchases.
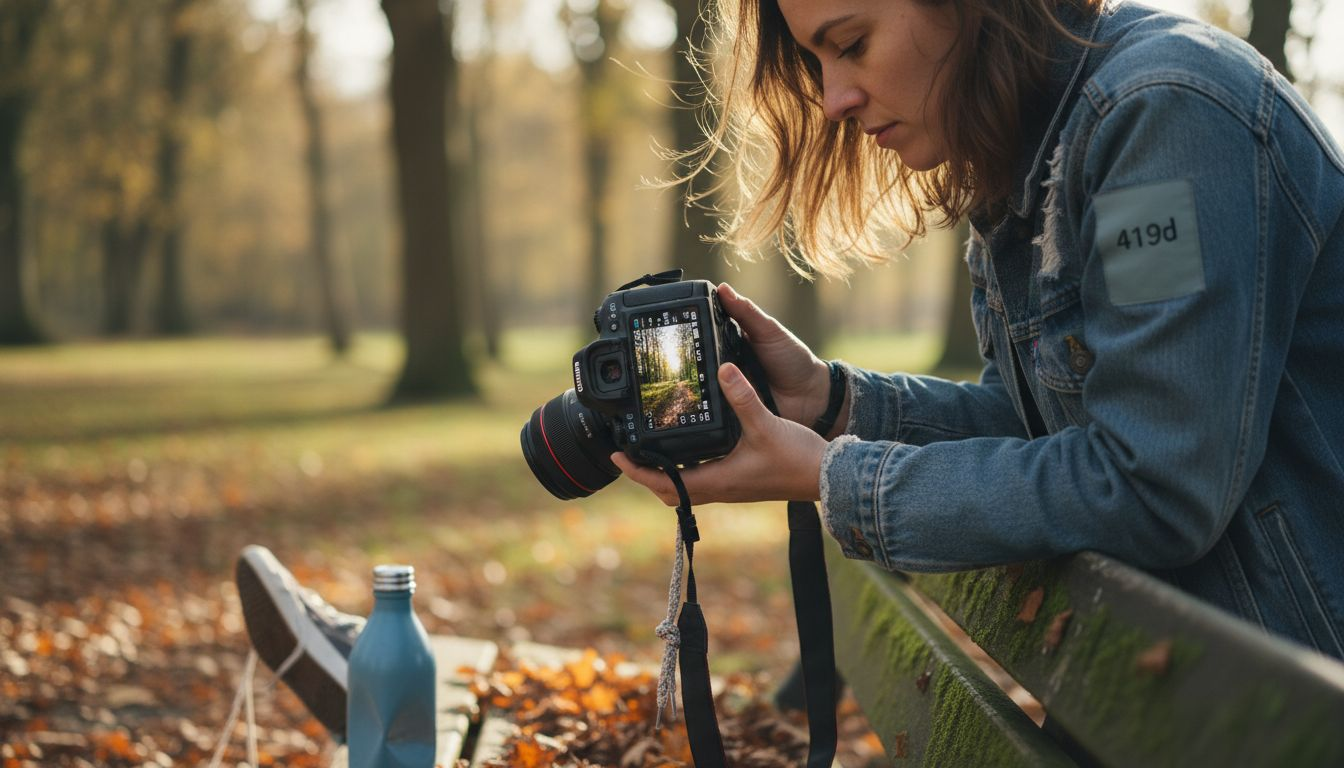
Missing subtle details in your images can be frustrating, especially when the lighting seems perfect but the results are disappointing. For many photographers, the secret to better exposure lies in mastering the histogram, a visual tool that instantly reveals the balance of light and shadow across a photograph. Understanding how a histogram plots pixel brightness from dark to light empowers you to make more accurate exposure adjustments and preserve crucial details, setting the stage for sharper, well-balanced photos every time.


Key Takeaways
| Point | Details |
|---|---|
| Understand Histogram Functionality | A histogram visualizes an image’s tonal distribution, helping to assess exposure objectively. Regular analysis can prevent critical detail loss in shadows and highlights. |
| Utilize Different Histogram Types | Luminance and color channel histograms offer distinct insights for exposure adjustments and identifying color imbalances. Employ them based on the specific needs of your shot. |
| Master Histogram Interpretation | Recognize patterns in histograms, such as peak positions indicating exposure states, to make informed adjustments. Practice reading histograms independently from images for better skill development. |
| Avoid Common Mistakes | Overreacting to histogram readings can lead to unnecessary exposure adjustments. Always cross-reference with actual images to maintain creative intent and visual quality. |
What Is a Histogram in Photography
A histogram represents a digital image’s tonal distribution, serving as a powerful visual graph that reveals the precise balance of light and shadow across your photograph. This graphical representation provides photographers with an instant, objective assessment of image exposure by plotting the number of pixels at each brightness level from pure black to pure white.
Typically displayed as a graphical chart with horizontal and vertical axes, the histogram maps pixel brightness values from left (darkest tones) to right (brightest tones). The vertical axis shows how many pixels exist at each specific brightness level. When most pixels cluster in the center, it suggests a balanced exposure. When pixels bunch toward the left, the image might be underexposed, while pixels concentrated on the right can indicate overexposure.
Photographers use histograms to make precise exposure adjustments and prevent losing critical image details. Unlike visual estimation, which can be subjective and affected by display conditions, the histogram provides a mathematically accurate representation of image tonality. Some digital cameras and editing software display three separate histograms for red, green, and blue color channels, allowing even more nuanced analysis of color distribution and potential color imbalances.
Pro tip: Always review your camera’s histogram immediately after capturing an image to ensure optimal exposure and prevent losing critical highlight or shadow details.
Types of Histograms and Their Uses
Photographers utilize different histogram types to analyze and optimize image exposure, each offering unique insights into the tonal and color characteristics of their photographs. The primary categories include luminance histograms, color channel histograms, and specialized exposure analysis tools that help photographers make precise adjustments to their images.
Luminance Histograms provide a comprehensive overview of an image’s overall brightness distribution. This standard histogram represents the total light intensity across the entire image, mapping pixel values from pure black (left side) to pure white (right side). When most pixels cluster in the center, it indicates a well-balanced exposure. Professional photographers often use dynamic range techniques to maximize the information captured in these luminance distributions.
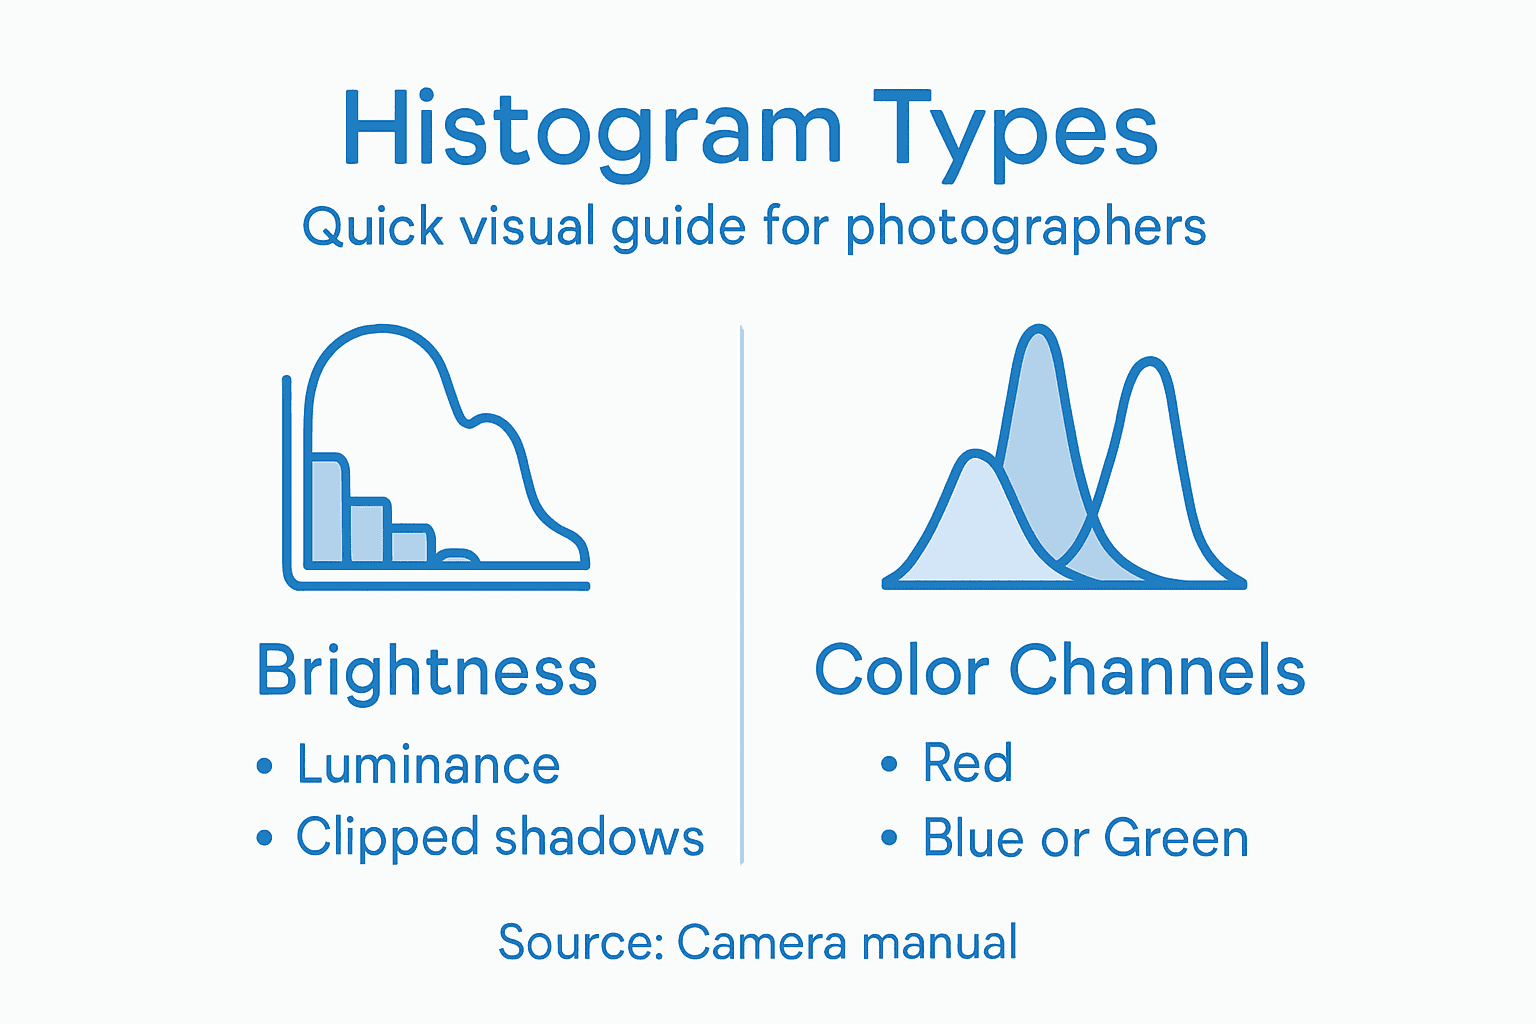
Color channel histograms offer a more granular analysis by displaying separate graphs for red, green, and blue color channels. These specialized histograms reveal subtle color imbalances that might not be apparent in a standard luminance view. Photographers can identify potential color shifts, overexposure in specific color ranges, or color temperature issues by examining these individual channel representations. This detailed analysis becomes particularly crucial when working with complex lighting conditions or challenging color environments.
Pro tip: Learn to read color channel histograms independently to catch subtle color imbalances that could compromise your image quality, especially in challenging lighting situations.
Here is a comparison of different histogram types and the main insights they provide for photographers:
| Histogram Type | What It Analyzes | Unique Insight | Best Use Case |
|---|---|---|---|
| Luminance | Overall brightness levels | Identifies global exposure balance | General exposure adjustment |
| Color Channel | Red, green, blue distribution | Reveals color casts and channel issues | Correcting color imbalance |
| Specialized Tools | Highlights, shadows, midtones | Pinpoints clipped or lost details | Complex lighting situations |
Understanding Histogram Readings and Patterns
Mastering histogram interpretation requires understanding the subtle language of pixel distribution across different tonal ranges. Each histogram tells a unique story about image exposure, revealing critical information about light, shadow, and potential photographic challenges that might otherwise go unnoticed.
The positioning and shape of histogram peaks provide profound insights into image exposure. When pixels cluster predominantly on the left side, it indicates heavy shadow regions or potential underexposure. A histogram concentrated in the center suggests well-balanced midtones, representing a technically sound exposure. Conversely, peaks heavily weighted toward the right side signal potential overexposure, where highlight details might be lost in bright areas. High Dynamic Range techniques can help photographers manage these challenging exposure scenarios more effectively.
Photographers should recognize different histogram patterns that signal specific photographic conditions. A symmetrical histogram with a gentle bell curve typically represents a well-exposed image with smooth tonal transitions. Sharp peaks at histogram edges warn of potential image quality issues like clipping, where image details disappear in pure black or pure white regions. Multiple small peaks scattered across the histogram might indicate complex lighting scenarios or images with diverse texture and detail.
Pro tip: Practice reading histograms without looking at the actual image to train your eye in recognizing exposure patterns and potential photographic challenges.
Below is a summary interpreting common histogram patterns and what they suggest about your photograph:
| Histogram Pattern | Likely Exposure State | Visual Clue | Recommended Action |
|---|---|---|---|
| Peaks on left edge | Underexposed | Loss of shadow detail | Increase exposure |
| Peaks in the middle | Well balanced | Smooth midtone transitions | Maintain current settings |
| Peaks on right edge | Overexposed | Loss of highlight detail | Reduce exposure |
| Sharp edge peaks | Clipping present | Detail lost at tonal extremes | Adjust exposure or bracket |
| Multiple scattered peaks | Complex scene | High detail or varied textures | Use HDR or careful editing |
Preventing Exposure Errors With Histograms
Preventing exposure errors is fundamental to producing high-quality photographs, and histograms serve as powerful diagnostic tools for identifying and correcting potential image quality issues before they become irreversible. By understanding how to read and respond to histogram data, photographers can make precise adjustments that preserve critical image details across various lighting conditions.
One of the most critical strategies for preventing exposure errors involves recognizing and avoiding histogram clipping. When histogram data touches either the far left or far right edge, it indicates lost image information in shadow or highlight areas. Photographers can use dynamic range techniques to mitigate these challenges, typically by adjusting exposure settings to create a more balanced distribution. Exposure compensation, a technique that allows slight manual adjustments to the camera’s suggested exposure, becomes particularly useful when histogram analysis reveals potential tonal range problems.
Additional preventive approaches include using bracketing techniques and understanding the nuanced relationship between camera settings and histogram readings. By capturing multiple exposures at different settings and comparing their histograms, photographers can select the most optimal image or create high dynamic range (HDR) composites. Modern cameras often include built-in histogram warnings or highlight alert features that provide real-time visual feedback, allowing photographers to make immediate corrections and protect image quality.
Pro tip: Always take a test shot, review the histogram, and make incremental exposure adjustments before committing to your final composition.
Common Histogram Mistakes to Avoid
Understanding histogram pitfalls is crucial for photographers seeking to leverage this powerful exposure tool effectively. Many well-intentioned photographers inadvertently misinterpret histogram data, leading to unnecessary exposure adjustments that can compromise image quality and creative vision.
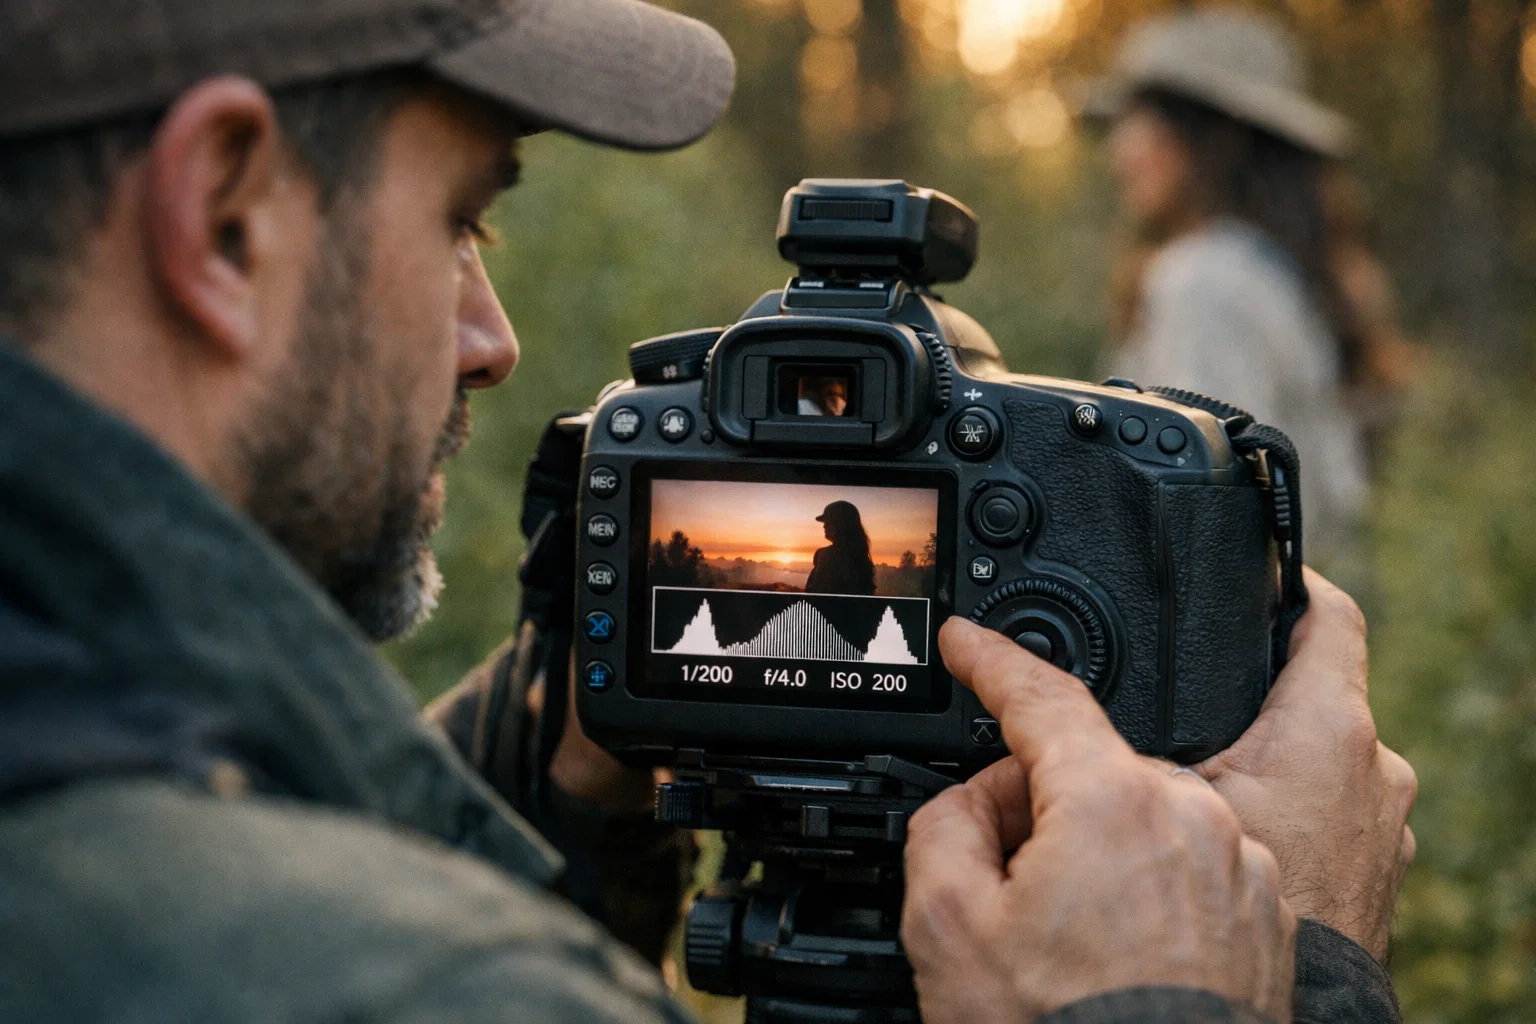
One of the most significant mistakes is overreacting to histogram readings. Photographers often make drastic exposure compensation based on a single histogram view, forgetting that not all scenes require perfect center-weighted distribution. High Dynamic Range techniques can help manage complex lighting scenarios where traditional histogram interpretation might suggest incorrect exposure. For instance, high-contrast scenes like sunset landscapes naturally produce histograms with peaks at both ends, which doesn’t necessarily indicate a poor exposure.
Another critical error involves misunderstanding histogram context. Photographers frequently treat histograms as absolute indicators of image quality, overlooking the importance of artistic intent and creative composition. A histogram showing apparent clipping might actually represent a deliberate photographic choice, such as silhouette photography or intentional high-key imagery. Professional photographers understand that technical perfection doesn’t always align with creative expression. Color channel histograms can be particularly misleading when interpreted in isolation, as they may not accurately represent the overall visual impact of an image.
Pro tip: Always cross-reference your histogram analysis with the actual image preview, remembering that technical precision should complement rather than replace creative vision.
Master Exposure Control with Confidence Using Histograms
Are you struggling to get perfect exposure in your photos? Understanding histogram readings is crucial for preventing underexposure and overexposure while preserving image details in both shadows and highlights. This article highlights common exposure challenges and shows how utilizing terms like “clipping” and “color channel histograms” can help you analyze and improve your images technically and creatively.
Take your photography skills to the next level by exploring expert tips, practical tutorials, and in-depth guides available at Amateur Photographer Guide. Learn how to interpret luminance and color channel histograms better, and discover smart techniques such as dynamic range optimization and HDR photography. Don’t let exposure mistakes hold back your creativity anymore. Visit our site now and start mastering exposure control with confidence.
Frequently Asked Questions
What is a histogram in photography?
A histogram is a graphical representation of a digital image’s tonal distribution, showing the balance of light and shadow and providing an objective assessment of exposure.
How can I read a histogram effectively?
To read a histogram, analyze the positioning and shape of the pixel distribution. Peaks on the left indicate underexposure, peaks on the right suggest overexposure, and a balanced center generally indicates a well-exposed image.
Why is it important to check the histogram after taking a photo?
Checking the histogram after capturing an image allows you to ensure optimal exposure, preventing loss of critical details in highlights or shadows before you move on to the next shot.
What are common mistakes when interpreting histograms?
Common mistakes include overreacting to histogram readings, misunderstanding the context of the histogram concerning artistic intent, and relying solely on color channel histograms without considering the overall image quality.
Recommended
- What Is Exposure in Photography? Complete Guide
- Exposure Bracketing: Unlock Perfectly Lit Photos Every Time
- Exposure Compensation. What Is It And How Can You Use It To Take Better Photos?
Last update on 2026-03-31 / Affiliate links / Images from Amazon Product Advertising API
