
Table of Contents
- Key Takeaways
- High dynamic range in photography explained
- Common HDR types and key differences
- How HDR works in modern cameras
- Practical steps for HDR photo shooting
- Editing HDR images for natural results
- Mistakes to avoid with HDR processing
- Master HDR Photography with Expert Guidance from Amateur Photographer Guide
- Frequently Asked Questions
- Recommended
This blog post may contain affiliate links. As an Amazon Associate I earn from qualifying purchases.
Most amateur photographers discover that HDR photography can dramatically improve image quality, especially in scenes with challenging lighting. American hobbyists and photographers from every continent are exploring HDR techniques to capture details lost in shadows or bright highlights. With the ability to merge several exposures into one striking image, HDR photography offers new creative possibilities and the chance to produce photos that look much closer to what the human eye sees. The following guide reveals simple tips and proven methods for mastering HDR, even if you are just starting out.
Key Takeaways
| Point | Details |
|---|---|
| Understanding HDR | High Dynamic Range photography merges multiple exposures to capture detail across shadows and highlights, exceeding traditional sensor limits. |
| Techniques Varied | Different HDR methods include multi-exposure bracketing, computational HDR processing, and single-shot sensor technologies, each suited for specific scenarios. |
| Editing Caution | Effective HDR editing requires subtle tone mapping to avoid unnatural results and preserve the scene’s authenticity. |
| Avoid Common Pitfalls | Key mistakes in HDR processing include excessive tone mapping and misalignment; using a tripod and subtle adjustments can enhance image quality. |

- Improved Dual Pixel CMOS AF and eye detection AF 24.1 Megapixel CMOS (APS-C) sensor with is 100–6400 (H: 12800)
- Built-in Wi-Fi and NFC technology working temperature range: 32-104°F/0-40°C
- 9-Point AF system and AI Servo AF
- Optical Viewfinder with approx 95% viewing coverage
- Use the EOS Utility Webcam Beta Software (Mac and Windows) to turn your compatible Canon camera into a high-quality webcam

- 24.1 Megapixel CMOS (APS-C) sensor with is 100–6400 (H: 12800)
- Built-in Wi-Fi and NFC technology
- 9-Point AF system and AI Servo AF
- Optical Viewfinder with approx 95% viewing coverage
- Use the EOS Utility Webcam Beta Software (Mac and Windows) to turn your compatible Canon camera into a high-quality webcam. Compatible Lenses- Canon EF Lenses (including EF-S lenses, excluding EF-M lenses)

- 【2026 8K UHD 88MP Autofocus Camera】2026 upgraded digital camera captures up to 88MP high-resolution photos and records 8K videos with fine detail. The 16x zoom lens makes it easy to switch between broad landscapes and close-up subjects, keeping your travel and daily shots sharp and vivid. With quick autofocus, simply half-press the shutter to lock focus for clearer results
- 【Dual-Lens & Touchscreen Control】Equipped with both front and rear lenses, this cameras for photography makes it easy to switch between selfies, vlogs, and group shots. The built-in anti-shake and fast autofocus help deliver clearer images with less blur. A 3.2-inch HD touchscreen lets you frame your shots smoothly and operate the point and shoot digital camera with ease, perfect for beginners and everyday photography
- 【Wi-Fi Sharing & HDMI Output】Easily transfer photos and videos to your smartphone via built-in Wi-Fi for quick sharing on social media. Connect the 8k digital camera to a TV or monitor via HDMI for larger-screen viewing. It also works as a webcam for live streaming, video calls, or online meetings, making it versatile for both casual and creative use.
- 【Versatile Vlogging Camera with Flash】Designed with creators in mind, this camera features a hot shoe mount for external microphones or fill lights, ensuring clear audio and bright footage. The built-in flash enhances low-light shooting, while the included 64GB card and two rechargeable batteries keep you powered for hours of filming. (Note: minimum focus distance 10 cm; macro lens not included.)
- 【Gift-Ready Package】Measuring just 5 × 2.8 × 3.4 inches, this camera is built for travel and everyday use. The package includes: 1 × 8K Digital Camera, 2 × Batteries, 1 × 64GB TF Card, 1 × USB Cable, 1 × HDMI Cable, 1 × Charger, 1 × Lens Hood, 1 × Lens Cap, 1 × Camera Bag, 1 × Cleaning Cloth, 1 × Manual, 1 × Strap. Backed by 24/7 customer service, it makes an excellent christmas gifts, birthday gifts for women, anniversary gifts for men

- Canon EOS 2000D DSLRCamera Body – 24.1MP APS-C CMOS Sensor, DIGIC 4+ Image Processor, 3.0″ 920k-Dot LCD Monitor, Full HD 1080/30p Video Recording, 9-Point AF with Center Cross-Type Point, ISO 100-6400, Up to 3 fps Shooting, Built-In Wi-Fi with NFC, Scene Intelligent Auto Mode , Creative Filters and Creative Auto Modes
- Canon EF-S 18-55mm F/3.5-5.6 DC III Zoom Lens – EF-S-Mount Lens/APS-C Format, 28.8-88mm (35mm Equivalent) ,Aperture Range: f/3.5 to f/38 ,One Aspherical Element ,Super Spectra Coating ,Micro Motor AF System , Rounded 6-Blade Diaphragm
- 24.1MP APS-C CMOS sensor and DIGIC 4+ image processor, which combine to provide both speed throughout the camera system as well as notable image quality. Up to 3 fps shooting is possible to suit photographing moving subjects—for up to 150 consecutive JPEGs in a burst or up to 11 consecutive raw frames—and Full HD 1080p video at 30 fps can also be recorded. For working in a variety of lighting conditions, the sensitivity range of ISO 100-6400 can be further expanded to ISO 12800
- Shoot detailed images into the night with a large 24.1 Megapixel sensor, with up to 19x more surface area than many smartphones³, Take memorable, atmospheric pictures at night with large ISO sensitivity range of ISO 100-6400 (expandable to ISO 12,800) ,See the world through the optical viewfinder and experience the creative power of interchangeable lenses, Instantly review results on the user-friendly, 6.8 cm (2.7”) LCD screen
- Extending the capabilities of the camera, Canon’s EOS Webcam Utility software lets you turn your camera into a versatile webcam by just connecting it to a computer via USB. Compatible with a variety of streaming apps, including ZOOM, YouTube Live, Microsoft Teams, and more, this software also maintains the ability to record internally while livestreaming.

- 【See Farther with 16X Optical Zoom & 64MP Clarity】Capture every detail—whether it’s your child performing on stage, a bird perched in the distance, or the sunset across the water. The true 16X optical zoom lets you shoot crystal-clear close-ups without losing image quality. Combined with a 64MP high-resolution sensor, your photos stay vivid, sharp, and full of life. Finally, a digital camera for photography that brings distant moments right to your hands.
- 【8K UHD Video & 180° Flip Screen for Perfect Vlogs】Record stunning 8K UHD video with smooth, realistic color and motion. The 180° flip screen lets you frame yourself easily for YouTube videos, travel vlogs, or family moments. With advanced H.264/H.265 encoding, you get high-quality footage that’s easy to edit and share—ideal for creators who want pro results without bulky gear.
- 【Creative Shooting Modes for Every Moment】Explore your creativity with time-lapse, slow motion, and continuous shooting modes. Capture every blink, every laugh, every movement with precision. The external microphone delivers clear, natural sound for interviews or content creation. Two rechargeable batteries and a fast charger keep you shooting longer without worrying about running out of power.
- 【Easy Transfer, Live Streaming & HDMI Output】Stay connected your way. Use Wi-Fi and our mobile app to share photos instantly to your phone. Connect via USB to use as a PC webcam, or plug into your TV with HDMI output to enjoy your videos on a big screen. Flexible connection options make your digital camera as versatile as your lifestyle.
- 【Perfect Gift for Beginners & Content Creators】Designed for beginners yet powerful enough for creators, this vlogging camera for photography is compact, lightweight, and easy to use. Ideal for travel, birthdays, or holidays—it’s a gift that inspires creativity. Backed by a 2-year warranty and free replacement, Monitech ensures your memories are always protected.
High dynamic range in photography explained
High Dynamic Range (HDR) is a photographic technique that expands the visual capabilities of capturing scenes beyond traditional camera sensor limitations. By merging multiple exposures at different light levels, photographers can create images with unprecedented detail and tonal richness across shadows, midtones, and highlights.
The fundamental concept involves capturing several photographs of the same scene at varying exposure settings – typically underexposed, normally exposed, and overexposed frames. These images are then digitally combined to produce a single photograph that reveals nuanced details in both dark and bright areas that would typically be lost in standard single-exposure photography. This method allows photographers to represent visual information much closer to how the human eye naturally perceives complex lighting environments.
Historically, photographic technology struggled to capture the full luminance range present in real-world scenes. Traditional cameras could only record a limited spectrum of light, forcing photographers to choose between preserving shadow details or maintaining highlight information. HDR techniques effectively solve this technical constraint by synthesizing multiple exposures, creating images with dramatically improved dynamic range that more accurately represent the visual complexity of landscapes, architectural scenes, and challenging lighting conditions.
Pro tip: When shooting HDR images, always use a tripod to ensure precise alignment between multiple exposures and minimize potential ghosting artifacts.
Common HDR types and key differences
Photographers have developed several distinct HDR techniques to address the complex challenges of capturing detailed images across varied lighting conditions. The primary HDR approaches include multi-exposure bracketing, computational HDR processing, and single-shot sensor technologies, each offering unique advantages for different photographic scenarios.
Multi-exposure bracketing remains the most traditional HDR method, where photographers capture multiple images at different exposures ranging from underexposed to overexposed frames. By combining these images, photographers can synthesize a single photograph with enhanced detail across shadow and highlight regions. This technique works particularly well in high-contrast environments like landscapes with bright skies and dark foreground elements, where traditional single-exposure methods would typically compromise image quality.
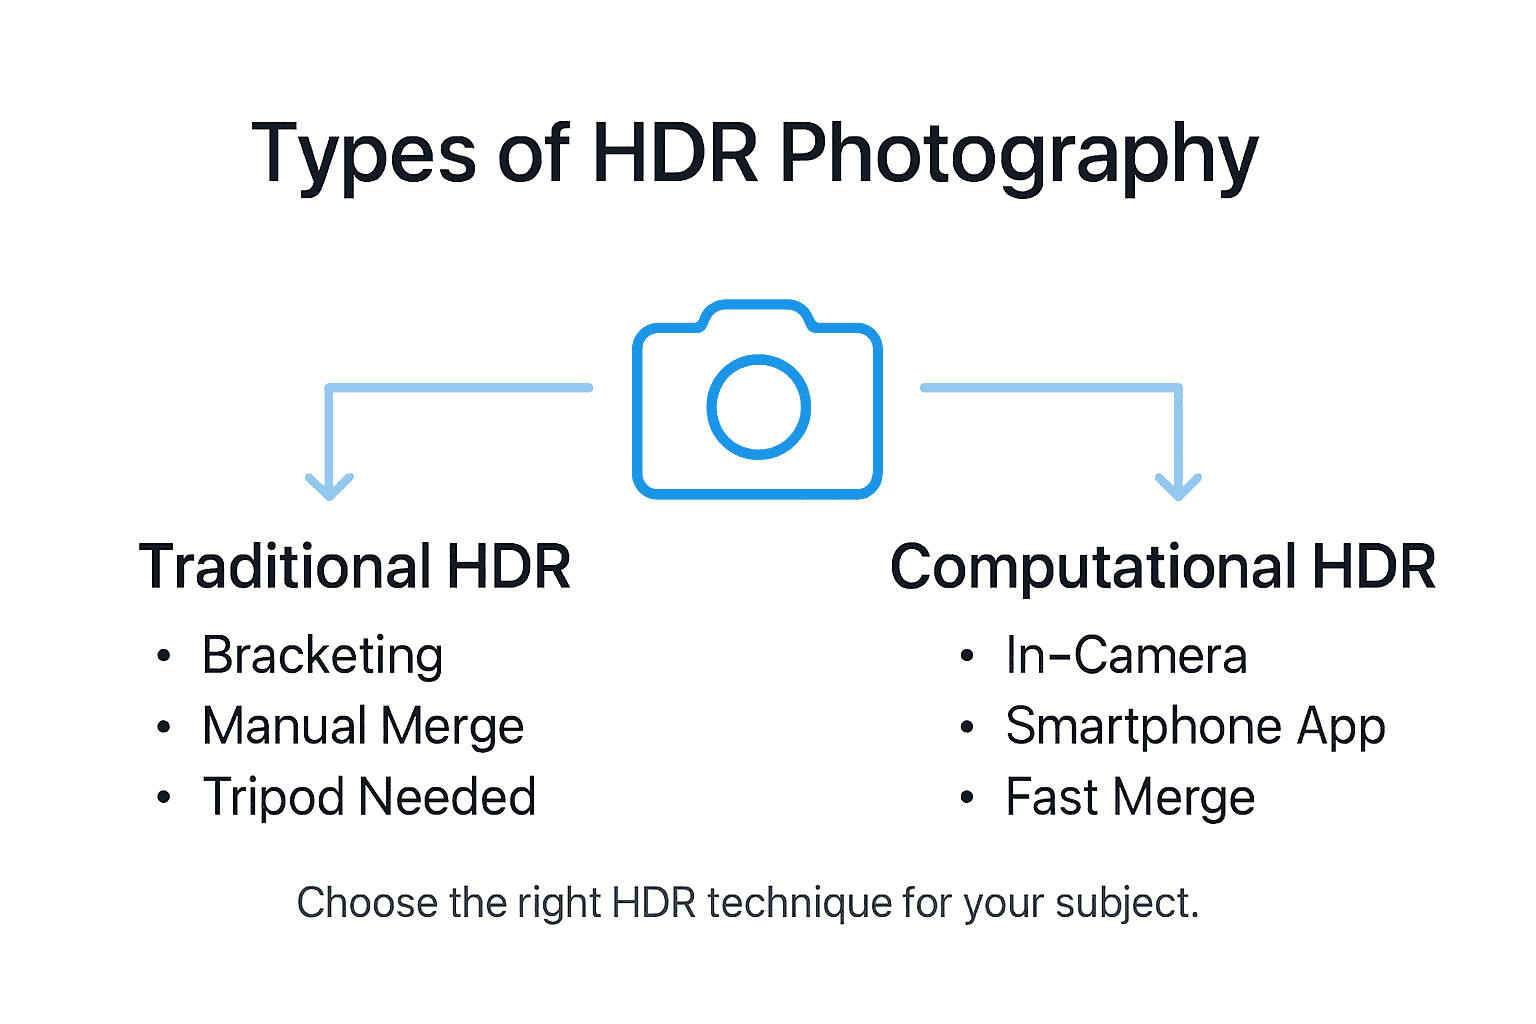
Computational HDR techniques represent a more advanced approach, utilizing sophisticated algorithms to process and merge image data. These methods can generate high dynamic range images from a single photograph by analyzing pixel-level information and intelligently expanding tonal range. Single-shot sensor technologies also offer innovative solutions, with specialized camera sensors designed to capture wider luminance ranges in one exposure, reducing the need for multiple image combinations.
Pro tip: Always shoot RAW format when creating HDR images to preserve maximum image data and provide greater flexibility during post-processing.
Here’s a concise comparison of major HDR photography techniques and their unique strengths:
| HDR Method | Approach Description | Ideal Use Cases | Primary Advantages |
|---|---|---|---|
| Multi-exposure Bracketing | Multiple images with varied exposures | Landscapes, architecture | Rich detail, full tonal range |
| Computational HDR | Algorithm-based from one or more exposures | Fast-moving scenes | Quick results, flexible data |
| Single-shot Sensor Tech | Specialized sensor captures full range | Everyday snapshots | No post-processing required |
How HDR works in modern cameras
Modern digital cameras have revolutionized High Dynamic Range photography through sophisticated internal processing technologies that dramatically expand image capture capabilities. These advanced systems leverage complex sensor designs and powerful computational algorithms to overcome traditional limitations of light capture, allowing photographers to record scenes with unprecedented detail across challenging lighting conditions.
The core mechanism involves intelligent image capture and processing strategies. When photographers activate HDR mode, the camera rapidly captures multiple exposures at different brightness levels, typically shooting three to five frames in rapid succession. Each image captures different aspects of the scene – darker areas, midtones, and highlight regions – which are then automatically analyzed and merged into a single comprehensive photograph that reveals nuanced details invisible in standard single-exposure images.
Modern camera systems employ advanced alignment and noise reduction technologies to ensure seamless image combination. Sophisticated algorithms detect and correct potential misalignments caused by minor camera movements, while simultaneously minimizing digital noise that can occur when blending multiple exposures. This computational approach allows even amateur photographers to capture professional-quality images with expanded dynamic range, effectively bridging the gap between human visual perception and traditional photographic limitations.
Pro tip: Enable your camera’s built-in HDR mode when shooting in high-contrast environments like landscapes with bright skies and dark foreground elements.
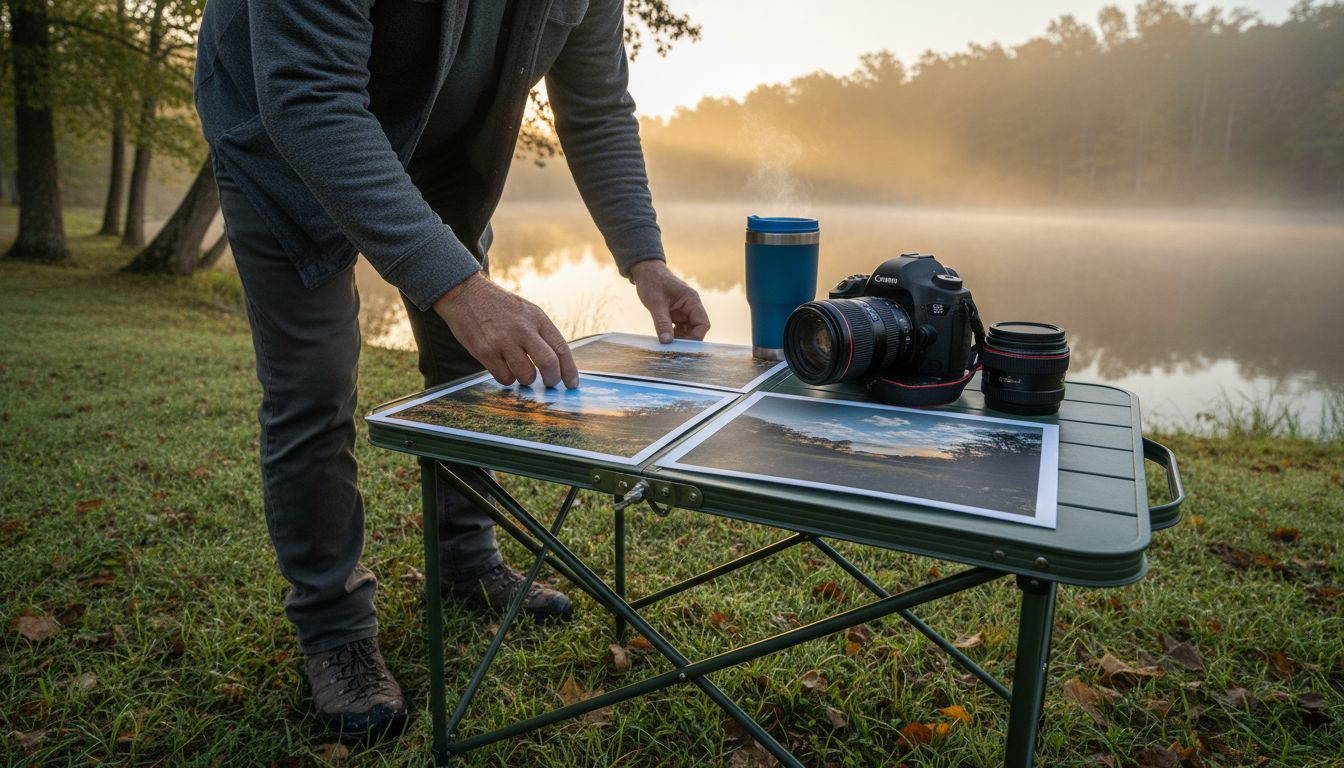
Practical steps for HDR photo shooting
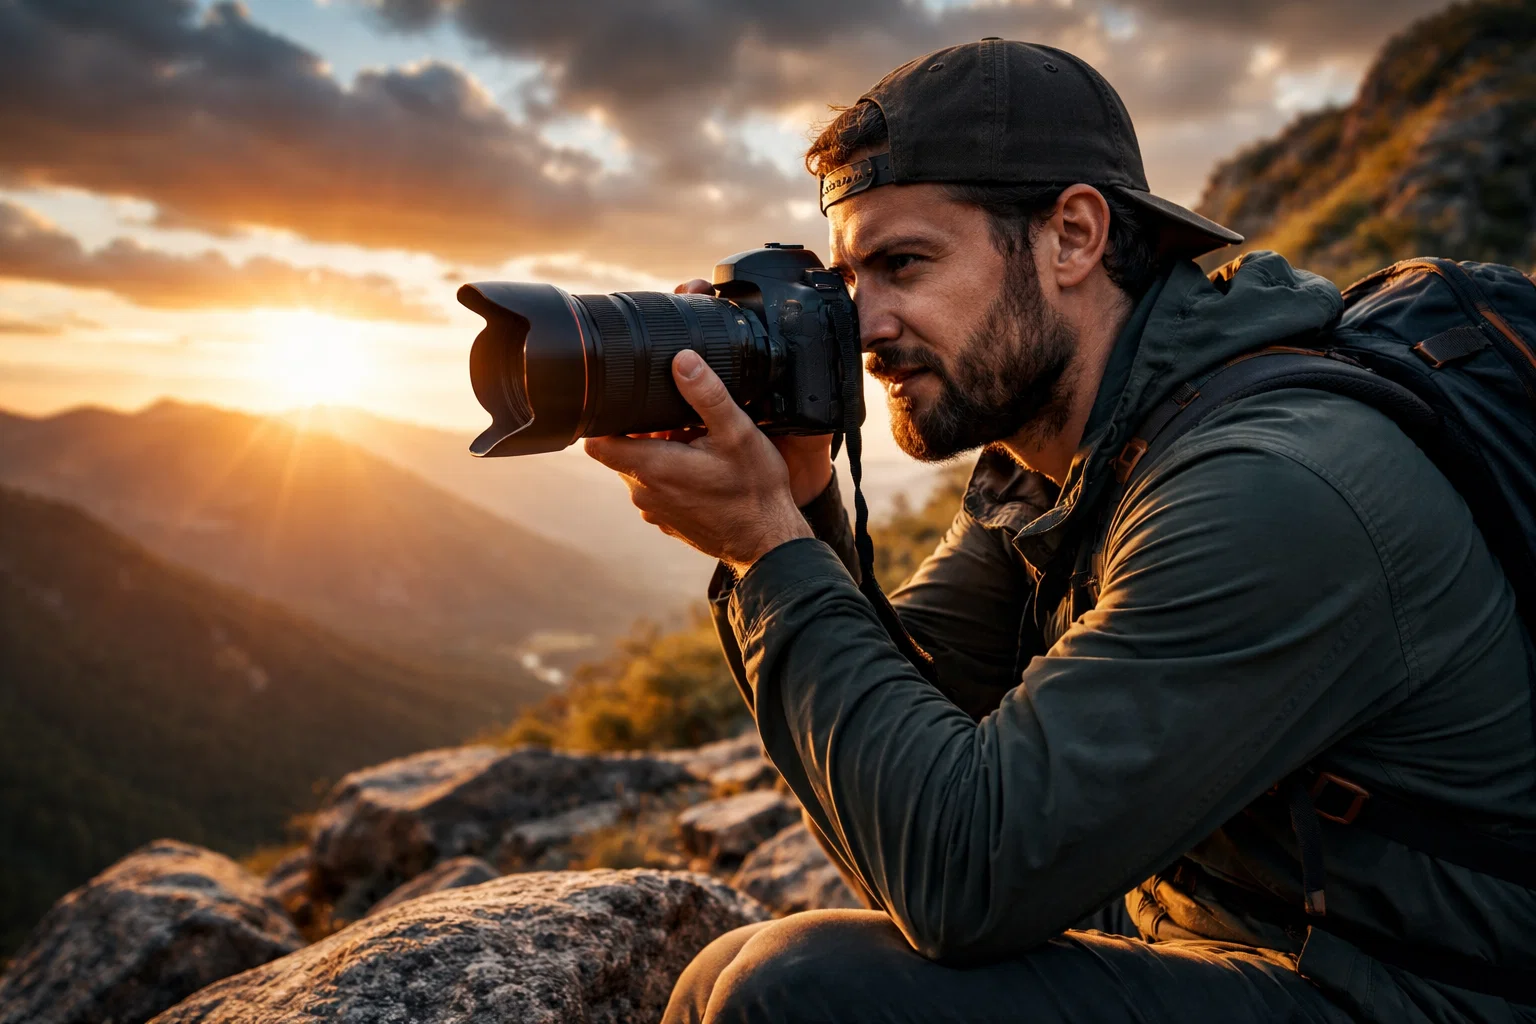
Successful High Dynamic Range photography requires strategic preparation and precise technical execution. Photographers must carefully plan their approach to capture multiple exposures that can be seamlessly combined into a single, richly detailed image that captures the full range of light and shadow in a scene.
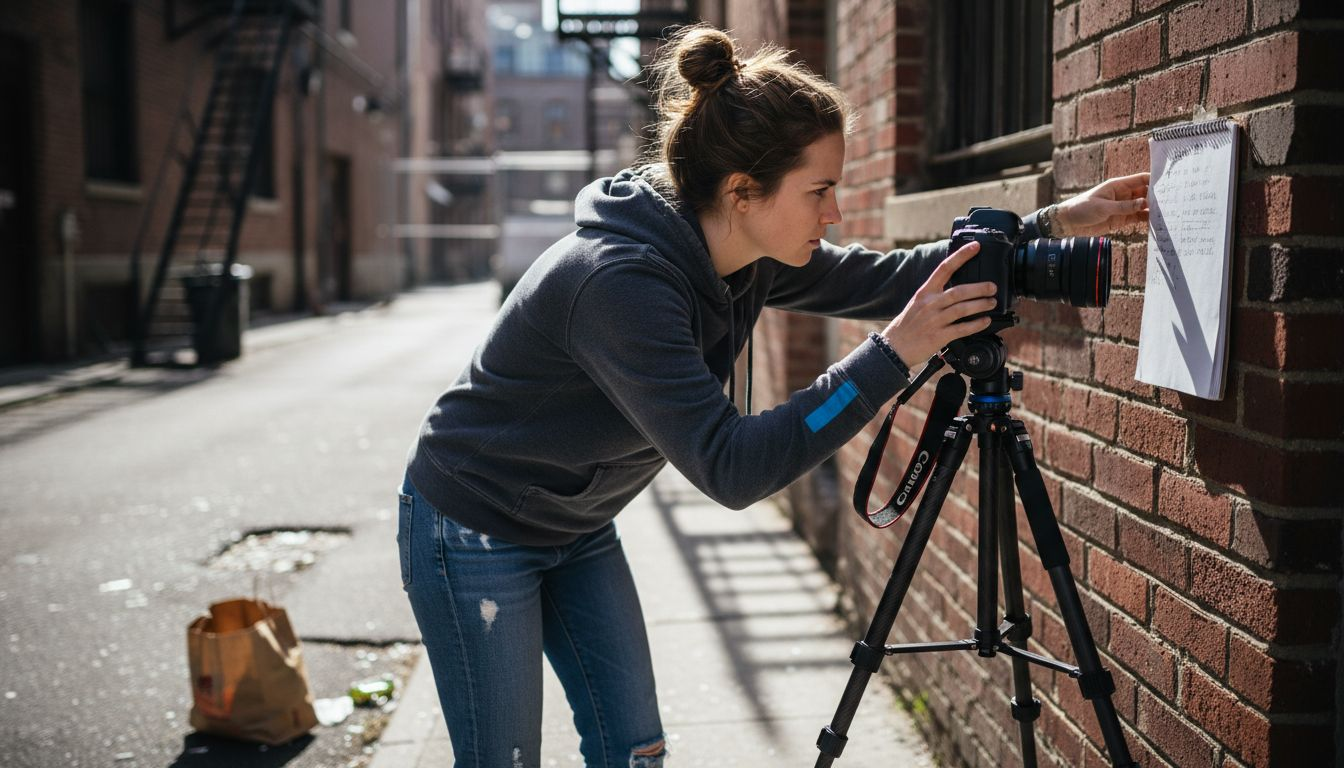
The first critical step involves selecting the right equipment and camera settings. Modern cameras offer dedicated HDR modes, but serious photographers often prefer manual bracketing techniques. Landscape photographers recommend using a sturdy tripod to eliminate camera movement, setting your camera to manual mode, and establishing a consistent focal point. Typical exposure bracketing involves shooting three to five images at different exposure values, typically in 1 or 2 stop increments, which allows comprehensive capture of scene details across dark, midtone, and bright areas.
Image preparation extends beyond initial capture. Photographers should shoot in RAW format to preserve maximum image data, enabling more sophisticated post-processing and tone mapping. Optimal HDR results require minimal scene movement, so choosing stable shooting environments or using fast shutter speeds becomes crucial. Advanced techniques involve careful white balance management, understanding your camera’s dynamic range limitations, and selecting appropriate ISO settings to minimize digital noise during multiple exposure captures.
Pro tip: Always use a remote shutter release or camera’s built-in timer to minimize physical camera movement when shooting HDR sequences.
Editing HDR images for natural results
Creating natural HDR images requires a delicate balance between technical precision and artistic restraint. Photographers must navigate complex editing techniques that enhance image detail without producing artificial or overly processed visual results that distract from the scene’s authentic character.
The core editing process begins with careful tone mapping, which involves strategically adjusting luminance and contrast across different image regions. Professional photographers recommend using subtle graduated filters and selective adjustments to maintain realistic color rendition and prevent common HDR artifacts like halo effects or unnatural color saturation. Successful editing requires understanding how to compress the wide dynamic range captured during shooting into a visually pleasing final image that closely mimics human visual perception.
Advanced HDR editing techniques involve nuanced manipulations of exposure, highlights, shadows, and color balance. Photographers should focus on preserving natural transitions between light and dark areas, avoiding overly aggressive local contrast enhancements that can make images appear artificially processed. Utilizing tools like luminosity masks, selective adjustments, and careful white balance calibration allows photographers to create images that reveal hidden details while maintaining a sense of visual authenticity that respects the original scene’s inherent lighting characteristics.
Pro tip: Always work with RAW files and use a light touch when applying HDR adjustments to maintain the image’s natural visual integrity.
Mistakes to avoid with HDR processing
HDR processing demands precision and careful technique to avoid transforming potentially stunning images into artificial, over-processed visual disasters. Photographers must navigate a complex landscape of technical challenges that can quickly derail the authenticity of their photographic vision.
One of the most prevalent errors involves excessive tone mapping, which can produce unnatural results that distort the image’s original character. Photographers should carefully review common processing mistakes to prevent typical pitfalls like creating ghostly halos around high-contrast edges, introducing unnatural color saturation, or generating an overly processed appearance that screams ‘digital manipulation’ instead of capturing a scene’s genuine visual essence.
Technical mistakes can also undermine HDR image quality. Common processing errors include improper image alignment during multi-exposure blending, noise amplification in shadow regions, and aggressive contrast adjustments that destroy subtle tonal gradations. Advanced photographers understand that HDR processing requires a delicate balance between revealing hidden details and maintaining the photograph’s natural visual narrative. This means carefully managing local contrast enhancements, avoiding extreme color manipulations, and preserving the inherent lighting characteristics of the original scene.
Pro tip: Always preview your HDR images at 100% zoom to catch subtle processing artifacts before finalizing your edit.
Below is a summary table of common HDR editing pitfalls and how to avoid them for more natural results:
| Problematic Outcome | Main Cause | Prevention Tips |
|---|---|---|
| Unnatural halo effects | Excessive tone mapping | Use subtle local adjustments |
| Noise in shadows | High ISO or poor blending | Apply noise reduction carefully |
| Over-saturated colors | Aggressive color editing | Limit saturation adjustments |
| Misaligned images | Camera movement during capture | Use tripod and auto alignment |
Master HDR Photography with Expert Guidance from Amateur Photographer Guide
Capturing the full dynamic range in your photos can be challenging but rewarding. If you struggle with aligning multi-exposure shots, managing tone mapping, or avoiding common HDR pitfalls like unnatural halos or over-saturation, you are not alone. Understanding HDR techniques such as multi-exposure bracketing and computational HDR is key to elevating your photography skills and creating images that truly reflect the rich tonal detail of real scenes.
Start transforming your HDR photography today by exploring practical tutorials and expert tips at Amateur Photographer Guide. Whether you want to improve your shooting techniques or refine your editing process, our resources help you overcome common challenges and confidently create stunning high dynamic range images. Visit Amateur Photographer Guide now and take the next step toward mastering HDR photography.
Frequently Asked Questions
What is High Dynamic Range (HDR) photography?
High Dynamic Range (HDR) photography is a technique that combines multiple exposures of the same scene taken at different light levels to create an image with improved detail in shadows, midtones, and highlights, effectively representing complex lighting environments more accurately.
How does HDR processing work in modern cameras?
Modern cameras use advanced algorithms to capture multiple exposures quickly, which are then combined to create a single image that reveals greater detail and tonal range through intelligent image analysis and processing.
What are some common mistakes to avoid when editing HDR images?
Common mistakes include excessive tone mapping, which can result in unnatural halo effects, and not aligning images properly during blending, which can lead to ghosting artifacts. Carefully managing saturation levels and avoiding aggressive adjustments are also important to maintain natural results.
What equipment is recommended for shooting HDR photography?
Using a sturdy tripod is essential to eliminate camera movement during exposure bracketing. It’s also recommended to shoot in RAW format to preserve image data and allow for more flexibility during post-processing.
Recommended
- How to use Dynamic Range in your images
- HDR Photography Explained: Practical Techniques and Tips
- What Is High Key Photography? Complete Guide
- What Is High Key Lighting? Complete Photography Guide
- Understanding What is a Dop in Film and Advertising
Last update on 2026-03-04 / Affiliate links / Images from Amazon Product Advertising API