

Table of Contents
- Table of Contents
- Quick Summary
- 1. Understand Your Camera Settings and Modes
- 2. Learn the Basics of Exposure: ISO, Aperture, Shutter Speed
- 3. Master Focus and Composition Techniques
- 4. Use Natural Light to Enhance Your Photos
- 5. Keep Your Gear Clean and Properly Maintained
- 6. Practice Thoughtful Framing and Perspective
- 7. Review and Edit Your Photographs for Improvement
- Take Your Photography Basics Checklist to the Next Level
- Frequently Asked Questions
- Recommended
This blog post may contain affiliate links. As an Amazon Associate I earn from qualifying purchases.
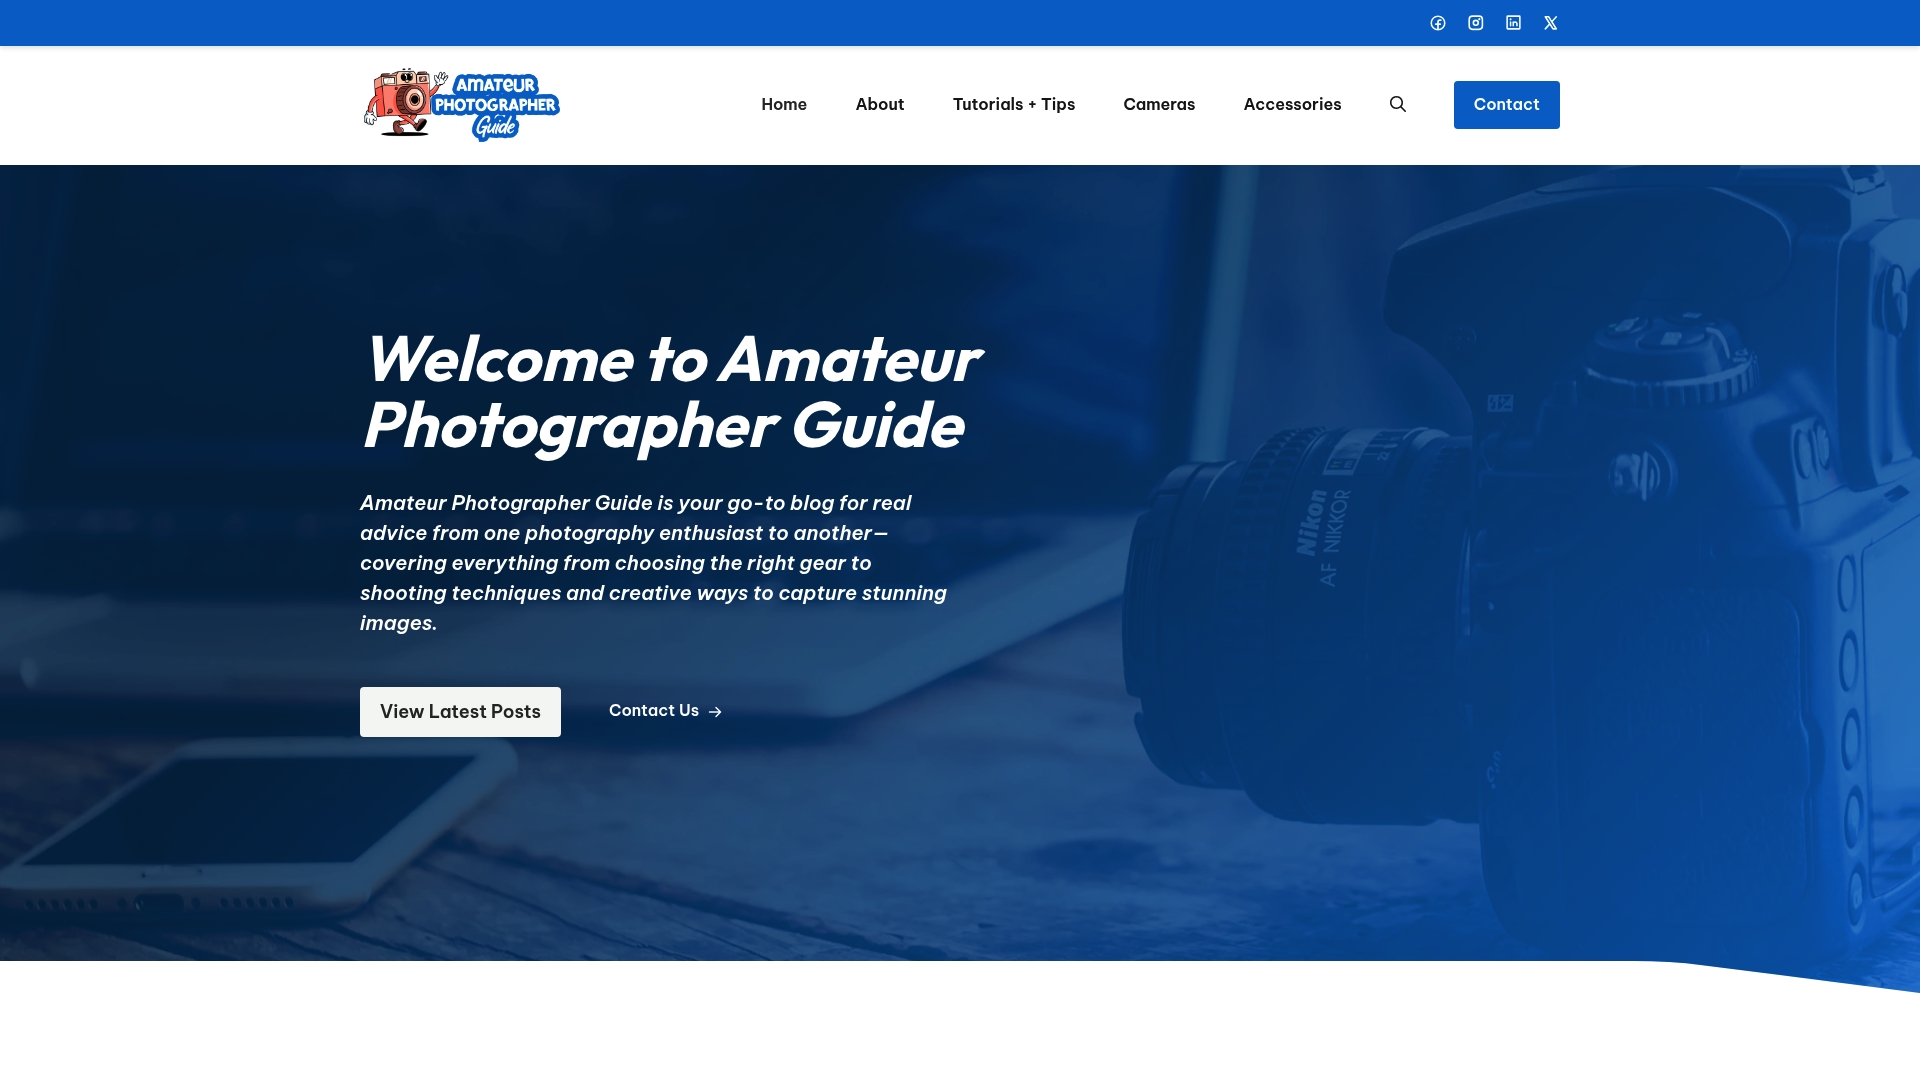
Did you know nearly 90 percent of beginner photographers never move beyond their camera’s automatic settings? Learning how to use your camera’s features the right way can completely change the quality of your photos. By understanding settings, exposure basics, and creative techniques, anyone can capture images that stand out. Discover how small adjustments and mindful practice help turn simple snapshots into memorable visual stories.
Table of Contents
- 1. Understand Your Camera Settings And Modes
- 2. Learn The Basics Of Exposure: Iso, Aperture, Shutter Speed
- 3. Master Focus And Composition Techniques
- 4. Use Natural Light To Enhance Your Photos
- 5. Keep Your Gear Clean And Properly Maintained
- 6. Practice Thoughtful Framing And Perspective
- 7. Review And Edit Your Photographs For Improvement
Quick Summary
| Takeaway | Explanation |
|---|---|
| 1. Understand Camera Modes | Familiarize yourself with modes like Auto, Manual, and Aperture Priority to enhance your control over photos. |
| 2. Learn Exposure Basics | Master ISO, aperture, and shutter speed to significantly improve your image quality and storytelling. |
| 3. Focus on Composition | Use the Rule of Thirds and other techniques to create visually appealing images that guide viewer attention. |
| 4. Harness Natural Light | Explore different lighting conditions, particularly during golden hours, to enhance the mood of your photographs. |
| 5. Regularly Review Your Work | Analyze your photos to identify strengths and areas for improvement, transforming each photo into a learning opportunity. |
1. Understand Your Camera Settings and Modes
Unlocking the full potential of your camera starts with understanding its core settings and shooting modes. Your camera is a powerful tool waiting to transform your photographic journey from basic snapshots to stunning visual stories.
Modern cameras offer multiple shooting modes that dramatically impact image quality and creative expression. These modes range from fully automatic settings that handle everything for you to manual modes where you control every aspect of image creation. Think of these modes like different gears in a car each designed for specific driving conditions.
The primary shooting modes typically include Auto Mode, Program Mode, Aperture Priority, Shutter Priority, and Manual Mode. The Beginner’s No-Fear Guide to Basic Camera Settings can help you navigate these effectively.
In Auto Mode, the camera makes all decisions about exposure, focus, and other settings. This works well for beginners but limits creative control. Program Mode offers slightly more flexibility by allowing you to adjust some settings while the camera manages overall exposure.
Aperture Priority Mode lets you control depth of field by adjusting lens opening size. Wider apertures create beautiful background blur perfect for portraits. Shutter Priority Mode helps you capture motion by controlling how long the camera’s shutter stays open.
Manual Mode provides complete creative freedom. Here you control aperture, shutter speed, and ISO independently. This mode requires practice but offers the most control over your final image.
Start by experimenting with these modes in different lighting conditions. Take the same scene using each mode and compare results. Practice builds confidence and helps you understand how each setting influences your photographs.
Remember. Photography is about storytelling. Your camera’s settings are simply tools to help you communicate your unique visual narrative.
2. Learn the Basics of Exposure: ISO, Aperture, Shutter Speed
Exposure is the heart of photography. Understanding how ISO, aperture, and shutter speed work together will transform your images from basic snapshots to professional level photographs.
ISO measures your camera sensor’s sensitivity to light. Lower ISO numbers like 100 or 200 work best in bright conditions and produce cleaner images. Higher ISO settings such as 1600 or 3200 help capture images in low light but introduce digital noise or graininess. Understanding Exposure: How to Get the Perfect Shot provides deeper insights into these technical nuances.
Aperture controls the amount of light entering through your lens and impacts depth of field. Think of it like the pupil in your eye. Wider apertures (smaller f numbers like f1.8) create beautiful background blur and let in more light. Narrower apertures (larger f numbers like f16) keep more of the scene in sharp focus.
Shutter Speed determines how long your camera’s sensor is exposed to light. Fast shutter speeds like 1/1000 second freeze motion perfectly. Slow shutter speeds like 1 second create motion blur and work great for capturing light trails or smooth water effects.
These three elements form the exposure triangle. Adjusting one impacts the others. Want a brighter image? Increase ISO, open aperture wider, or slow down shutter speed. Each adjustment changes your photograph’s mood and technical quality.
Practical tip. Start by practicing in Aperture Priority or Shutter Priority modes. These semi automatic settings let you control one element while the camera manages the others. Experiment. Take multiple shots of the same scene with different settings. Review and learn from each image.
Remember. Photography is about storytelling through light. Master exposure and you master your visual narrative.
3. Master Focus and Composition Techniques
Photography is visual storytelling. Your ability to capture compelling images depends on understanding focus and composition techniques that transform ordinary scenes into extraordinary memories.
The Rule of Thirds is your first powerful composition tool. Imagine dividing your image into a 3×3 grid. The Rule Of Thirds Explained reveals how placing key elements along these grid lines or intersection points creates more dynamic and interesting photographs.
Focus is not just about sharpness. It is about guiding your viewer’s eye exactly where you want it to land. Autofocus works well in most situations but learning manual focus gives you creative control. Practice switching between focus modes to understand how each impacts your final image.
When composing a shot, consider these key strategies:
- Foreground Interest: Include elements in the front of your frame to create depth
- Leading Lines: Use natural lines in your scene to draw viewers into the image
- Framing: Use natural elements like trees or archways to frame your main subject
Background matters as much as your subject. A cluttered background can destroy an otherwise perfect shot. Look for clean simple backgrounds that complement rather than compete with your main subject.
Experiment with different perspectives. Get low. Climb high. Move around your subject. Each position tells a different story. Sometimes the most interesting photograph is not the most obvious one.
Remember. Great composition is about intention. Every element in your frame should have a purpose. Photographers do not just take pictures. They create visual narratives that speak without words.
4. Use Natural Light to Enhance Your Photos
Light is the photographer’s most powerful creative tool. Understanding how to harness natural light can transform ordinary scenes into extraordinary images that tell compelling visual stories.
The quality of light changes dramatically throughout the day. Professional photographers call these magical periods golden hours. These occur shortly after sunrise and before sunset when sunlight becomes soft warm and incredibly flattering. How To Take Better Photos In Low Light Conditions offers deeper insights into managing challenging lighting scenarios.
Light direction dramatically impacts your photograph. Side lighting creates texture and depth by casting gentle shadows. Backlight can produce stunning silhouettes or create a dreamy halo effect around your subject. Front lighting provides even illumination but can sometimes appear flat and uninteresting.
When shooting outdoors consider these natural light strategies:
- Avoid harsh midday sunlight which creates unflattering shadows
- Use cloudy days for soft even lighting perfect for portraits
- Position subjects at angles that highlight their best features
- Look for natural reflectors like white walls or light colored surfaces
Weather conditions offer unique lighting opportunities. Overcast skies work like giant softboxes creating diffused gentle light. Rainy conditions produce rich saturated colors. Foggy mornings create mysterious atmospheric scenes.
Experiment with light. Move around your subject. Observe how changing your position transforms the mood and emotional impact of your image. Great photography is about seeing light not just recording it.
Remember. Light tells a story. Your job is to capture its whispers and shouts through your lens.
5. Keep Your Gear Clean and Properly Maintained
Your camera is an investment. Proper maintenance ensures your equipment performs at its best and lasts for years. Think of camera care like routine car maintenance.
Lens care is critical. Dust dirt and smudges can ruin even the most carefully composed shots. How To Clean A Camera Lens provides expert guidance on keeping your optics pristine. Always use specialized microfiber cloths and lens cleaning solutions designed for photographic equipment.
Your camera sensor is especially vulnerable. A dirty sensor creates visible spots and artifacts in every image. Treat it with extreme care. Professional cleaning is recommended but you can perform basic maintenance with the right tools and technique.
Create a basic gear maintenance routine:
- Check battery levels before every shoot
- Store equipment in padded climate controlled bags
- Use silica gel packets to absorb moisture
- Inspect lenses and body for dust or damage regularly
- Clean memory cards and check storage capacity
Protect your gear from environmental threats. Extreme temperatures humidity and dust can damage sensitive electronics. Use protective cases when traveling. In dusty or sandy environments use protective covers and change lenses quickly.
Battery maintenance matters too. Fully discharge and recharge lithium batteries periodically. Keep spare batteries in cool dry locations. Never store batteries in direct sunlight or extreme temperatures.
Remember. Your gear is your creative partner. Treat it with respect and it will help you capture amazing images for years to come.
6. Practice Thoughtful Framing and Perspective
Photography is visual storytelling. How you frame and capture a scene determines whether your image whispers or shouts its narrative to viewers.
Perspective transforms ordinary scenes into extraordinary images. What is Perspective in Photography? reveals how changing your physical position dramatically alters image interpretation. A subject photographed from ground level looks dramatically different compared to a shot taken from eye level or above.
Framing is about creating intentional visual boundaries that guide viewer attention. Think of your camera frame like a window through which you invite others to see the world. Every element you include or exclude tells part of your story.
Consider these perspective strategies:
- Get low. Shoot from ground level for dramatic angles
- Climb high. Shoot from elevated positions for unique views
- Move around your subject. Explore multiple angles
- Use natural frames like doorways windows or tree branches
- Experiment with negative space to create visual tension
The most compelling photographs often break traditional composition rules. Close ups can reveal unexpected details. Wide shots can showcase vast landscapes. Experiment. Challenge yourself to photograph the same subject from multiple perspectives.
Remember. Great photographers do not just record scenes. They interpret them. Your unique perspective is your visual signature.
7. Review and Edit Your Photographs for Improvement
Photography is a continuous learning journey. Reviewing and editing your images is not about criticism but about understanding your creative progression and refining your skills.
Start by developing a systematic review process. Critical analysis helps you recognize patterns in your work identify strengths and target areas for improvement. 7 Essential Photo Editing Tips for Amateur Photographers provides excellent guidance for this process.
When reviewing your photographs consider these key elements:
- Composition and framing
- Lighting and exposure
- Focus and sharpness
- Color balance and tone
- Emotional impact and storytelling
Objective Evaluation means looking at your images with a detached perspective. Ask yourself questions. What works in this image? What could be improved? Are the technical elements supporting your creative vision?
Post processing is more than fixing mistakes. It is about enhancing your original vision. Subtle adjustments in contrast saturation and color can transform a good photograph into an extraordinary one.
Create a personal editing workflow. Import organize and review your images systematically. Delete duplicates and obviously flawed shots. Keep images that have potential even if they are not perfect.
Remember. Every photograph is a learning opportunity. Your most significant growth happens when you honestly examine your work.
Below is a comprehensive table summarizing the key topics and strategies for improving photography skills, as discussed in the article.
| Topic | Description | Key Considerations |
|---|---|---|
| Camera Settings | Explore various shooting modes from Auto to Manual for creative control. | Practice with each mode to understand its impact on photos. |
| Exposure Basics | Understand ISO, aperture, and shutter speed as elements of the exposure triangle. | Adjustments affect brightness and mood; start with priority modes. |
| Focus and Composition | Use methods like Rule of Thirds, Leading Lines, and Framing for dynamic images. | Experiment with focus modes and backgrounds for compelling shots. |
| Natural Light | Utilize golden hours and light direction to enhance photos. | Avoid harsh midday light and use natural reflectors. |
| Gear Maintenance | Ensure camera longevity with proper cleaning and storage routines. | Protect from environmental threats and manage battery care. |
| Framing and Perspective | Alter physical position and frame intentionally to enhance imagery. | Use creative angles and perspectives for unique compositions. |
| Photo Review and Editing | Systematically critique and edit photos for improvement. | Focus on composition, lighting, and storytelling through editing. |
Take Your Photography Basics Checklist to the Next Level
Starting with essential steps like mastering your camera settings and understanding exposure can feel overwhelming. You want clear guidance to avoid frustration and confidently capture stunning images. This article breaks down key concepts such as ISO, aperture, shutter speed, and the rule of thirds — all critical to tell your visual story with impact.
Ready to move beyond basics Put your new skills into practice with more detailed tutorials and expert tips available at Amateur Photographer Guide. Explore essential shooting techniques, learn how to clean your gear properly, and discover editing tricks to polish your shots. Don’t let uncertainty hold you back any longer. Visit how to get the perfect shot and how to clean a camera lens to deepen your knowledge and start capturing photos that truly reflect your creative vision today.
Frequently Asked Questions
What are the basic camera settings I need to understand for photography?
Understanding basic camera settings like ISO, aperture, and shutter speed is crucial for photography. Start by familiarizing yourself with each setting and how they interact, then practice adjusting them in different lighting conditions to see their effects on your images.
How can I practice exposure techniques in photography?
To practice exposure techniques, use the exposure triangle—ISO, aperture, and shutter speed—experimenting with each element in different scenarios. For example, set your camera to Aperture Priority mode and take shots at various f-stops to see how depth of field changes in your photographs.
What are the best composition techniques to improve my photography?
Key composition techniques include the Rule of Thirds, leading lines, and framing your subject within the shot. Start by applying the Rule of Thirds to your compositions, placing your subject off-center along the grid lines to enhance visual interest.
How do I utilize natural light effectively while photographing?
Utilizing natural light involves observing the quality and direction of light during different times of day. Experiment by photographing the same scene at dusk and dawn to capture the varying effects of golden hour light on your images, creating softer, more flattering conditions.
What is the importance of lens and camera maintenance in photography?
Regular lens and camera maintenance helps preserve image quality and extends the life of your equipment. Implement a routine that includes cleaning your lenses with microfiber cloths and checking for dust or damage before each shoot to maintain high performance.
How can I review and edit my photographs for better outcomes?
To review and edit your photographs effectively, establish a systematic process to critique your images based on composition, lighting, and focus. Set aside time after each shoot to evaluate your work and make edits that enhance clarity and emotional impact, aiming for at least one detailed edit for each session.
Recommended
- 7 Essential Photography Beginner Tips for New Photographers – Amateur Photographer Guide
- The Basics Ideas Of Photography – Amateur Photographer Guide
- 7 Photography Gear Essentials Every Beginner Should Know – Amateur Photographer Guide
- The Beginner’s Photography Guide: Fix Your Most Common Camera Mistakes – Amateur Photographer Guide
- How to Plan a Photoshoot: Achieve Flawless Success
- Capture Stunning Moments: Lisbon Photo Tours Experience