
Table of Contents
- Quick Summary
- Step 1: Assess Your Shooting Environment
- Step 2: Select and Position Key Light Sources
- Step 3: Shape Light with Modifiers and Reflectors
- Step 4: Balance Natural and Artificial Lighting
- Step 5: Evaluate and Adjust Your Lighting Setup
- Master Portrait Lighting with Confidence and Precision
- Frequently Asked Questions
- Recommended
This blog post may contain affiliate links. As an Amazon Associate I earn from qualifying purchases.
Nearly every amateur photographer faces frustration when their portraits fall flat despite their best efforts. Lighting is the difference between an ordinary snapshot and a stand-out image that grabs attention, yet understanding how to control it can seem overwhelming for beginners. By breaking down each step of portrait lighting, you can master the principles used by top American and European professionals, transforming your photos with greater depth, balance, and visual interest.
Quick Summary
| Key Point | Explanation |
|---|---|
| 1. Assess Your Lighting Environment | Analyze light sources and shadows in your setting to enhance your subject’s features. Look for diffused natural light and reflective surfaces to improve illumination. |
| 2. Position Key Light Effectively | Place your key light at a 30-60 degree angle above eye level to sculpt facial features through gentle shadows. Experiment with distance and angles for desired effects. |
| 3. Utilize Modifiers and Reflectors | Use reflectors and modifiers to control light quality and direction. Different surfaces yield various effects, enhancing your subject with professional lighting. |
| 4. Balance Natural and Artificial Light | Harmonize natural and artificial lights by matching their color temperature and intensity to create a cohesive look in your portraits. |
| 5. Continuously Evaluate and Adjust Setup | Regularly assess your lighting setup using your camera’s histogram and preview to fine-tune exposure and shadow details for impactful portraits. |


Step 1: Assess Your Shooting Environment
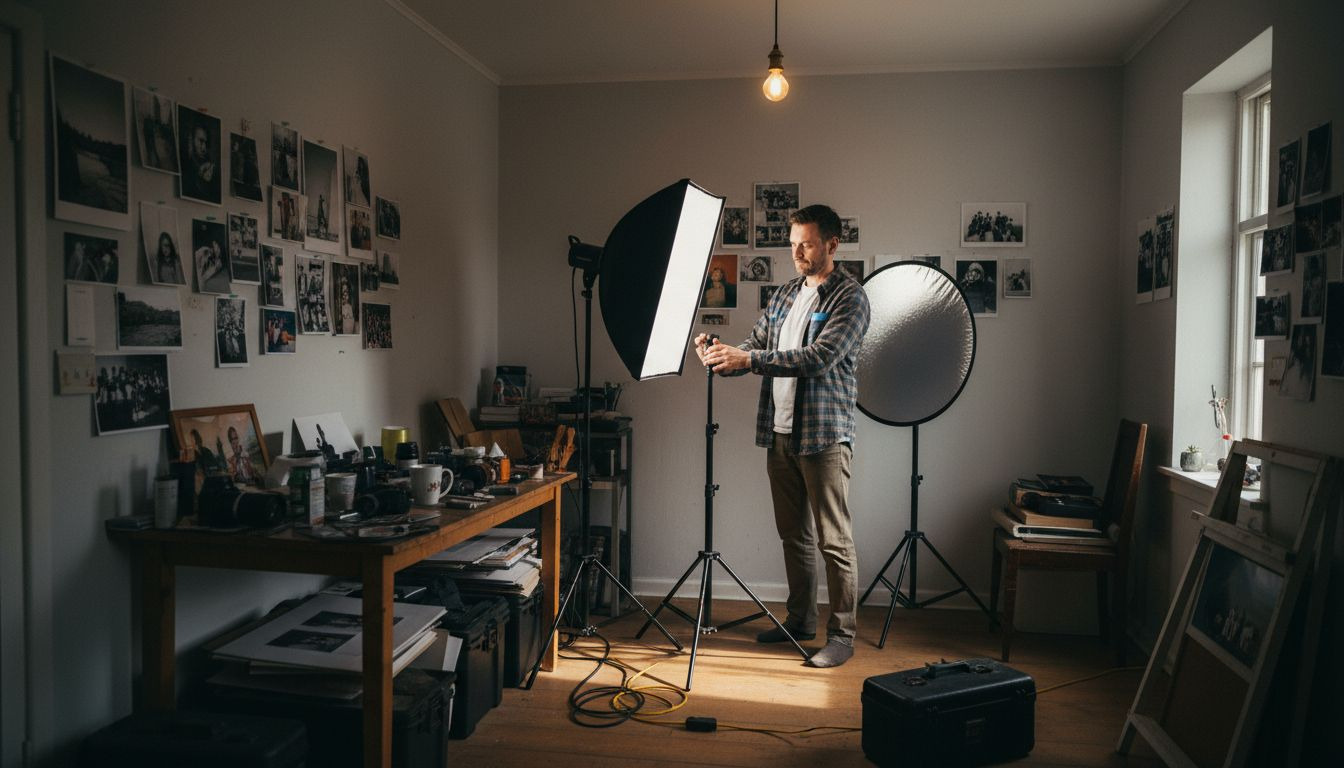
Successful portrait photography begins with a strategic assessment of your shooting environment. By carefully analyzing the lighting conditions, spatial dynamics, and potential visual elements, you can transform an ordinary location into a compelling backdrop for your subject.
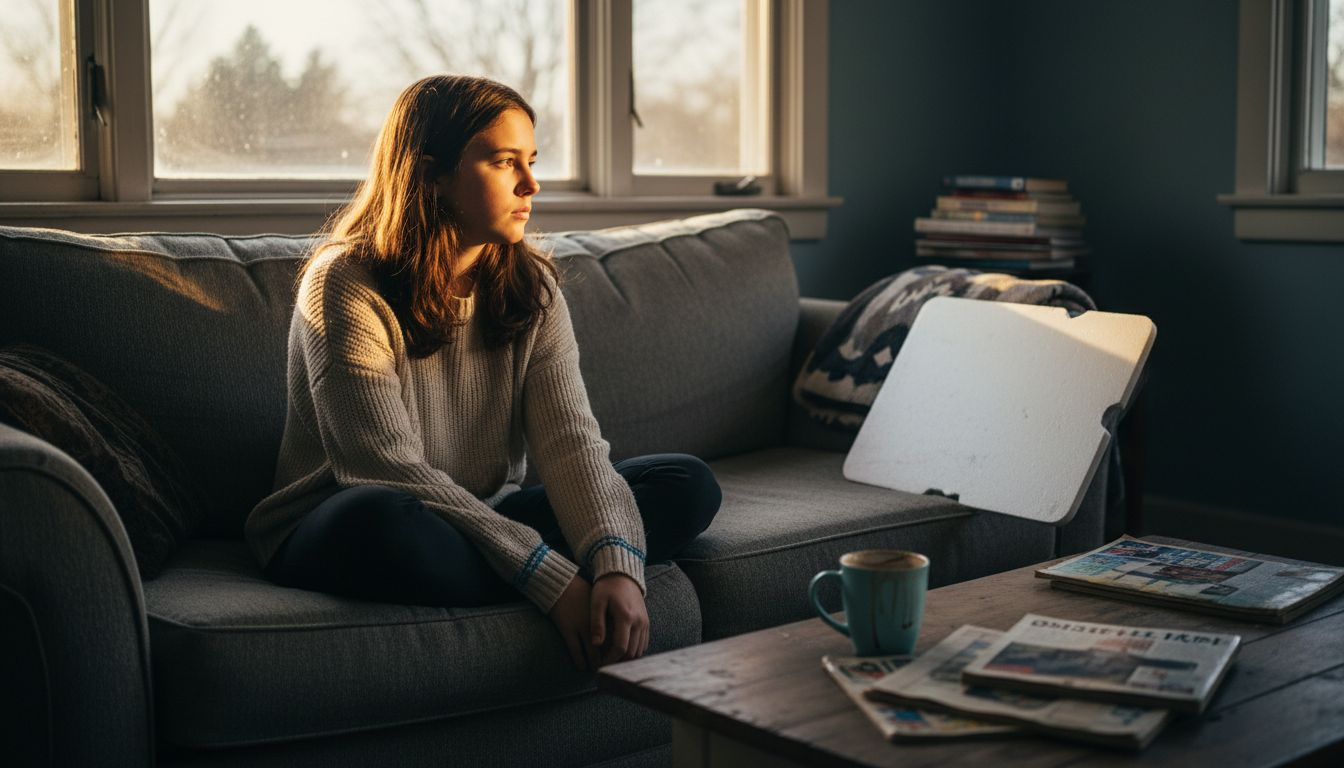
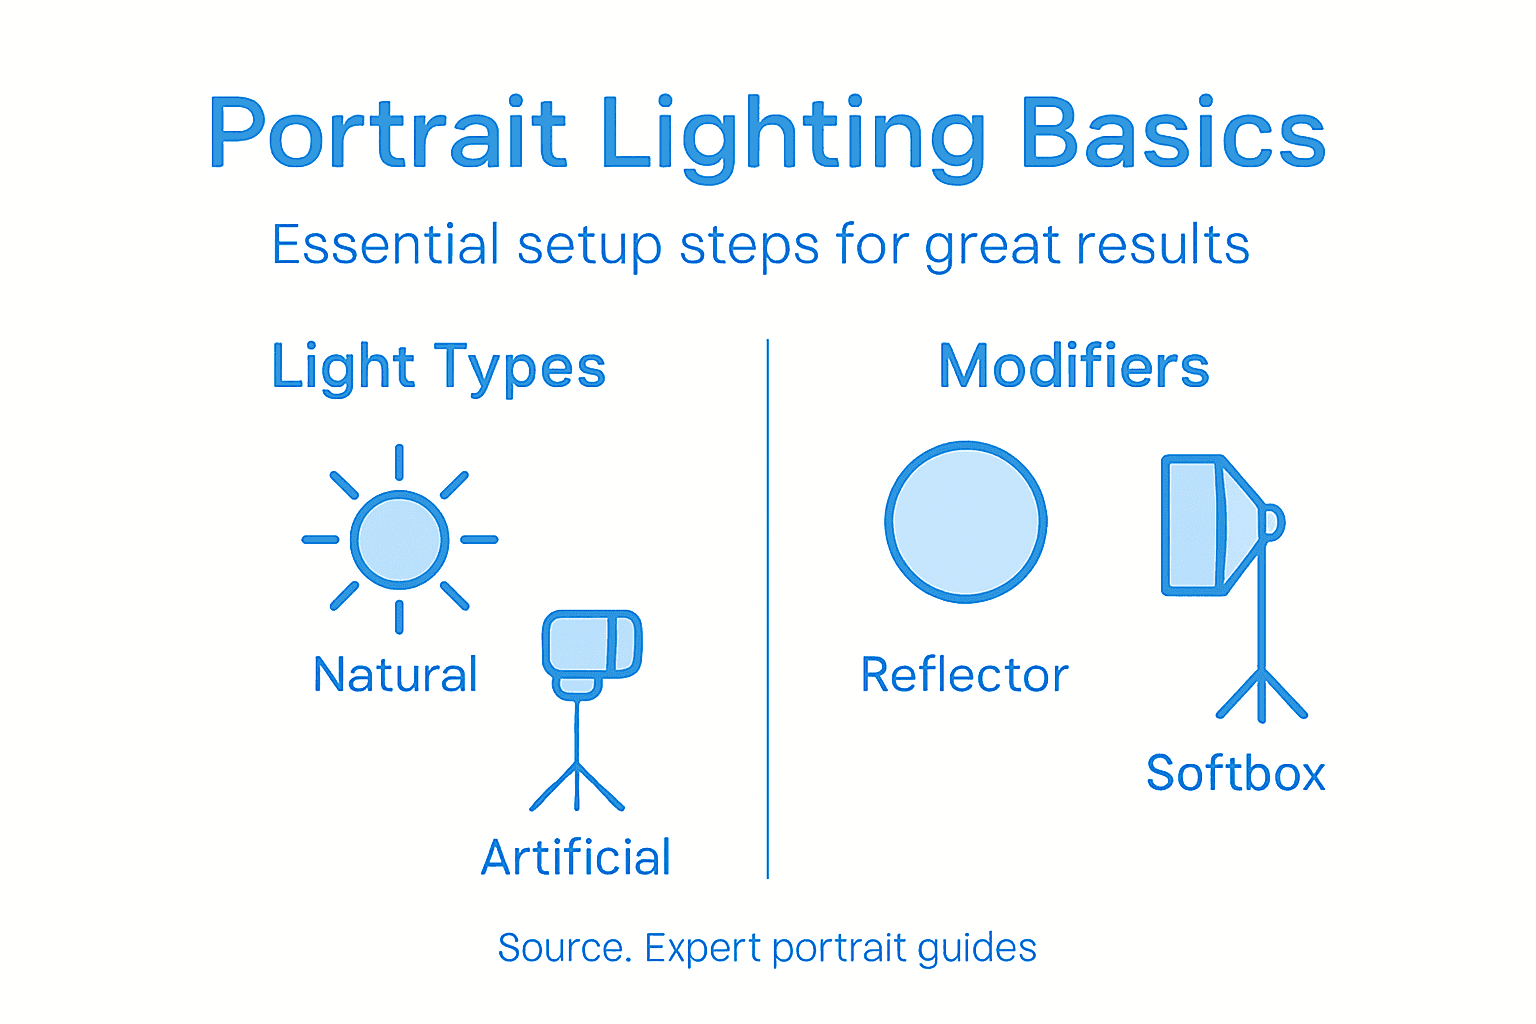
Start by thoroughly examining the available light sources and their characteristics. Natural window light can provide soft, diffused illumination that flatters facial features, while ambient light conditions dramatically influence the mood and quality of your portrait. Look for areas with indirect light that can create gentle shadows and highlight your subject’s unique features. Pay attention to reflective surfaces like white walls or light colored floors that can bounce and soften light, creating more balanced illumination.
Carefully observe how shadows fall and interact with your subject’s facial structure. Different angles and positions can dramatically transform the emotional tone of the portrait. Consider the depth and direction of light sources, noting how they sculpt facial contours and create visual interest. If natural light is limited, scout potential artificial lighting options that can supplement or replace ambient conditions.
Pro tip: Carry a simple white foam board or reflector to manipulate light and create professional lighting effects in almost any environment.
Step 2: Select and Position Key Light Sources
Positioning key light sources is a critical skill that can transform an ordinary portrait into a stunning visual narrative. Understanding how to strategically place your primary light source will help you create depth, dimension, and emotional impact in your photographs.
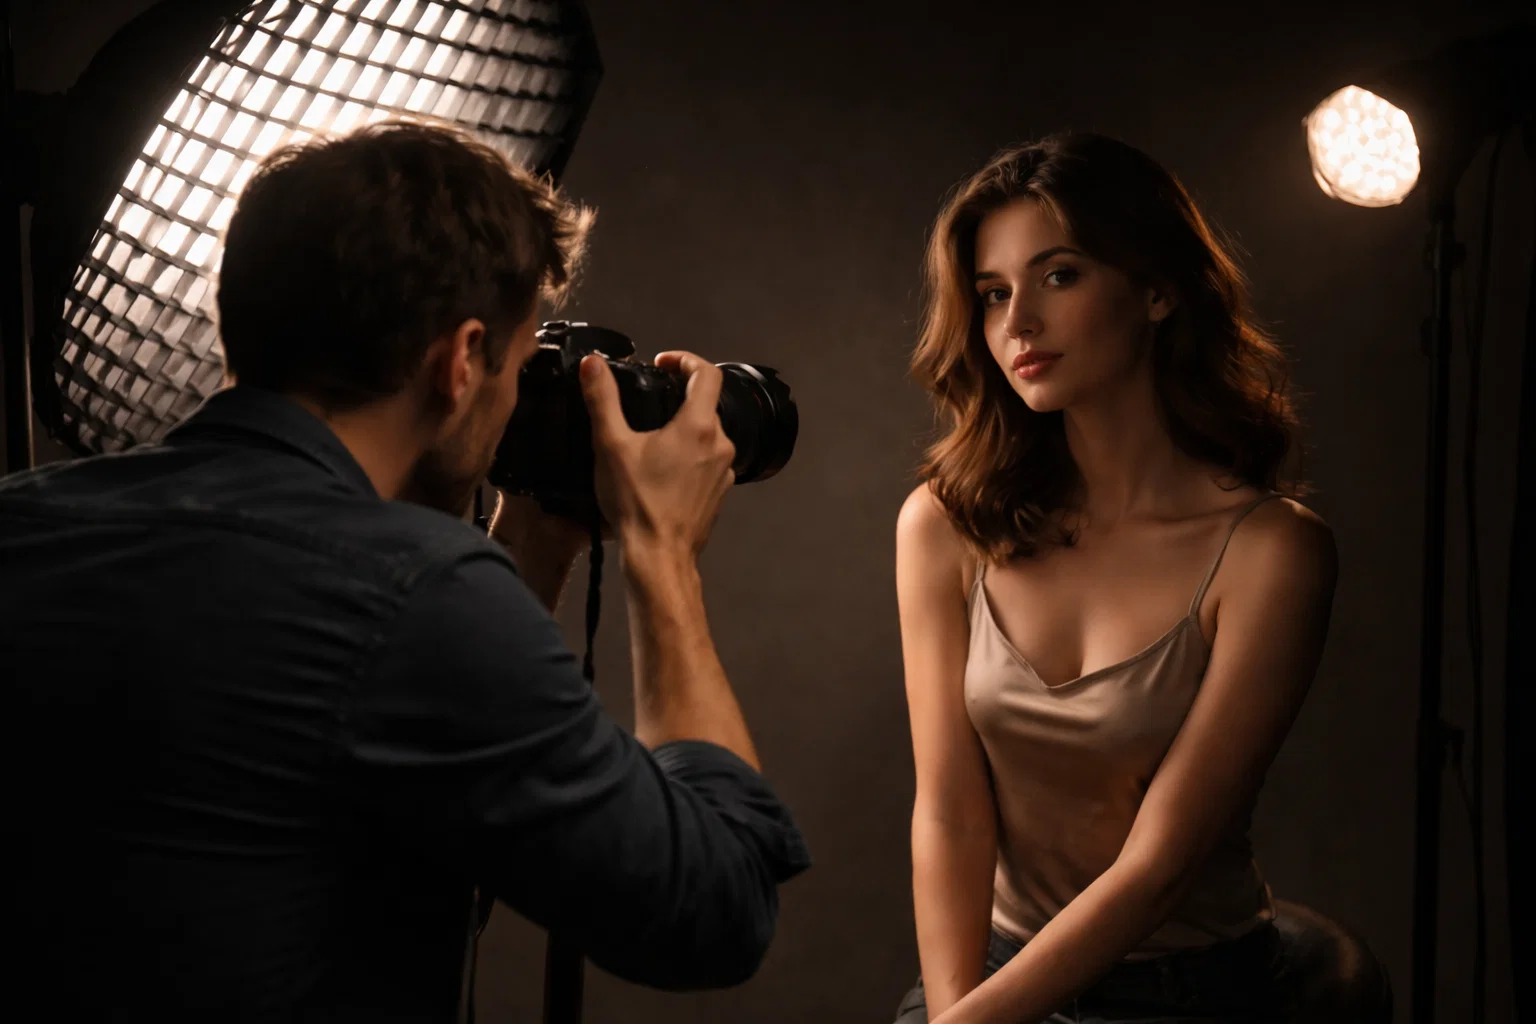
The fundamental principle of key light positioning involves placing the light at a 30 to 60-degree angle from your camera and slightly above the subject’s eye level. This approach sculpts facial features by creating subtle shadows that add dimensionality and visual interest. High key lighting techniques can help you further refine your approach, allowing you to control the intensity and mood of your portrait. Consider the distance and angle carefully experiment with different positions to understand how light falloff and shadow depth change the subject’s appearance.
When selecting your key light source, assess its characteristics like softness and intensity. Soft light from large diffusers or natural window light can create gentle, flattering illumination, while more focused light sources produce dramatic, contrasty results. Move your light source closer to create softer shadows or further away to increase shadow definition. Pay attention to how the light interacts with your subject’s facial structure and adjust accordingly to highlight their most compelling features.
Pro tip: Always do a test shot and review the lighting on your camera’s display to make real time adjustments and ensure you capture the most flattering light possible.
Step 3: Shape Light with Modifiers and Reflectors
Modifiers and reflectors are your secret weapons for transforming ordinary light into extraordinary portrait illumination. These powerful tools allow you to sculpt light precisely, controlling its quality, direction, and intensity to create professional looking images that capture your subject’s essence.
Reflectors come in different surface types, each producing unique lighting effects. White reflectors provide soft neutral fill light, silver reflectors create crisp contrast and highlight definition, while gold reflectors add warm tones to your image. Camera settings play a crucial role in capturing these nuanced lighting modifications. Position your reflector opposite your key light to fill shadows, soften harsh contrasts, and add dimensionality to your subject’s features. Experiment with distance and angle to find the most flattering light spread.
Here’s a comparison of common reflector surfaces used in portrait photography:
| Reflector Surface | Lighting Effect | Best Uses |
|---|---|---|
| White | Soft, neutral fill | General portraits, skin tones |
| Silver | Brighter, crisp contrast | Dramatic looks, outdoor shots |
| Gold | Warm, golden tones | Evening light, warm portraits |
Light modifiers such as softboxes, umbrellas, and diffusers offer even more sophisticated control. Softboxes create beautifully soft directional light that wraps around your subject, while translucent umbrellas provide gentle overall illumination. Diffusers help break up harsh light sources, transforming intense direct light into smooth gentle illumination that flatters skin tones and minimizes unflattering shadows. Remember that subtle adjustments can dramatically change the mood and emotional impact of your portrait.
Below is a summary of how light modifiers shape portrait lighting effects:
| Modifier Type | Effect on Light | Recommended Application |
|---|---|---|
| Softbox | Soft, directional | Controlled studio setups |
| Umbrella | Wide, gentle spread | Broad ambient lighting |
| Diffuser | Breaks up harsh light | Outdoor or window light control |
Pro tip: Keep a compact collapsible reflector in your camera bag that offers multiple surfaces for maximum lighting versatility in any shooting environment.
Step 4: Balance Natural and Artificial Lighting
Mastering the delicate art of balancing natural and artificial lighting is crucial for creating compelling portraits that look both professional and authentic. Understanding how to harmonize different light sources will transform your photography from amateur snapshots to stunning visual narratives.
Start by evaluating the existing natural light in your environment. Observe how sunlight streams through windows or how outdoor ambient light falls on your subject. Camera light technologies can help you complement these natural conditions with artificial sources. When introducing additional lighting, match the color temperature and intensity carefully. Soft artificial lights can fill in shadows created by natural light, while strategically placed strobes can add dimension and highlight your subject’s features without appearing artificial or harsh.
Color temperature matching is critical when blending light sources. Use gels or white balance adjustments to ensure your artificial lights seamlessly integrate with natural light. Continuous lights with adjustable color temperatures work exceptionally well for this purpose. Experiment with different angles and distances to create a balanced illumination that preserves the mood of the natural setting while providing enough light to capture fine details and create visual interest.
Pro tip: Always carry a gray card to help you quickly and accurately adjust white balance when mixing multiple light sources during your portrait shoot.
Step 5: Evaluate and Adjust Your Lighting Setup
Evaluating and fine-tuning your lighting setup is the critical final stage that transforms good portraits into extraordinary images. This process requires a systematic approach that combines technical precision with artistic intuition to capture truly compelling photographs.
Begin by using your camera’s histogram and preview screen to analyze lighting quality and exposure. Home photography lighting techniques can help you understand how to critically assess your lighting configuration. Look for balanced highlights and shadows that reveal texture and depth without creating harsh or unflattering effects. Take multiple test shots from different angles, adjusting your key light, fill light, and background illumination incrementally. Pay close attention to how light falls on your subject’s facial features, watching for areas that might appear too bright or too dark.
Careful observation is key to making precise lighting adjustments. Move your lights in small increments, noting how each movement changes shadow definition and overall mood. Consider using a light meter for more accurate measurements, especially when working with multiple light sources. Zoom in on your preview images to check details like skin tone, texture, and the subtle interplay of light and shadow. Remember that minor tweaks can dramatically impact the emotional resonance and visual quality of your portrait.
Pro tip: Always shoot in RAW format to give yourself maximum flexibility in post processing lighting adjustments and recovering details in challenging lighting conditions.
Master Portrait Lighting with Confidence and Precision
Struggling to balance natural and artificial light or unsure how to position your key light for stunning portraits? You are not alone. Many photographers find shaping light with reflectors or modifiers challenging when aiming for professional results. This guide uncovers essential lighting techniques like controlling shadow depth and blending color temperatures that every enthusiast needs. To overcome these hurdles and elevate your portrait photography, practical advice and trustworthy tips are crucial.
Take your skills further today by exploring expert tutorials, gear recommendations, and step-by-step shooting advice at the Amateur Photographer Guide. Whether you want to refine your use of softboxes, learn the secrets of high key lighting, or master natural light manipulation, our comprehensive resource hub will support your growth. Don’t wait to transform ordinary portraits into extraordinary images. Visit Amateur Photographer Guide now and start capturing stunning results.
Frequently Asked Questions
How do I assess my shooting environment for portrait photography?
To assess your shooting environment, evaluate the available light sources, noting their direction and quality. Identify areas with soft, indirect light to flatter your subject, and consider bringing a reflector to manipulate the light effectively.
What is the ideal positioning for key light sources in portrait photography?
Position your key light source at a 30 to 60-degree angle from the camera and slightly above your subject’s eye level. Experiment with different angles and distances to sculpt facial features and create depth in your portraits.
How can I use reflectors to enhance my portrait lighting?
Use reflectors to fill in shadows and soften harsh light contrasts, positioning them opposite your key light. Experiment with different materials, such as white for neutral balance or silver for brighter contrast, to achieve the desired effect.
What are some tips for balancing natural and artificial lighting?
Start by evaluating the natural light in your environment and introduce artificial lighting that matches its color temperature and intensity. Adjust your settings as needed to ensure a harmonious blend, making sure to check the overall exposure continuously.
How can I evaluate and adjust my lighting setup for better portraits?
Evaluate your lighting setup by reviewing test shots on your camera’s display and checking for balanced highlights and shadows. Make incremental adjustments to your light positions and observe any changes in the emotional tone of the portrait to enhance the image quality.
Recommended
- 7 Essential Portrait Photography Tips for Beginners
- 8 Essential Portrait Photography Tips for Better Results
- How to Take Better Portrait Photos: A Definitive Guide
- 7 Essential Portrait Photography Tips for Better Results
Last update on 2026-06-05 / Affiliate links / Images from Amazon Product Advertising API
