
Table of Contents
- Quick Summary
- 1. Prepare Your Camera Gear and Backup Equipment
- 2. Select the Right Location and Lighting Setup
- 3. Communicate and Plan with Your Subject
- 4. Set Camera Settings for Sharp Portraits
- 5. Guide Posing and Expressions Effectively
- 6. Review and Adjust Composition On-Site
- 7. Check Images and Make Quick Edits Post-Shoot
- Master Your Portrait Photography with Expert Guidance and Tools
- Frequently Asked Questions
- Recommended
This blog post may contain affiliate links. As an Amazon Associate I earn from qualifying purchases.
Portrait photography can be overwhelming when so many details need your attention. From maintaining your camera kit to building rapport with your subject, each step impacts the quality of your final image. If you skip even one part of the process, you risk technical issues, awkward poses, or missed creative moments.
The right preparation and approach give you control over your results and help your subjects relax and shine in front of the camera. This guide will show you specific, actionable steps covering equipment readiness, location selection, lighting, communication, camera settings, posing, and quick post-shoot edits.
Get ready to discover practical strategies that take you from just hoping for a good portrait to confidently creating images with genuine expression and technical polish.


Quick Summary
| Takeaway | Explanation |
|---|---|
| 1. Prepare Equipment Thoroughly | Clean lenses, check batteries, and inspect your camera to avoid technical issues during the shoot. |
| 2. Choose Location Wisely | Consider natural light, background, and space to create impactful portraits. The right setting enhances emotion. |
| 3. Communicate with Subjects | Build trust and comfort with subjects to capture authentic emotions and expressions during the shoot. |
| 4. Set Optimal Camera Settings | Use the right aperture, shutter speed, and ISO for sharp, high-quality portraits; test settings before shooting. |
| 5. Review Composition On-Site | Continuously assess the visual elements and adjust framing to capture striking images that tell a story. |
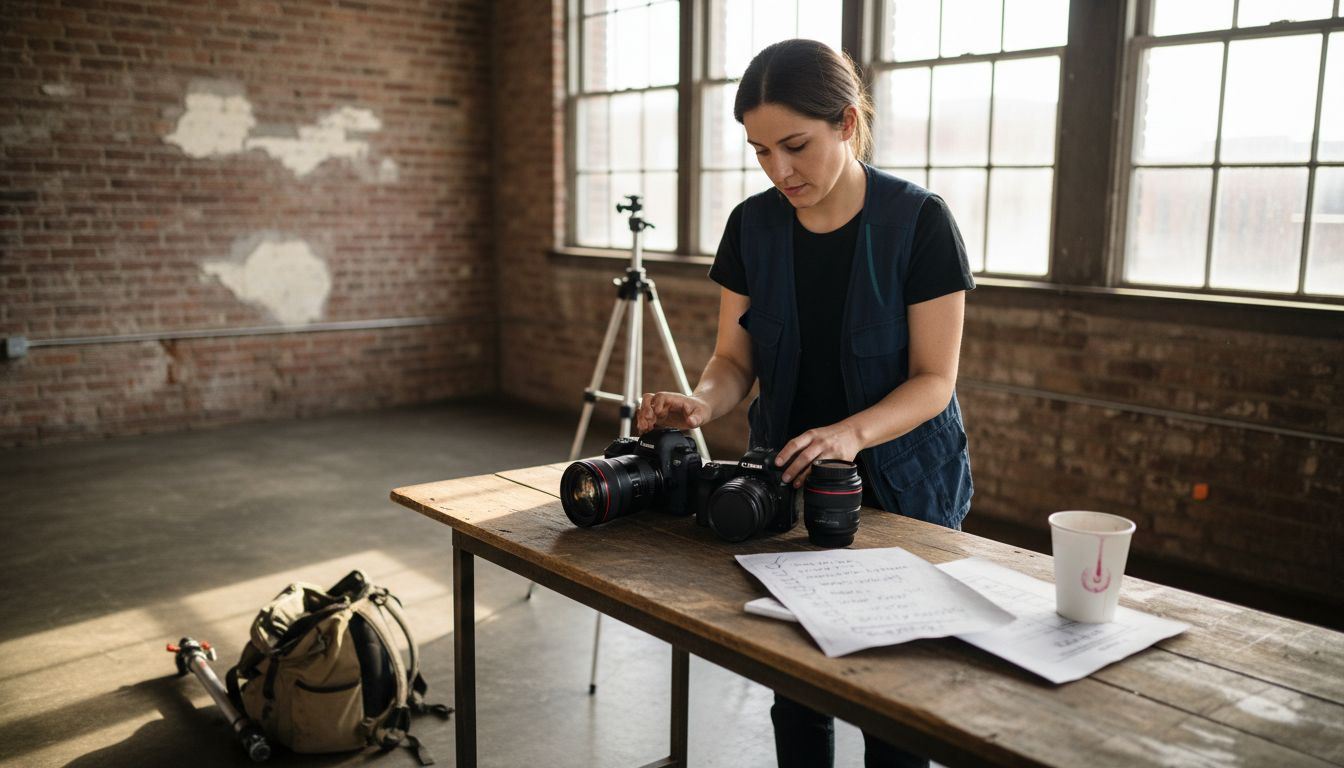
1. Prepare Your Camera Gear and Backup Equipment
Preparing your camera gear and backup equipment is the critical first step in ensuring a smooth and successful portrait photography session. Professional photographers understand that equipment readiness can make or break a shoot.
Your camera kit requires meticulous preparation to prevent unexpected technical failures. Here are the key steps to get your gear ready:
- Clean all camera lenses thoroughly using microfiber cloths
- Check battery charge and pack fully charged backup batteries
- Inspect camera body for any dust or potential mechanical issues
- Test camera functionality before leaving for your shoot
A well-maintained camera system helps prevent last-minute technical challenges. Selecting the right camera gear requires understanding your specific photography needs and having reliable backup options.
Always have a backup plan when it comes to photography equipment. Technical failures can happen at the most critical moments.
Backup equipment is not just a luxury but a professional necessity. Consider carrying duplicate items such as:
- Secondary camera body
- Extra memory cards
- Additional lenses
- Portable charger or extra batteries
Pro tip: Create a pre-shoot equipment checklist and review it systematically to ensure nothing is overlooked or forgotten.
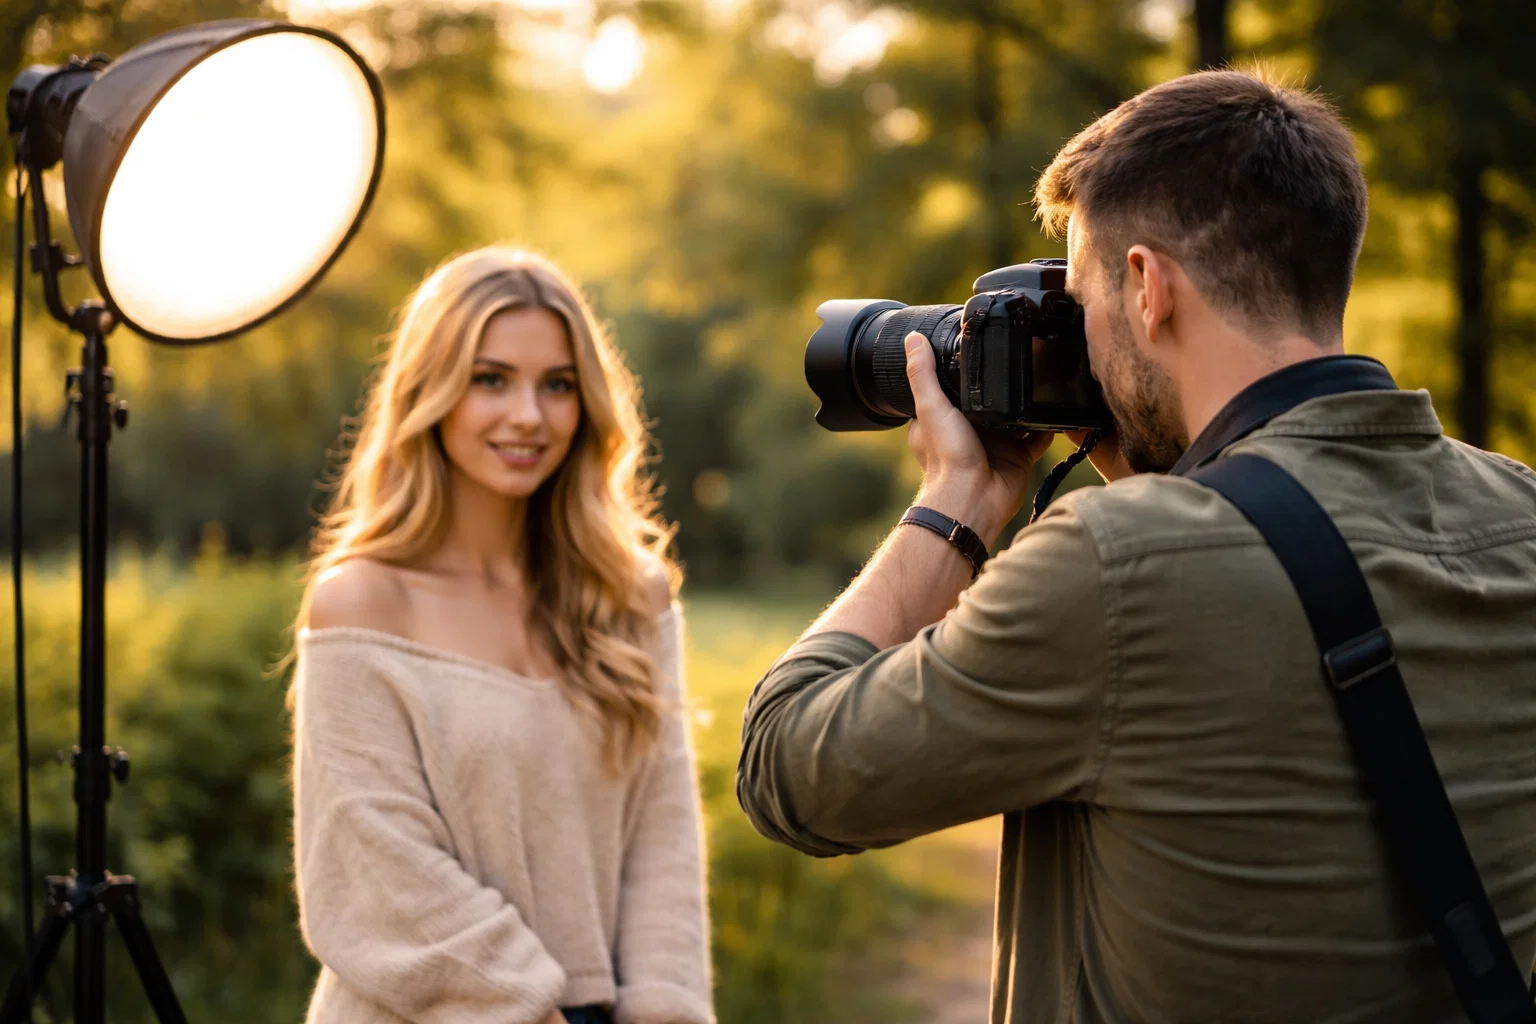
2. Select the Right Location and Lighting Setup

Selecting the perfect location and lighting setup is fundamental to creating compelling portrait photographs that capture your subject’s essence and mood. The right environment can transform an ordinary image into an extraordinary visual narrative.
Understanding location and lighting involves careful consideration of several key factors:
- Natural light availability and quality
- Indoor versus outdoor shooting environments
- Subject’s comfort and positioning
- Desired emotional tone of the portrait
Portrait lighting techniques can dramatically influence how your subject appears in the final image. Different lighting styles like butterfly, loop, and Rembrandt lighting each create unique visual effects and emotional impressions.
Good lighting transforms an average photograph into a powerful storytelling medium.
When choosing a location consider these critical elements:
- Time of day for optimal natural lighting
- Background complexity and visual interest
- Space requirements for equipment and movement
- Potential environmental distractions
Studio setups offer controlled environments while outdoor locations provide dynamic natural backdrops. Your choice depends on the specific mood and style you want to achieve.
Pro tip: Scout your location in advance and conduct a preliminary lighting test to understand how light shifts and interacts with your subject throughout your planned shooting time.
3. Communicate and Plan with Your Subject
Communicating effectively with your portrait subject is more than just giving directions. It is a delicate art of building trust, reducing anxiety, and creating an environment where authentic emotions can naturally emerge.
Successful portrait photography requires understanding the psychological dynamics between photographer and subject. Your communication style directly impacts the quality of your photographs:
- Reduce subject anxiety through calm interactions
- Use positive and encouraging language
- Demonstrate poses instead of just describing them
- Maintain a friendly and professional demeanor
Portrait photography techniques involve more than technical skills. They require emotional intelligence and the ability to make subjects feel comfortable and confident.
Authentic portraits emerge when subjects feel safe and understood.
Before the shoot communicate clearly about these key elements:
- Expected duration of the photoshoot
- Clothing recommendations
- Potential pose styles
- Your overall creative vision
- Any specific looks or emotions you want to capture
Body language speaks volumes. Pay attention to your subject’s non-verbal cues and adjust your approach accordingly. Some individuals might need more guidance while others prefer minimal direction.
Pro tip: Practice active listening and show genuine interest in your subject to create a comfortable atmosphere that naturally brings out their most authentic self.
4. Set Camera Settings for Sharp Portraits
Achieving tack-sharp portrait photographs requires understanding and masterfully manipulating your camera’s essential settings. The difference between a good and great portrait often lies in precise technical control.
Portrait photographers must focus on several critical camera parameters to ensure exceptional image quality:
- Aperture control for depth of field
- Shutter speed to prevent motion blur
- ISO sensitivity management
- Focus point selection
Camera settings for portraits can dramatically impact your final image quality and artistic expression.
Sharp portraits start with intentional technical decisions.
Your optimal camera configuration for portrait photography should include:
- Wide aperture (f/1.8 to f/4) for beautiful background blur
- Shutter speed at least 1/125 second to freeze subtle movements
- Low ISO (100-400) for minimal digital noise
- Manual or aperture priority mode for maximum control
- Single point autofocus aimed directly at the subject’s eyes
Understanding exposure metering helps you balance light and maintain image sharpness. Most cameras offer spot metering which allows precise exposure measurement directly on your subject.
Pro tip: Always do a quick test shot and zoom in to check focus and sharpness before completing your full portrait session.
5. Guide Posing and Expressions Effectively
Posing is an art form that transforms a simple photograph into a powerful narrative about your subject. Mastering the subtle nuances of body language and facial expressions can elevate your portraits from ordinary snapshots to compelling visual stories.
Successful portrait posing involves understanding both physical and psychological elements:
- Create a comfortable environment
- Communicate clearly and positively
- Demonstrate poses visually
- Provide gentle, specific guidance
Portrait photography tips highlight the importance of making subjects feel at ease during photoshoots.
Great portraits reveal the subject’s authentic self through intentional yet natural positioning.
Key strategies for effective posing include:
- Start with natural, relaxed body positions
- Avoid rigid or overly formal stances
- Use positive language to build subject confidence
- Provide specific, actionable instructions
- Watch for and respond to body language cues
Emotional intelligence plays a crucial role in guiding subjects. Observe their comfort level and be prepared to adjust your approach. Some individuals need more direct guidance while others prefer minimal direction.
Pro tip: Practice demonstrating poses yourself first to help subjects understand exactly what you want them to do.
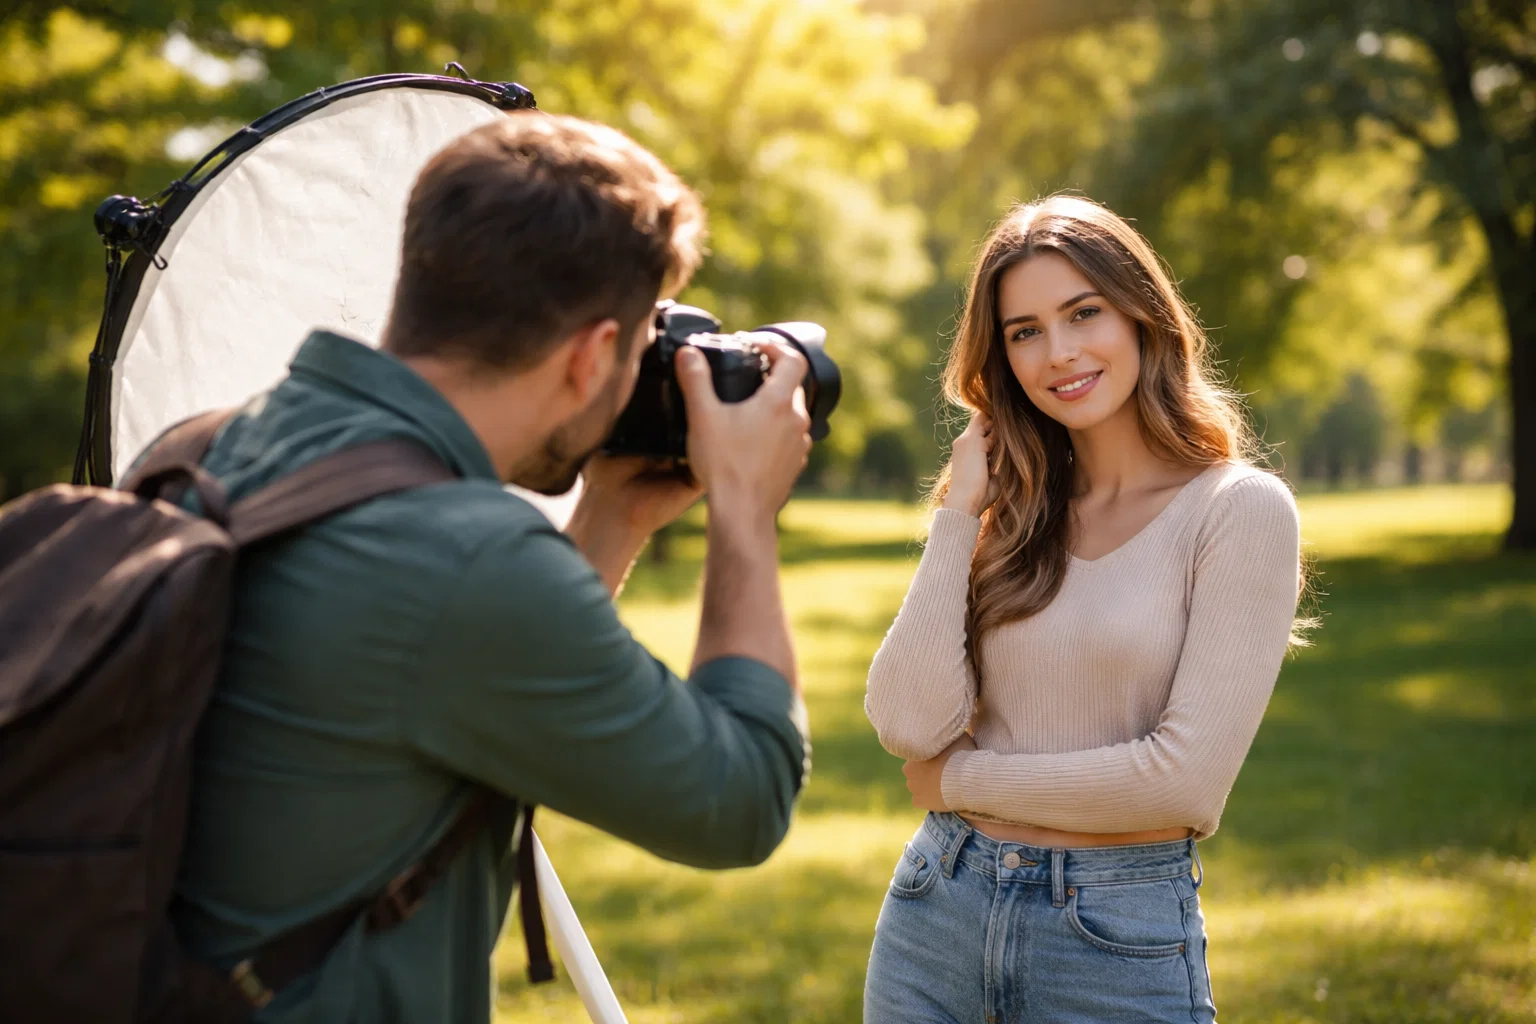
6. Review and Adjust Composition On-Site
Composition is the visual language that transforms a simple photograph into a compelling narrative. Actively reviewing and adjusting your composition during a portrait shoot allows you to create more intentional and visually striking images.
Effective on-site composition involves strategic visual decision making:
- Balance visual elements
- Create intentional framing
- Manage background distractions
- Position subject strategically
Photo composition techniques can dramatically improve your portrait photography results.
Great composition turns ordinary moments into extraordinary memories.
Key strategies for on-site composition review include:
- Use the rule of thirds grid in your viewfinder
- Check background for unwanted elements
- Adjust subject positioning
- Change camera angle
- Move lighting to enhance subject
Pay attention to visual lines and how they guide viewer attention. Look for natural leading lines that draw focus to your subject’s most compelling features.
Pro tip: Take multiple shots with slight composition variations to give yourself more options during post processing and increase your chances of capturing the perfect image.
7. Check Images and Make Quick Edits Post-Shoot
The post-shoot review is a critical moment where photographers can quickly assess and enhance their portrait images. Immediate editing allows you to catch and correct potential issues while the shoot details are still fresh in your mind.
Effective post-shoot image review involves several strategic steps:
- Evaluate overall image exposure
- Check focus and sharpness
- Assess composition and framing
- Make immediate basic corrections
Photo editing techniques help transform good portraits into exceptional images.
Small adjustments can significantly elevate your photographic results.
Key actions for quick post-shoot editing include:
- Zoom in to verify critical focus points
- Adjust brightness and contrast
- Crop for improved composition
- Apply subtle color corrections
- Delete obviously flawed images
Mobile editing apps now offer powerful on-the-go correction capabilities. These tools allow photographers to make swift adjustments directly from their smartphones or tablets.
Pro tip: Always save your original files and create duplicates before applying any edits to preserve your raw image data.
Below is a comprehensive table summarizing the key practices and strategies for conducting successful portrait photography sessions as discussed in the article.
| Topic | Details and Actions | Benefits |
|---|---|---|
| Camera Gear Preparation | Carefully clean lenses, check battery charge, inspect the camera, and ensure backup equipment such as batteries, memory cards, and a secondary camera body. | Reduces technical issues and ensures readiness for the session. |
| Location and Lighting Setup | Consider natural light, subject comfort, and the desired emotional tone. Test lighting conditions and scout the location prior to the shoot. | Creates a conducive environment for capturing quality images. |
| Communication with Subject | Build trust, clearly communicate shoot expectations, and effectively guide posing with positive reinforcement and active listening. | Encourages authentic expressions and a comfortable shooting atmosphere. |
| Camera Settings Optimization | Adjust aperture for depth of field, shutter speed to prevent motion blur, and ISO for minimal digital noise. Use manual or aperture priority mode and ensure sharpness of the subject’s eyes. | Achieves visually sharp and well-exposed portraits. |
| Effective Posing | Maintain natural and relaxed poses, use specific instructions, and adjust based on the subject’s comfort and body language cues. | Conveys the subject’s authentic self and effectively tells a visual story. |
| Real-time Composition Review | Use techniques like the rule-of-thirds, adjust backgrounds, and alter lighting or angles during the shoot to optimize shot composition. | Results in visually compelling portraits with balanced elements. |
| Post-Shoot Image Review | Evaluate image exposure, sharpness, and composition. Perform quick edits like brightness adjustment and cropping. | Enhances images and addresses potential issues promptly. |
Master Your Portrait Photography with Expert Guidance and Tools
Struggling to keep track of every vital step in your portrait photography sessions can feel overwhelming. From preparing your camera gear and backup equipment to mastering lighting techniques and guiding authentic expressions, the challenges are many. This article’s detailed checklist highlights key pain points such as managing camera settings for sharp images, effective subject communication, and on-site composition adjustments that will help you capture stunning portraits with confidence.
Discover practical solutions and step-by-step tutorials designed specifically for amateur photographers at Amateur Photographer Guide. Equip yourself with expert insights on camera settings for portraits and learn how to improve photo composition to transform your shots from average to extraordinary. Take control of your photography journey now and visit Amateur Photographer Guide for the ultimate resource on mastering every essential portrait photography step.
Frequently Asked Questions
What should I include in my portrait photography equipment checklist?
To prepare for a portrait photography session, include essential items such as a clean camera body, charged batteries, extra memory cards, and backup lenses. Create a physical checklist to review each item before you leave for your shoot.
How can I effectively choose a location for portrait photography?
Select a location based on natural light availability, background complexity, and the emotional tone you wish to capture. Visit potential locations in advance and take test shots to understand how lighting changes at different times of day.
What steps should I take to make my subject comfortable during a photo shoot?
Communicate openly with your subject, using positive language and demonstrating poses to ease their nervousness. Spend a few minutes chatting before the shoot to build trust and make them feel at ease.
What camera settings should I adjust for sharp portraits?
For sharp portraits, set a wide aperture (f/1.8 to f/4), use a fast shutter speed (at least 1/125 second), and keep the ISO low (100-400). Test different settings by taking a few shots to ensure your focus is accurate before conducting the full shoot.
How can I improve composition while shooting on-site?
Regularly review your composition during the shoot by checking for balance and visual distractions. Use the rule of thirds and adjust your camera angle to enhance framing and draw focus to your subject.
What quick edits can I make immediately after a portrait shoot?
After your shoot, check the focus and overall exposure of your images and apply basic edits such as brightness and contrast adjustments. Crop compositions that need improvement, and aim to complete these edits within a few hours for the best results.
Recommended
- 7 Essential Portrait Photography Tips for Beginners
- 7 Essential Portrait Photography Tips for Better Results
- How to Take Better Portrait Photos: A Definitive Guide
- Essential Portrait Lighting Techniques for Stunning Results
Last update on 2026-07-12 / Affiliate links / Images from Amazon Product Advertising API
