
Table of Contents
- Quick Summary
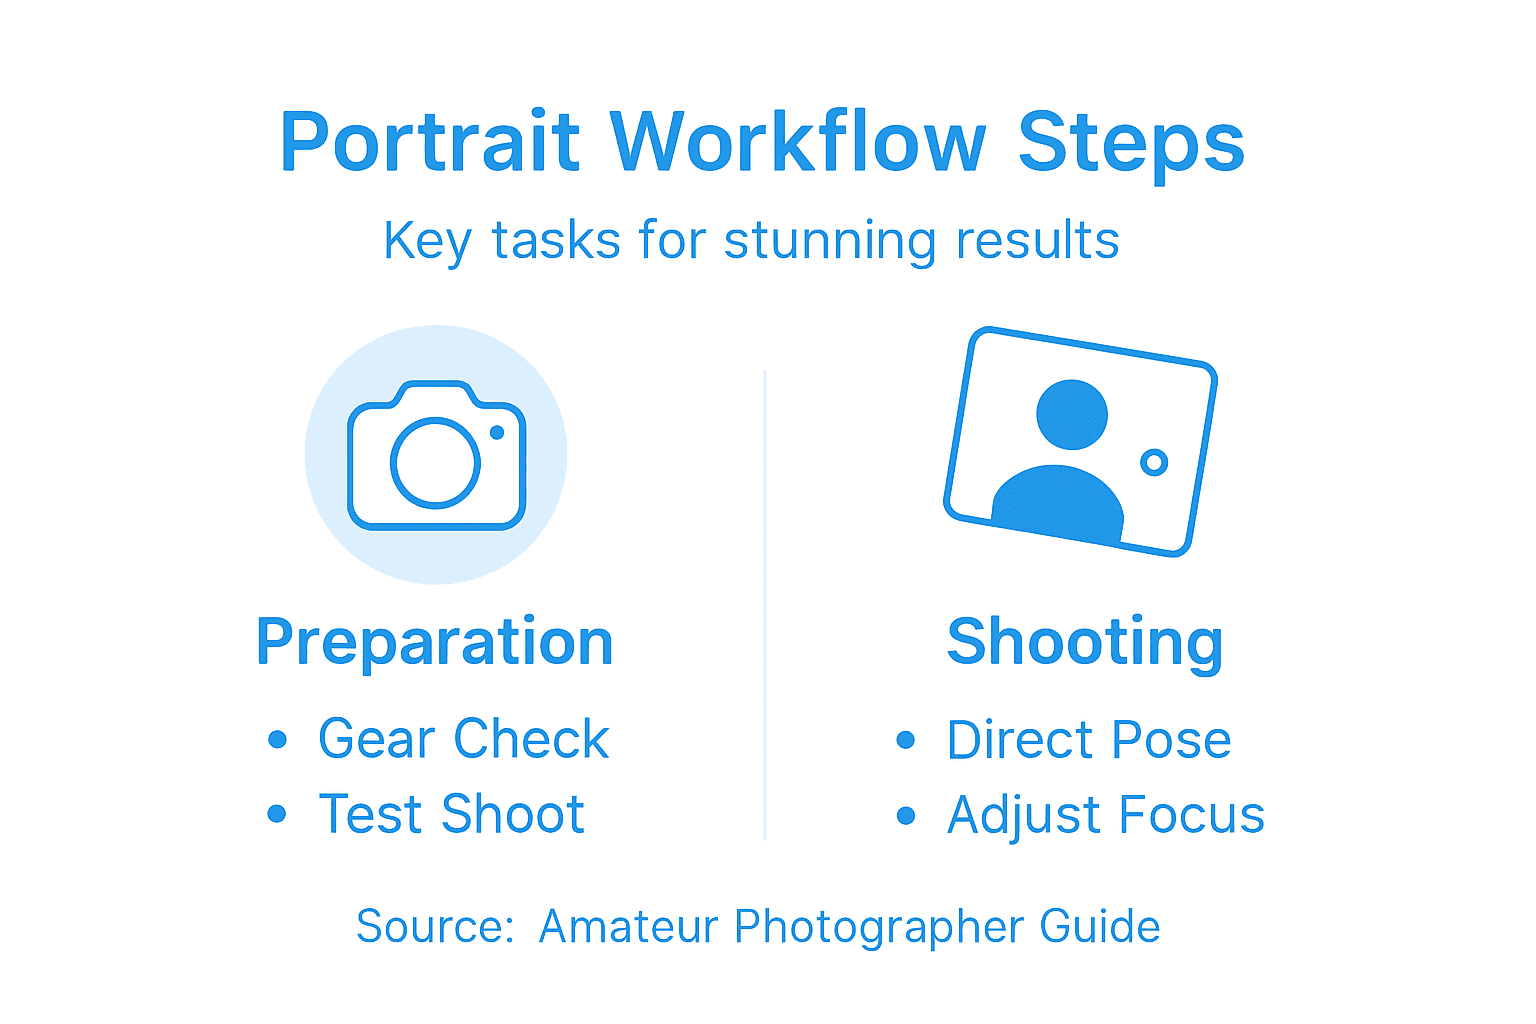
- Step 1: Select the Right Gear and Prepare Your Space
- Step 2: Choose Lighting and Set Up Your Scene
- Step 3: Direct and Pose Your Subject Effectively
- Step 4: Adjust Camera Settings and Focus Precisely
- Step 5: Capture, Review, and Refine Final Portraits
- Elevate Your Portrait Photography With Expert Guidance
- Frequently Asked Questions
- Recommended
This blog post may contain affiliate links. As an Amazon Associate I earn from qualifying purchases.
Struggling to capture truly authentic and memorable portrait photography? Many amateur photographers find it challenging to blend technical precision with creativity and evoke genuine emotion from their subjects. Improving your portraits means focusing on both equipment choices and the environment you create for your models. This guide delivers practical, step-by-step methods and expert tips to tackle common issues, helping you confidently photograph personalities from every corner of the world.


Quick Summary
| Key Point | Explanation |
|---|---|
| 1. Select Appropriate Equipment | Choose a camera with low-light capabilities, versatile lenses, and stable tripods for best results. |
| 2. Create a Relaxing Environment | Ensure your shooting space is calm, with soft lighting and an uncluttered background to help subjects feel comfortable. |
| 3. Master Lighting Techniques | Use three-point lighting to create dimension; experiment with different patterns for unique moods and effects. |
| 4. Direct Natural Poses | Build rapport with your subject and guide them into poses that feel natural and engaging for authentic portraits. |
| 5. Review and Refine Images | Critically analyze your shots after capturing, focusing on emotional impact, technical quality, and subtle enhancements. |
Step 1: Select the Right Gear and Prepare Your Space
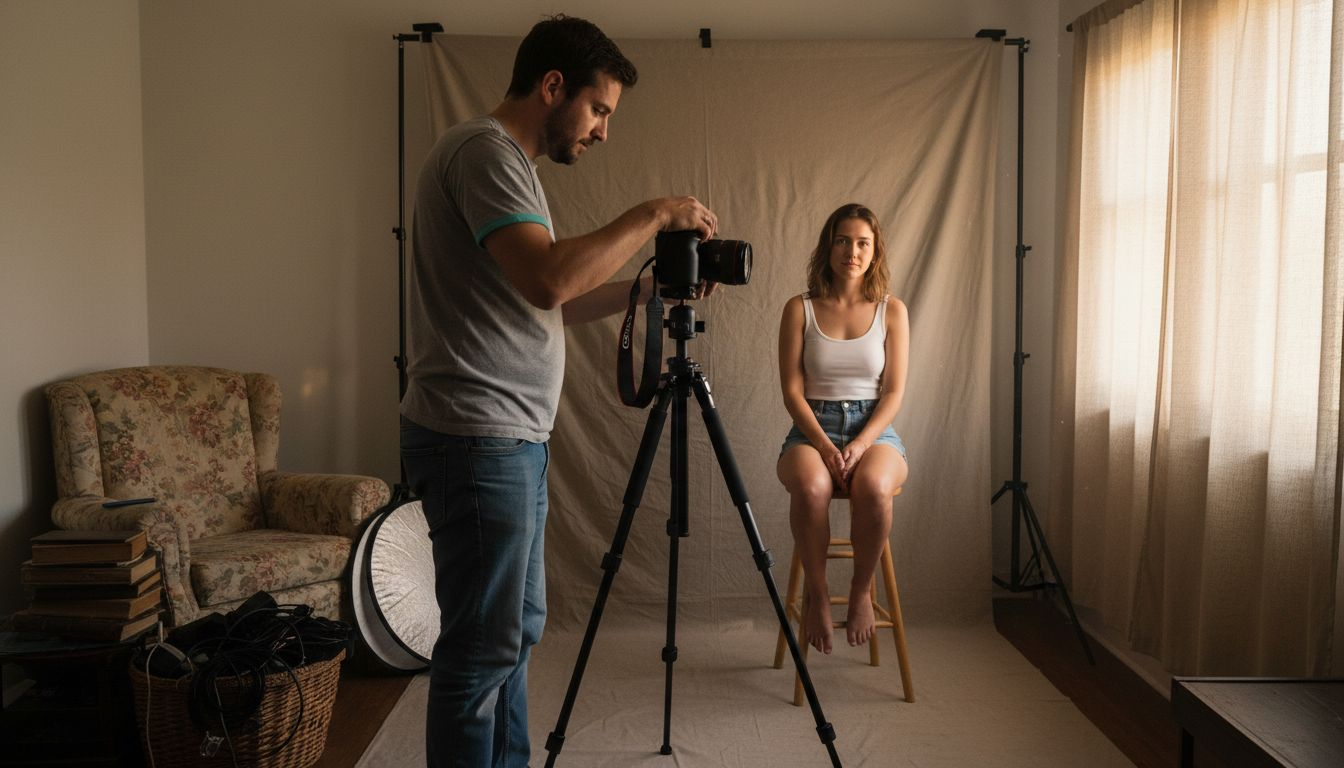
Preparing for an exceptional portrait photoshoot starts with selecting the right equipment and creating an optimal shooting environment. Your goal is to craft a space that highlights your subject’s personality while providing technical excellence.
Photography requires strategic gear selection and thoughtful space preparation. You’ll want to focus on a few critical elements:
- Camera body with good low-light performance
- Versatile lens allowing multiple focal lengths
- Stable tripod for consistent framing
- Clean, uncluttered background or backdrop
- Appropriate lighting equipment
When setting up your portrait space, consider both technical requirements and psychological comfort. A calm, welcoming environment helps subjects feel relaxed and appear more natural in photographs. Choose a location with soft, diffused light – near a large window or in a room with neutral wall colors works wonderfully.
A well-prepared space is 50% of portrait photography success.
Position your subject strategically, avoiding harsh direct light and minimizing background distractions. Experiment with different angles and distances to find the most flattering composition. Keep your shooting area organized and have all necessary equipment within easy reach.
Pro tip: Always do a test shoot in your prepared space to check lighting, background, and overall composition before your actual portrait session.
Step 2: Choose Lighting and Set Up Your Scene
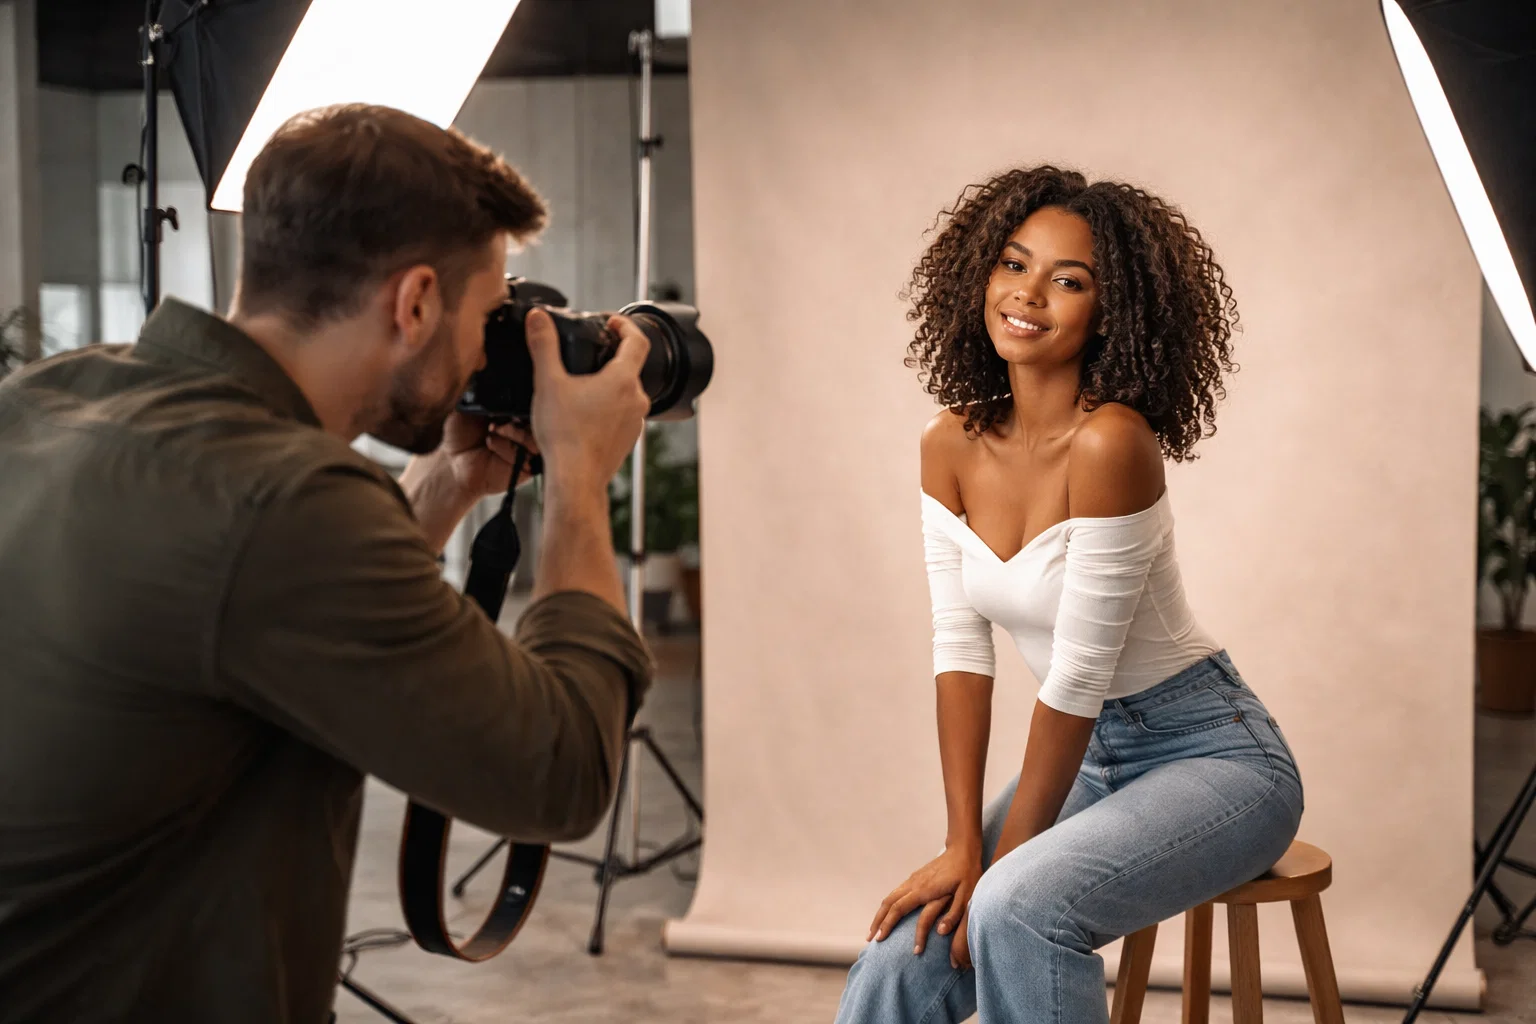
Understanding lighting is crucial in transforming an ordinary portrait into an extraordinary visual story. Your lighting setup will dramatically influence the mood, depth, and emotional impact of your final image.
Portrait photographers have several classic lighting techniques to choose from. The most versatile approach is three-point lighting, which creates dimension and highlights your subject’s best features:
- Key light: Primary light source positioned at a 45-degree angle
- Fill light: Softer light reducing shadows and balancing contrast
- Back light: Creates separation between subject and background
Natural light can be incredibly powerful when used strategically. Position your subject near large windows with soft, diffused light – avoid harsh direct sunlight that creates unflattering shadows. Portrait lighting techniques can help you understand how to manipulate light effectively.
Mastering light is about creating emotion, not just illumination.
Experiment with different lighting patterns like butterfly, loop, and split lighting to discover unique ways of rendering your subject. Each pattern creates a distinct mood and emphasizes different facial characteristics. Pay attention to light intensity, direction, and quality to craft images that tell compelling stories.
Here’s a quick comparison of common portrait lighting patterns and their visual impact:
| Lighting Pattern | Effect on Subject | Best For |
|---|---|---|
| Butterfly | Softens features, creates shadow under nose | Classic, glamorous portraits |
| Loop | Adds gentle shadow on one side of face | Flattering, everyday headshots |
| Split | Half in shadow, half illuminated | Dramatic, moody portraits |
| Rembrandt | Triangle of light on cheek | Artistic, textured images |
Pro tip: Always do a test shot with your lighting setup to preview how shadows and highlights will interact with your subject’s features.
Step 3: Direct and Pose Your Subject Effectively
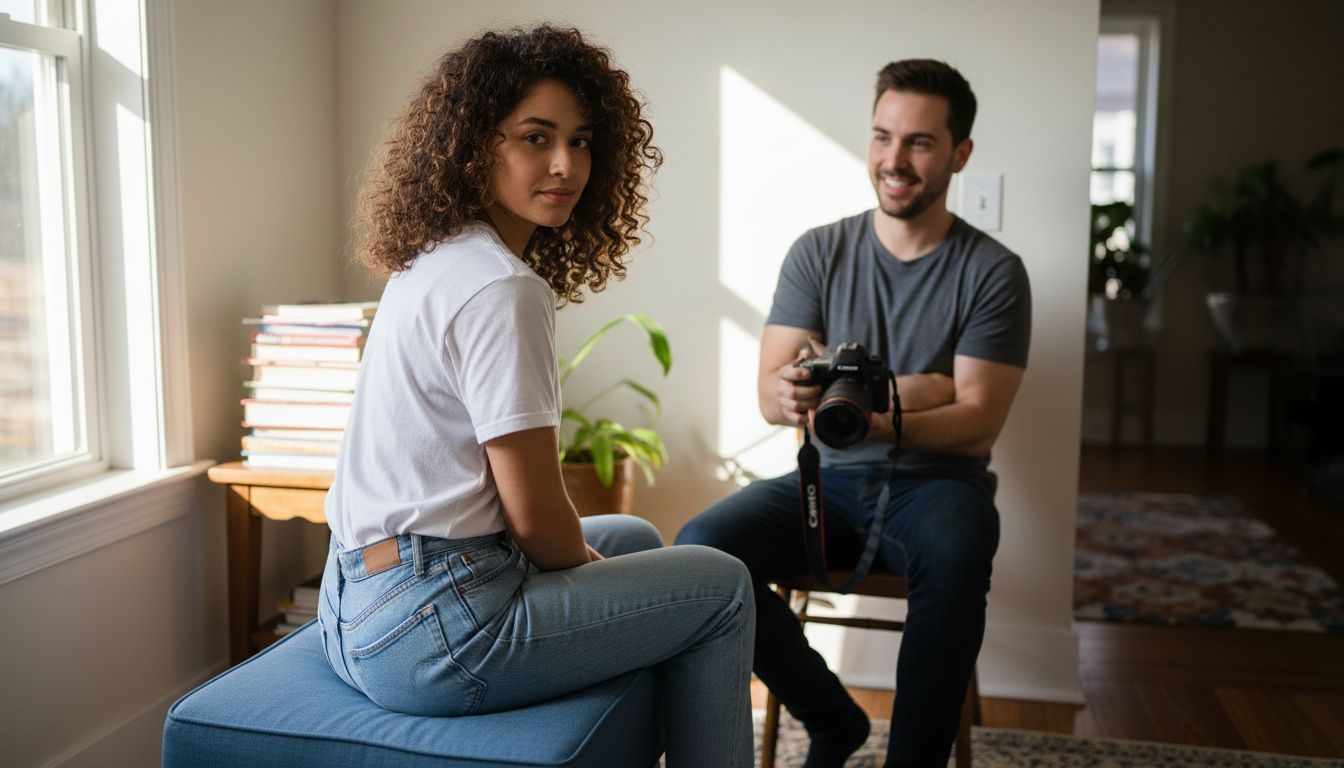
Successful portrait photography hinges on your ability to direct and pose subjects in a way that reveals their authentic personality and creates visual intrigue. Your goal is to make subjects feel comfortable while guiding them into poses that look natural and engaging.
Portrait posing involves strategic body positioning and subtle coaching. Consider these key principles for effective subject direction:
- Body language communicates more than facial expressions
- Subtle shifts in angle can dramatically transform image mood
- Comfort of the subject is paramount to capturing genuine moments
- Facial positioning influences emotional perception
Start by establishing a relaxed rapport with your subject. How to take better portrait photos can provide additional insights into building connection and trust during a shoot. Observe their natural movements and guide them into poses that feel comfortable rather than forced.
Great portraits emerge when subjects forget they’re being photographed.
Experiment with different angles and perspectives. Have your subject turn their body slightly away from the camera while keeping their face oriented toward you. This creates visual depth and adds complexity to the composition. Pay attention to hand placement, shoulder tension, and subtle facial expressions that can transform an ordinary portrait into a compelling narrative.
Pro tip: Always demonstrate poses yourself first to help subjects understand exactly what you want them to do.
Step 4: Adjust Camera Settings and Focus Precisely
Mastering your camera settings is the difference between a good portrait and an extraordinary one. Precise focus and strategic camera configuration will help you capture images that are technically perfect and emotionally compelling.
Understanding the core camera settings is crucial for portrait photography. Your primary focus settings will include:
- Aperture: Controls depth of field and background blur
- Shutter speed: Manages motion and light capture
- ISO: Determines light sensitivity and image noise
- Focus mode: Selects how your camera locks onto subjects
How autofocus works provides deeper insight into selecting the right focus techniques. Single-point autofocus is typically best for portraits, allowing you to precisely target your subject’s eyes – the most critical area of sharpness.
Use this reference for optimal camera settings in portrait photography:
| Setting | Typical Range | Visual Outcome |
|---|---|---|
| Aperture | f/1.8 – f/4 | Blurred background, sharp face |
| Shutter Speed | 1/125s – 1/250s | Prevents motion blur |
| ISO | 100 – 800 | Maintains image clarity |
| Focus Mode | Single-point AF | Sharp focus on eyes |
Sharp eyes tell the story. Blurry eyes break the connection.
Experiment with different focus modes to understand their nuances. For stationary subjects, use single-shot autofocus, which locks focus when you half-press the shutter. For moving subjects, switch to continuous autofocus to maintain sharpness. Always preview your images immediately after shooting to confirm focus accuracy.
Pro tip: Enable your camera’s focus peaking feature to visually highlight precisely focused areas in real-time.
Step 5: Capture, Review, and Refine Final Portraits
The final stage of portrait photography transforms good images into extraordinary visual stories. Your goal is to critically analyze each shot, selecting and enhancing images that capture your subject’s essence and emotional depth.
During the capture and review process, focus on these key evaluation criteria:
- Emotional impact: Does the image convey genuine feeling?
- Technical quality: Check sharpness, exposure, and composition
- Subject connection: Assess how well the portrait reveals personality
- Lighting and mood: Evaluate how light supports the image’s narrative
Portrait photography checklist can provide additional guidance in systematically reviewing your images. Immediate review after each shooting sequence allows you to make real-time adjustments and capture increasingly refined shots.
Great portraits are discovered, not just taken.
When refining your images, aim for subtle enhancements that preserve authenticity. Adjust contrast, color balance, and minor skin retouching, but avoid over-editing that strips away the subject’s unique character. Use post-processing as a tool to amplify the portrait’s emotional narrative, not to create an artificial representation.
Pro tip: Create a consistent editing workflow by developing a personal preset that maintains your signature style across different portraits.
Elevate Your Portrait Photography With Expert Guidance
Struggling to capture portraits that truly reflect your subject’s personality and emotions? This step-by-step portrait photography guide addresses common challenges like mastering lighting setups, precise focusing on the eyes, and directing subjects for natural poses. If you want to overcome these hurdles with confidence and create stunning results every time focus on essential concepts like three-point lighting, single-point autofocus, and creating a comfortable environment for your subject.
Unlock practical tips and detailed tutorials that simplify complex photography techniques. Visit the Amateur Photographer Guide to explore comprehensive advice on shooting techniques, camera settings, and lighting strategies. Learn how to confidently select gear and refine your skills by checking out the How Autofocus Works and How to Take Better Portrait Photos articles. Start transforming your portraits now by diving deeper into expert insights and mastering the art of portraiture with our trusted resources.
Frequently Asked Questions
What equipment do I need for a portrait photography session?
To effectively capture stunning portraits, you’ll require a camera body with good low-light performance, a versatile lens, and a stable tripod. Additionally, ensure you have appropriate lighting equipment and a clean backdrop to create the perfect environment for your shoot.
How can I create effective lighting for my portraits?
Use three-point lighting, which includes a key light, fill light, and back light, to craft dimension and enhance your subject’s features. Experiment with different lighting patterns, such as loop and butterfly lighting, to find the best setup that complements your subject’s unique characteristics.
What are some tips for posing my subject during the photoshoot?
Encourage a relaxed atmosphere to help your subject feel comfortable, which will lead to more authentic expressions. Consider subtle shifts in body angles and demonstrate poses yourself first to guide them effectively into natural-looking positions.
How do I adjust my camera settings for portrait photography?
Set your aperture between f/1.8 and f/4 to create a blurred background, and choose a shutter speed of at least 1/125s to prevent motion blur. Additionally, utilize single-point autofocus to ensure sharp focus on your subject’s eyes, as this is crucial for capturing their connection with the viewer.
What should I look for when reviewing my captured portraits?
Evaluate each portrait based on emotional impact, technical quality, and subject connection. Focus on aspects like sharpness, exposure, and whether the lighting supports the intended mood, allowing you to refine and select the best images for editing.
Recommended
- 7 Essential Steps for a Complete Portrait Photography Checklist – Amateur Photographer Guide
- 8 Essential Portrait Photography Tips for Better Results – Amateur Photographer Guide
- 7 Essential Portrait Photography Tips for Beginners – Amateur Photographer Guide
- How to Take Better Portrait Photos: A Definitive Guide – Amateur Photographer Guide
- Product Photography for Amazon: A Guide to Images That Convert | Reddog Consulting Group
- Capture Stunning Moments: Lisbon Photo Tours Experience
Last update on 2026-04-14 / Affiliate links / Images from Amazon Product Advertising API
