How to Take Sharp Photos: Step-by-Step Guide for Amateurs
Learn how to take sharp photos with actionable steps on camera setup, focusing, shooting techniques, and quality checks for crisp results every time.
Blurry photos can feel like a frustrating mystery for anyone eager to capture sharp, eye-catching images. For beginner and intermediate photographers, understanding how camera focus, lens quality, and exposure settings shape photo sharpness is a game changer. This guide breaks down practical steps to unlock maximum image sharpness using proven techniques, from smart autofocus choices to strategic aperture selection, so you can confidently improve crispness and clarity in every shot.
What’s in this guide
- Quick Summary
- Step 1: Set up your camera for maximum sharpness
- Step 2: Choose optimal focus and aperture settings
- Step 3: Control your stability and minimize camera shake
- Step 4: Adjust lighting to enhance photo clarity
- Step 5: Verify and review images for sharpness
- Master the Art of Sharp Photography Today
- Frequently Asked Questions
- Recommended

Canon EOS Rebel T7 DSLR Camera Double Zoom Lens Kit with EF-S 18-55mm and EF 75-300mm Lenses, 24.1 Megapixel CMOS (APS-C) Sensor, Full HD Videos, Wi-Fi, Beginner Photographers, Digital Camera, Black

Canon EOS Rebel T7 DSLR Camera EF-S 18-55mm f/3.5-5.6 is II Lens Kit, 24.1 Megapixel CMOS (APS-C) Sensor, Full HD Videos, Built-in Wi-Fi, Beginner Photographers, Digital Camera, Black

Canon EOS R100 Mirrorless Camera RF-S18-45mm F4.5-6.3 is STM Lens Kit, 24.1 Megapixel CMOS (APS-C) Sensor, 4K Video, Wi-Fi & Bluetooth, Beginner Photographers and Creators, Digital Camera, Black

8K & 64MP Digital Camera for Photography, 48X Zoom (16X Optical + 3X Digital) with Moon Mode, 180° Flip Screen, WiFi, Micro HDMI, 64GB Card & 2 Batteries, Vlogging Camera for YouTube (Black)

Canon EOS Rebel T7 DSLR Camera w/EF-S 18-55mm F/3.5-5.6 Zoom Lens + 420-800mm Super Telephoto Lens + 100S Sling Backpack + 64GB Memory Cards, Professional Photo Bundle (42pc Bundle) (Renewed)
Quick Summary
| Key Insight | Explanation |
|---|---|
| 1. Optimize camera settings for sharpness | Proper camera focus, lens quality, and exposure settings are crucial for achieving razor-sharp photos. |
| 2. Use appropriate aperture and focus techniques | Different photographic situations require understanding optimal aperture ranges and specific focusing strategies to enhance sharpness. |
| 3. Maintain stability to prevent shake | Utilize techniques to control stability, such as using both hands and bracing against surfaces, to prevent camera shake during shots. |
| 4. Manipulate lighting for clarity | Understanding light direction and quality can significantly improve the sharpness and overall impact of your photographs. |
| 5. Review images critically for sharpness | Assessing images at 100% magnification and comparing similar shots helps identify focus issues and improve future captures. |
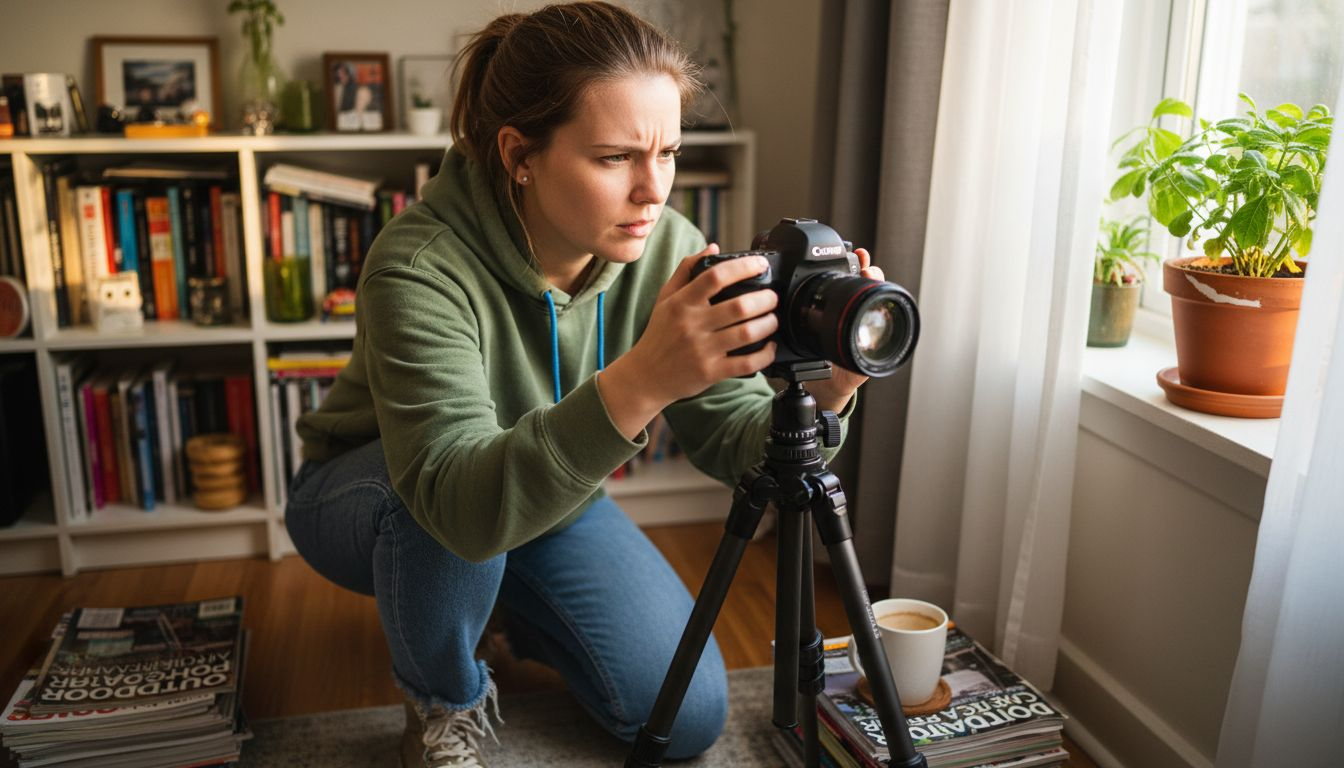
Step 1: Set up your camera for maximum sharpness
Achieving razor-sharp photos requires precise camera setup and intentional configuration. In this step, you’ll learn how to optimize your camera settings to capture crystal-clear images with stunning detail.
Start by focusing on three critical elements that dramatically impact image sharpness: camera focus system, lens quality, and exposure settings. Professional photographers understand that sharpness isn’t just about having an expensive camera – it’s about strategic configuration.
- Choose the right autofocus mode for your scene
- Select an appropriate aperture range
- Use the center focus point for maximum precision
The key to maximizing sharpness lies in understanding how your camera’s sensor and lens interact. Modern cameras have sophisticated focus measurement techniques that analyze intensity variations and edge details to determine optimal clarity. By understanding these technical nuances, you can dramatically improve your image quality.
Sharp images are created through intentional technique, not just expensive equipment.
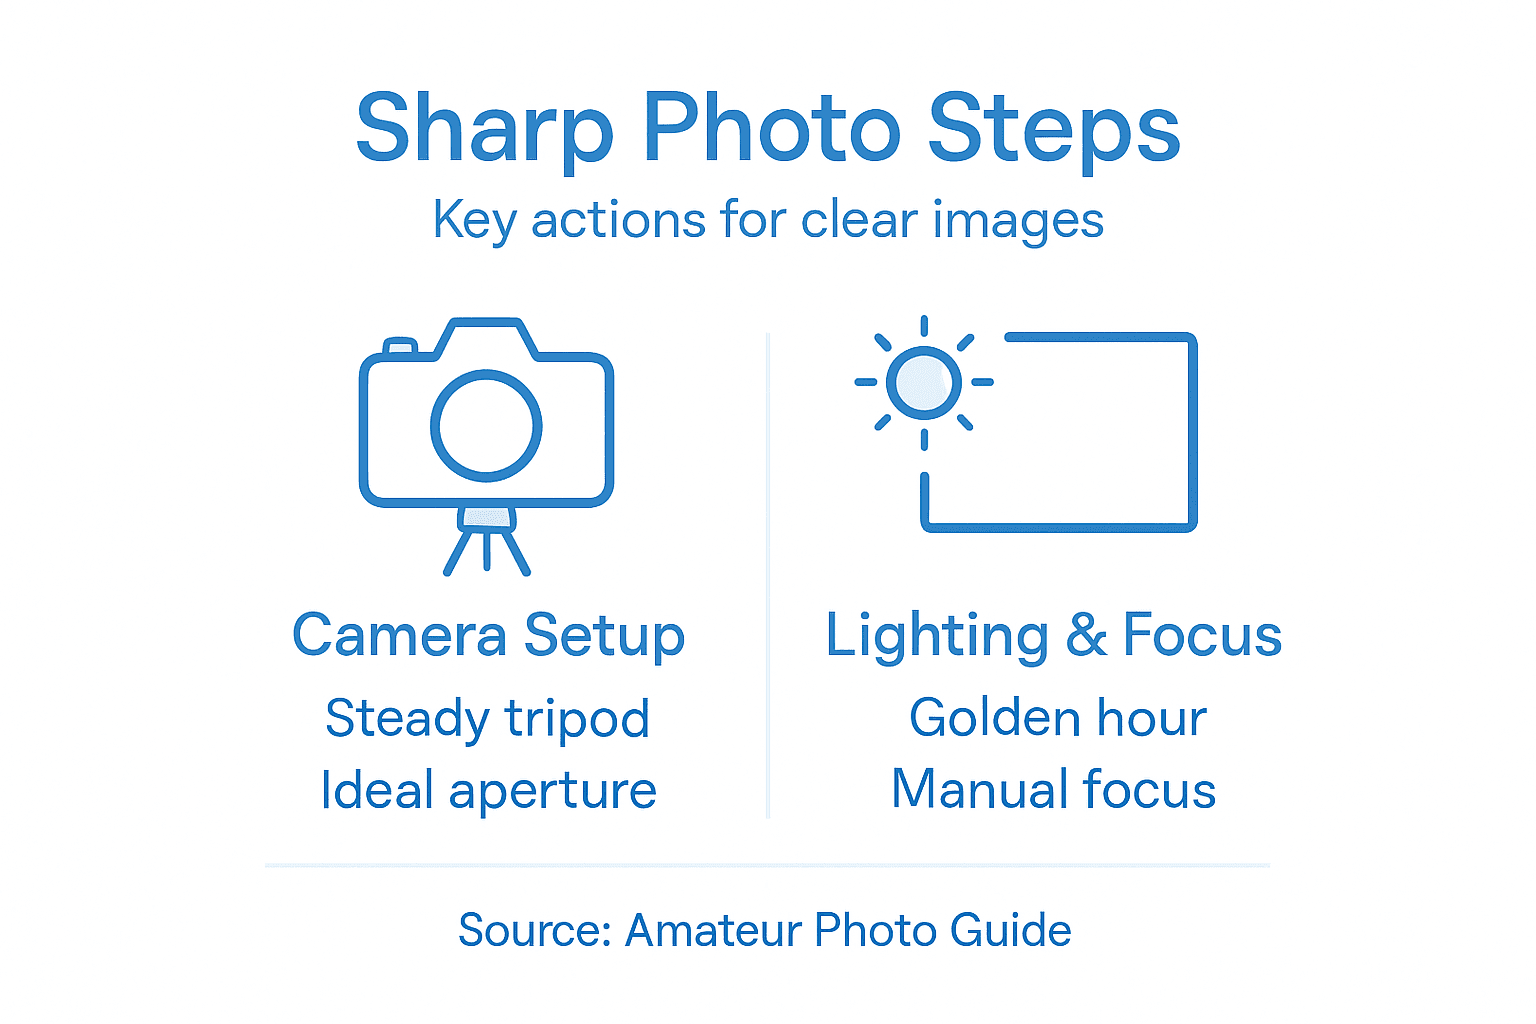
When setting up your camera, pay special attention to your aperture settings. Most lenses perform best when stopped down 1-2 stops from their widest aperture. For landscape photography, aim for f/8 to f/11, which provides excellent depth of field and sharpness. For portraits, f/2.8 to f/4 can create beautiful sharp subjects with soft backgrounds.
Pro tip: Always use a tripod when shooting in low light or with slower shutter speeds to eliminate camera shake and maintain maximum image sharpness.
Step 2: Choose optimal focus and aperture settings
Selecting the right focus and aperture settings is crucial for capturing razor-sharp images that showcase incredible detail. In this step, you’ll learn how to fine-tune your camera’s settings to achieve maximum image clarity and precision.
Understanding your camera’s focus mechanisms and aperture performance requires strategic decision-making. Different photographic scenarios demand unique approaches to achieve optimal sharpness. Professional photographers know that lens performance varies across different aperture ranges, and finding the sweet spot can dramatically improve image quality.
- Understand your lens’s optimal aperture range
- Learn how aperture impacts depth of field
- Master focusing techniques for different scenes
When selecting aperture, consider the principles of aperture and image sharpness. Most high-quality lenses perform best when stopped down 2-3 stops from their widest aperture. For landscape photography, aim for f/8 to f/11, which provides excellent depth of field and minimizes optical aberrations.
The sharpest images emerge from understanding your equipment’s technical limitations.
Different photographic contexts require specific focusing strategies. Landscape photographers typically use wide depth of field and focus one-third into the scene, while portrait photographers often use shallow depth of field to isolate subjects. By understanding how aperture affects focus and sharpness, you can make informed decisions that elevate your photographic results.
Here’s how aperture and focusing strategies differ for landscapes and portraits:
| Approach | Landscape Photography | Portrait Photography |
|---|---|---|
| Ideal Aperture Range | f/8 to f/11 | f/2.8 to f/4 |
| Depth of Field | Wide, keeps entire scene sharp | Shallow, isolates subject |
| Focus Point | One-third into scene | On subject’s eyes |
| Desired Sharpness | Edge-to-edge clarity | Selective, on facial features |
Pro tip: Use your camera’s live view mode and zoom function to manually focus with precision, ensuring critical sharpness in every shot.
Step 3: Control your stability and minimize camera shake
Camera shake is the silent killer of sharp photography, transforming potentially stunning images into blurry disappointments. Understanding and implementing stability techniques will dramatically improve the clarity and precision of your photographs.
Stability begins with mastering several fundamental techniques that prevent unwanted camera movement. Professional photographers recognize that even the slightest tremor can destroy image sharpness, especially when working in challenging lighting conditions or using longer focal lengths.
- Hold your camera with both hands
- Brace your body against solid objects
- Use image stabilization when available
- Maintain proper breathing techniques
The science behind image stabilization reveals multiple strategies for reducing unwanted motion. Your body acts as a dynamic stabilization system, with techniques like tucking your elbows close to your torso, creating a human tripod that minimizes potential shake.
Consistent stability transforms good photographs into exceptional images.
Different photographic scenarios demand unique stabilization approaches. Landscape photographers might use tripods for absolute stillness, while street photographers rely on handheld stability techniques. Understanding how to control your body’s natural movements can turn marginal shots into crisp, detailed photographs that capture precise moments.
Pro tip: Practice the “breath hold” technique by exhaling halfway and pausing briefly before gently pressing the shutter to minimize micro-movements.
Step 4: Adjust lighting to enhance photo clarity
Lighting is the secret ingredient that transforms ordinary photographs into extraordinary visual stories. Understanding how to manipulate and leverage light will dramatically improve your image sharpness and overall photographic quality.
Photographers must develop a nuanced approach to lighting that goes beyond simply illuminating a scene. Light quality, direction, and intensity play crucial roles in determining image clarity, contrast, and overall visual impact.
- Understand different types of lighting
- Learn to read light direction and quality
- Experiment with natural and artificial light sources
- Control harsh shadows and highlights
When working in challenging lighting conditions, photographers can use strategic techniques to enhance image clarity. The low light photography techniques reveal how to maximize image sharpness even when ambient light is limited. Soft, diffused light often produces the most consistent and flattering results across various photographic genres.
Mastering light is about understanding its behavior, not just its presence.
Different photographic scenarios demand unique lighting approaches. Soft natural light works brilliantly for portraits, while directional light can create dramatic effects in landscape photography. By learning to read and manipulate light, you’ll transform your images from good to extraordinary.
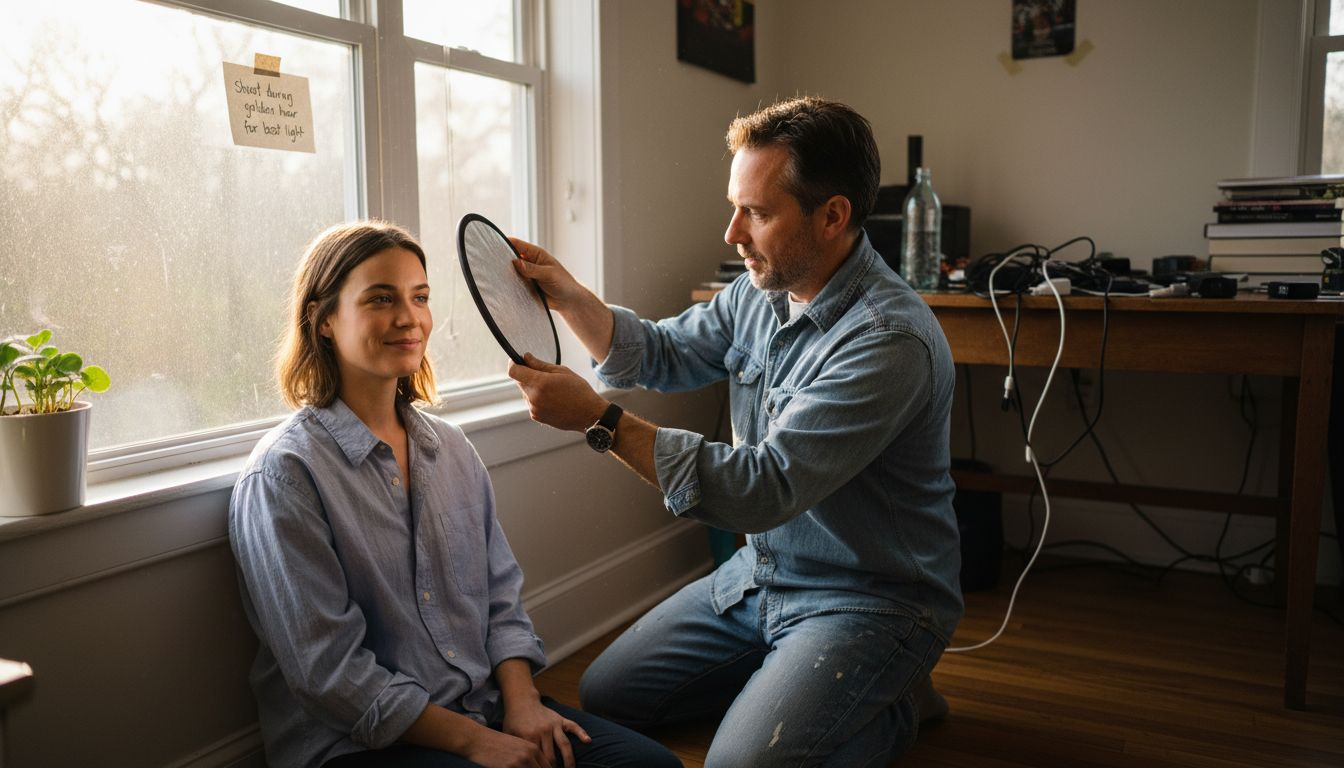
Pro tip: Always shoot during the “golden hours” around sunrise and sunset for the most forgiving and beautiful natural lighting conditions.
Step 5: Verify and review images for sharpness
Photographic excellence demands more than just capturing an image – it requires careful and systematic review to ensure absolute clarity and precision. Learning to critically evaluate your photographs will transform your skills and help you consistently produce stunning, razor-sharp results.
Reviewing images requires a strategic approach that goes beyond casual glancing. Image evaluation techniques help photographers identify subtle focus issues, motion blur, and technical imperfections that might escape a quick initial review.
- Zoom into critical areas of the image
- Check focus on primary subjects
- Analyze image details at 100% magnification
- Compare sharpness across different shots
Professional photographers use multiple methods to process and assess their photographic results with precision. Advanced techniques like pixel-level examination and histogram analysis can reveal nuanced details about image quality that aren’t immediately apparent.
Not every technically perfect image tells a compelling story, but no compelling story survives poor technical execution.
Different photographic scenarios require unique review strategies. Landscape photographers might focus on edge sharpness and depth of field, while portrait photographers prioritize facial details and eye clarity. Understanding these context-specific evaluation techniques will elevate your photographic skills.
Refer to this checklist to ensure your images achieve maximum sharpness during review:
| Review Technique | Purpose | How to Execute |
|---|---|---|
| 100% Magnification | Spot subtle focus issues | Zoom in on main subject |
| Histogram Analysis | Evaluate exposure/sharpness distribution | Check peaks and shadows |
| Cross-shot Comparison | Identify best capture | Compare similar images |
| Calibrated Monitor Review | Ensure accurate sharpness perception | View on high-res monitor |
Pro tip: Always review your images on a calibrated monitor with high resolution to get the most accurate representation of your photograph’s true sharpness.
Master the Art of Sharp Photography Today
Struggling to capture crystal-clear images despite using the right equipment? This guide uncovers the key challenges photographers face like camera focus systems, aperture settings, and stability techniques. If you want to elevate your photography and finally achieve those razor-sharp photos with confidence, our expert advice is your next step. Discover how intentional camera setup and mastering light and stability can transform your shots from blurry to breathtaking.

Take control of your photography journey with comprehensive tutorials, gear recommendations, and practical tips at Amateur Photographer Guide. Unlock secrets on aperture and image sharpness and learn to harness image stabilization techniques for perfect clarity every time. Dive in now to sharpen your skills and turn every click into a masterpiece.
Frequently Asked Questions
How can I ensure my camera is set up for maximum sharpness?
To ensure maximum sharpness, configure your camera by selecting the correct autofocus mode, using an ideal aperture setting, and focusing using the center focus point. Start by aiming for f/8 to f/11 for landscapes or f/2.8 to f/4 for portraits to achieve the best results.
What is the best aperture setting for sharp landscape photos?
The best aperture setting for sharp landscape photos is typically between f/8 and f/11. This range will provide excellent depth of field and minimize optical aberrations while ensuring edge-to-edge clarity in your images.
How do I prevent camera shake for sharper images?
To prevent camera shake, use both hands to hold your camera firm, brace yourself against a solid object, and consider using a tripod. Additionally, practice proper breathing techniques, such as exhaling midway before taking the shot, to further minimize movement.
What lighting conditions are best for capturing sharp photos?
The best lighting conditions for capturing sharp photos are during the “golden hours” around sunrise and sunset when the light is soft and diffused. Experiment with different light sources and pay attention to direction and quality, as these factors greatly impact the clarity of your images.
How can I effectively review my images for sharpness?
To effectively review your images for sharpness, zoom in to 100% on critical areas to check focus and detail. Use techniques like histogram analysis or compare similar shots to identify the sharpest capture and adjust your approach accordingly.
Recommended
Last update on 2026-07-21 / Affiliate links / Images from Amazon Product Advertising API
Dave King
Hi, I'm Dave, the founder of Amateur Photographer Guide. I created this site to help beginner and hobbyist photographers build their skills and grow their passion. Here, you’ll find easy-to-follow tutorials, gear recommendations, and honest advice to make photography more accessible, enjoyable, and rewarding.