
Table of Contents
This blog post may contain affiliate links. As an Amazon Associate I earn from qualifying purchases.
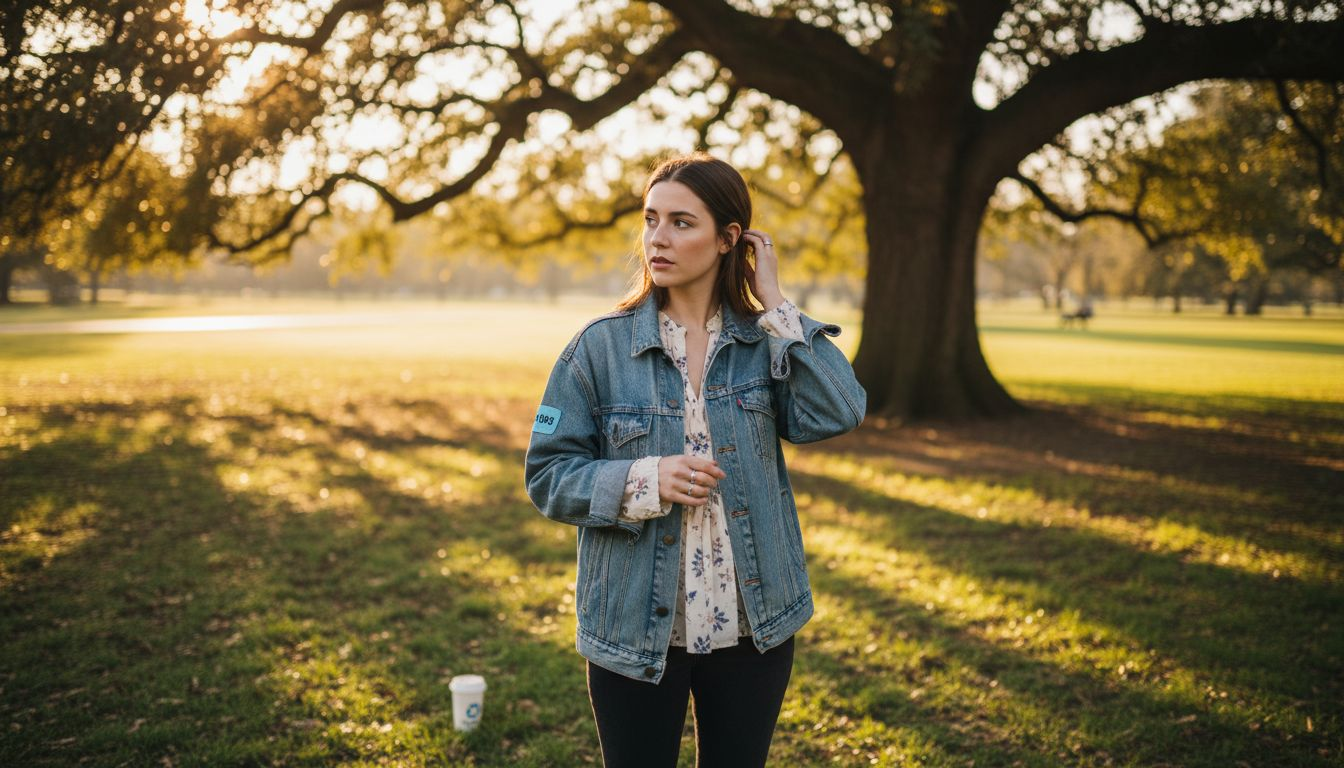
Sunrise and sunset bring a unique challenge for any amateur photographer: how do you capture faces with gentle softness instead of washed-out colors or harsh shadows? Light quality can make or break a portrait, and the golden hour offers a solution by giving you soft, warm light with balanced shadows. Discover how this brief window of time can instantly make your outdoor portraits more beautiful and help you create photos with richer colors, flattering details, and a professional touch.


Key Takeaways
| Point | Details |
|---|---|
| Golden Hour Significance | The golden hour is a crucial time for outdoor photographers, providing soft, warm light that enhances image quality and emotional impact. |
| Lighting Characteristics | This period features reduced harshness, long shadows, and saturated colors, which create stunning visuals. |
| Geographic Variability | Golden hour duration varies globally; understanding your location’s specifics can optimize shooting opportunities. |
| Preparation and Technique | Arrive early, adjust settings manually, and utilize reflectors to fully exploit golden hour light for professional-quality portraits. |
Defining Golden Hour in Outdoor Photography
In the world of outdoor photography, golden hour represents a magical window of time that transforms ordinary scenes into extraordinary visual experiences. This brief yet remarkable period occurs shortly after sunrise and before sunset, offering photographers a unique lighting environment that dramatically enhances image quality and aesthetic appeal.
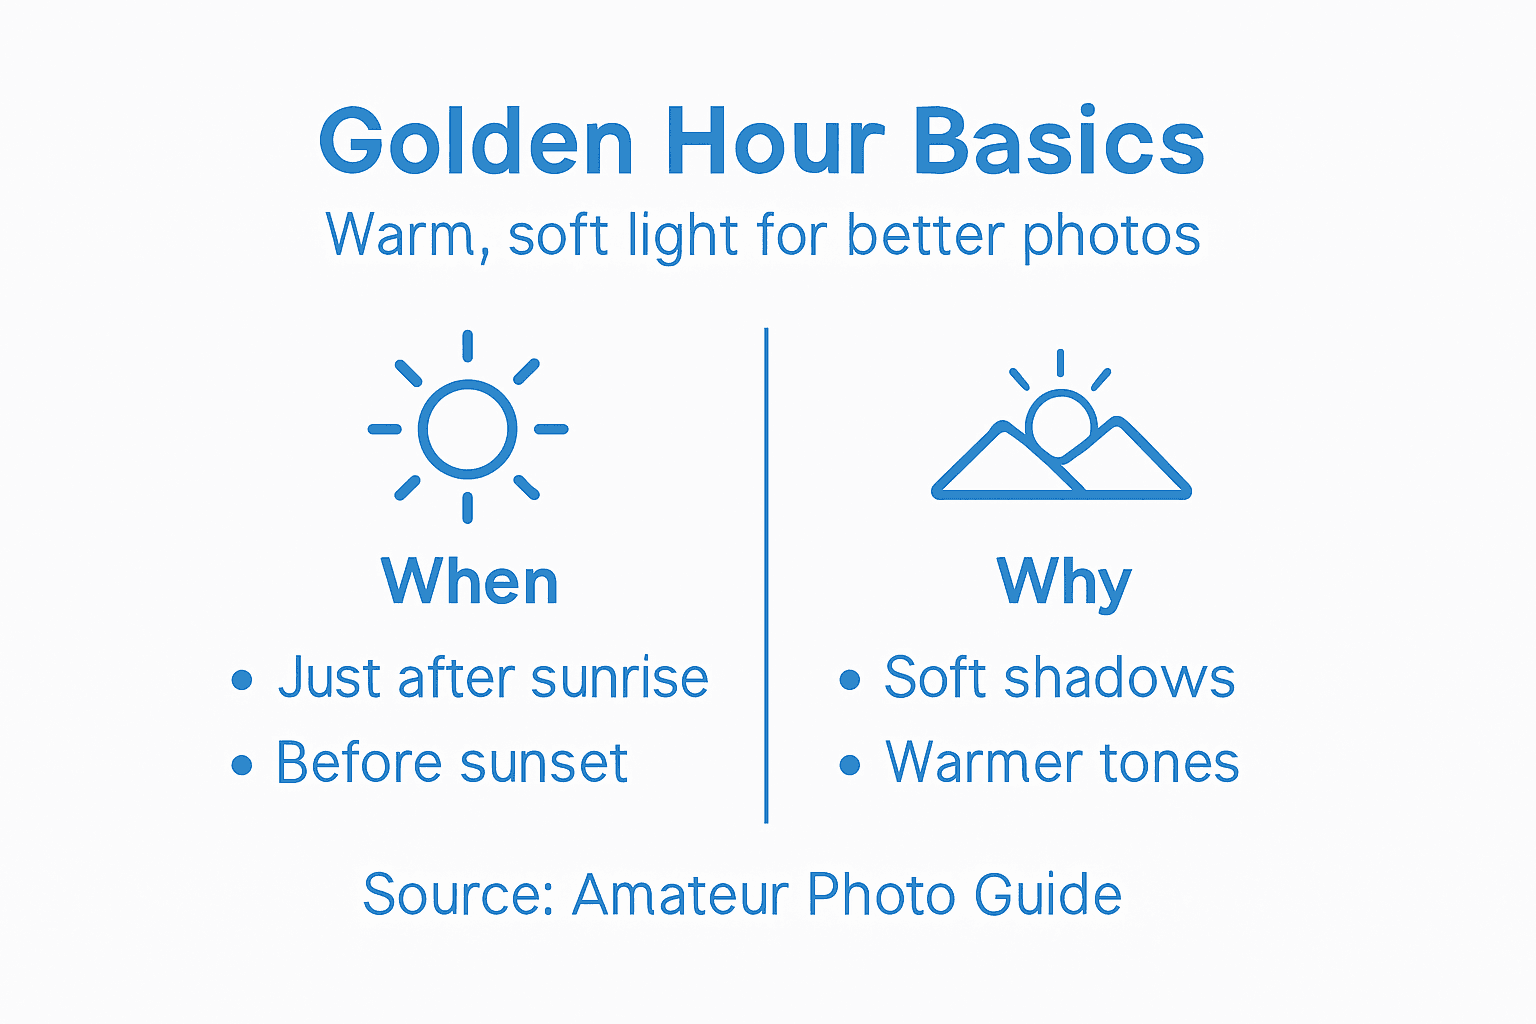
The golden hour is characterized by several distinctive lighting qualities that make it prized among professional and amateur photographers alike:
- Soft, diffused light with reduced harshness
- Warm, golden color temperatures that add natural warmth
- Extended, dramatic shadows that create depth
- Enhanced color saturation and vibrancy
- Reduced contrast that preserves image details
Photographers understand that the landscape photography techniques during golden hour can dramatically improve their final images. The sun’s low angle creates a unique illumination that wraps around subjects, producing gentle, flattering light that seems to caress landscapes and portraits alike.
During this brief timeframe, typically lasting around 20-30 minutes, sunlight travels through more atmospheric layers, which naturally filters and softens its intensity. This process creates a warm, amber-like glow that transforms ordinary scenes into visually stunning compositions. The indirect light minimizes harsh shadows and reduces the challenging dynamic range that cameras typically struggle to capture.
Golden hour is not just a time of day – it’s a photographer’s secret weapon for creating breathtaking imagery.
Pro tip: Download a solar tracking app to precisely calculate golden hour times for your specific location and date, ensuring you never miss this photographic magic window.
How Golden Hour Lighting Changes Your Photos
Golden hour transforms photographs by introducing a magical quality of light that fundamentally alters image perception and emotional impact. Unlike harsh midday sunlight, this unique period creates a soft, warm illumination that enhances every visual element within a photograph, turning ordinary scenes into extraordinary compositions.
The specific transformative effects of golden hour lighting include:
- Warm color temperatures that add rich, golden hues
- Soft shadows that create natural depth and dimension
- Reduced contrast that preserves intricate image details
- Enhanced texture and surface definition
- More flattering skin tones in portrait photography
Photographers leverage portrait lighting techniques to maximize the golden hour’s incredible potential. The low angle of sunlight during this period wraps around subjects, creating a gentle, diffused illumination that seems to caress landscapes and human subjects with an almost painterly quality.
During golden hour, the sun’s position near the horizon creates dramatic visual effects that are impossible to replicate at other times of day. Light travels through more atmospheric layers, naturally filtering and softening its intensity. This process produces a unique glow that transforms photographic scenes, making colors appear more saturated and vibrant while simultaneously reducing harsh shadows and challenging exposure conditions.
Golden hour light doesn’t just illuminate a scene – it tells a story, adding emotion and depth to every photograph.
Pro tip: Experiment with different camera angles during golden hour to maximize the dramatic light, positioning yourself so the sun creates interesting side-lighting or beautiful rim lighting around your subjects.
When to Expect Golden Hour Worldwide
Golden hour is a global photographic phenomenon that occurs differently across various latitudes and seasons, presenting unique challenges and opportunities for photographers around the world. Understanding how this magical lighting period changes based on geographic location can help photographers plan and execute stunning outdoor shoots with precision.
The duration and intensity of golden hour vary significantly depending on several key factors:
- Proximity to the equator
- Time of year
- Specific geographic latitude
- Local atmospheric conditions
- Seasonal solar angle variations
Photographers planning international shoots can use The Golden Hour – Why Is It A Photographer’s Best Friend to understand these complex lighting dynamics. Near the equator, golden hour remains relatively consistent, typically lasting around 15-20 minutes with minimal seasonal variation. In contrast, locations at higher latitudes experience dramatic shifts, with golden hour potentially extending to 45-60 minutes during spring and autumn.
Near polar regions, the astronomical phenomena create extraordinary golden hour experiences. During summer months, some locations experience extended periods of golden light that can last several hours, while winter months might compress this magical lighting window into mere minutes. Photographers must adapt their techniques to these extreme variations, understanding that the Earth’s axial tilt fundamentally transforms how sunlight interacts with landscapes across different global regions.
Here’s how golden hour varies across geographic regions:
| Region | Typical Duration | Light Quality | Best Season for Photos |
|---|---|---|---|
| Equatorial Areas | 15-20 minutes | Consistent amber tones, soft light | Year-round |
| Mid-Latitudes | 30-45 minutes | Rich color shifts, longer shadows | Spring, Autumn |
| Polar Regions | 1-2 hours (summer) | Dramatic, prolonged golden hues | Summer |
| Polar Regions | Under 10 minutes (winter) | Rapid, intense warm light | Winter |
The golden hour is not just a time – it’s a global dance of light, shadow, and astronomical precision.
Pro tip: Invest in a reliable solar tracking app that provides precise golden hour timings for your specific location, accounting for seasonal variations and exact geographic coordinates.
Techniques for Stunning Golden Hour Portraits
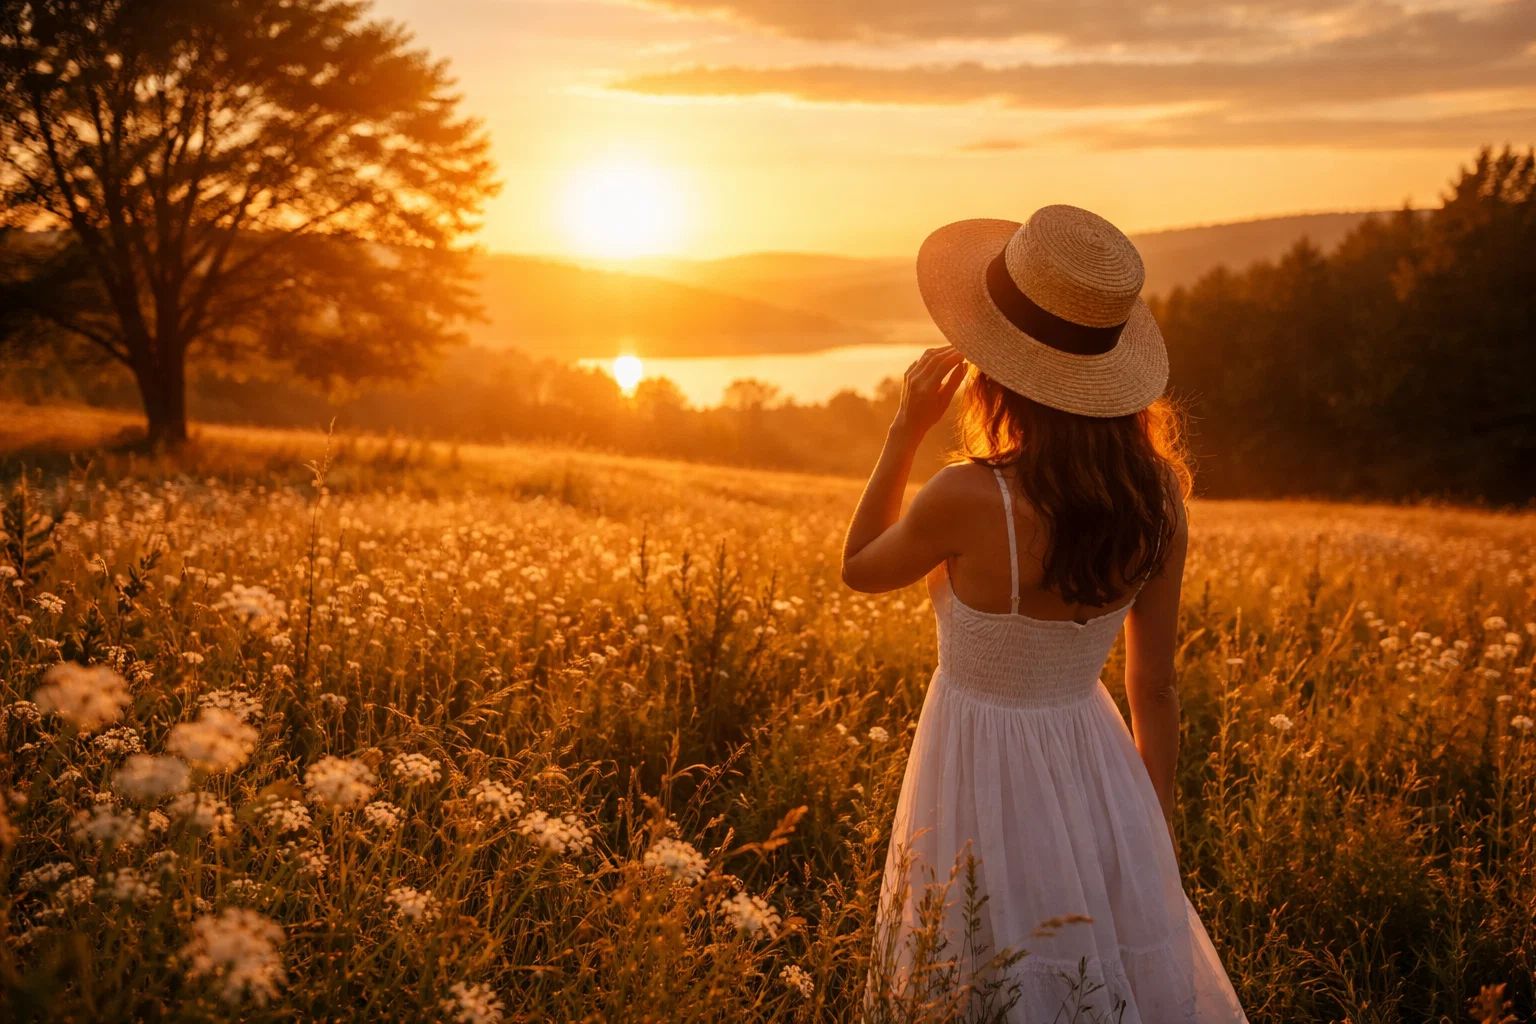
Golden hour portraits represent a pinnacle of photographic artistry, where natural light transforms ordinary images into extraordinary visual narratives. The soft, warm illumination creates a magical environment that flatters subjects and adds an ethereal quality to every photograph.
Master photographers recommend several key techniques for capturing exceptional golden hour portraits:
- Position subjects with sunlight coming from behind or at a 45-degree angle
- Use wide aperture settings to create soft background blur
- Incorporate natural reflectors like light-colored surfaces or actual reflector panels
- Experiment with backlight and rim lighting effects
- Choose clothing colors that complement golden tones
Photographers seeking to elevate their portrait skills can explore essential portrait photography tips to complement these golden hour techniques. Strategic subject positioning is critical during this time, with the low sun creating long, dramatic shadows and a natural rim light that outlines the subject’s silhouette.
The technical nuances of golden hour portraiture involve understanding light direction and camera settings. Wide aperture settings like f/1.8 or f/2.8 help isolate the subject, creating a creamy background that draws attention to facial features. Photographers should also be prepared to move quickly, as the magical lighting conditions change rapidly, requiring constant adaptation and creative positioning.
Compare these camera settings for optimized golden hour portraits:
| Setting | Golden Hour Recommendation | Typical Daylight Setting |
|---|---|---|
| Aperture | Wide (e.g., f/1.8 – f/2.8) | Moderate (e.g., f/5.6) |
| ISO | 100–400 (for low noise) | 100–200 |
| White Balance | Shade or Cloudy (warmer tones) | Auto or Daylight |
| Shutter Speed | As needed, watch for movement | Faster (less motion blur) |
Golden hour is not just about capturing light – it’s about painting with sunlight and emotion.
Pro tip: Carry a portable reflector and experiment with different angles to bounce warm golden light onto your subject’s face, creating soft, flattering illumination that enhances skin tones and reduces harsh shadows.
Common Mistakes and How to Avoid Them
Golden hour photography can be challenging, even for experienced photographers, with several critical mistakes that can compromise the quality of your images. Understanding and anticipating these potential pitfalls is essential to capturing stunning, professional-quality photographs during this magical lighting period.
The most common golden hour photography mistakes include:
- Arriving too late and missing the optimal lighting window
- Using automatic camera settings that misinterpret warm light
- Neglecting to adjust white balance for accurate color reproduction
- Failing to manage background distractions
- Overlooking rapid light condition changes
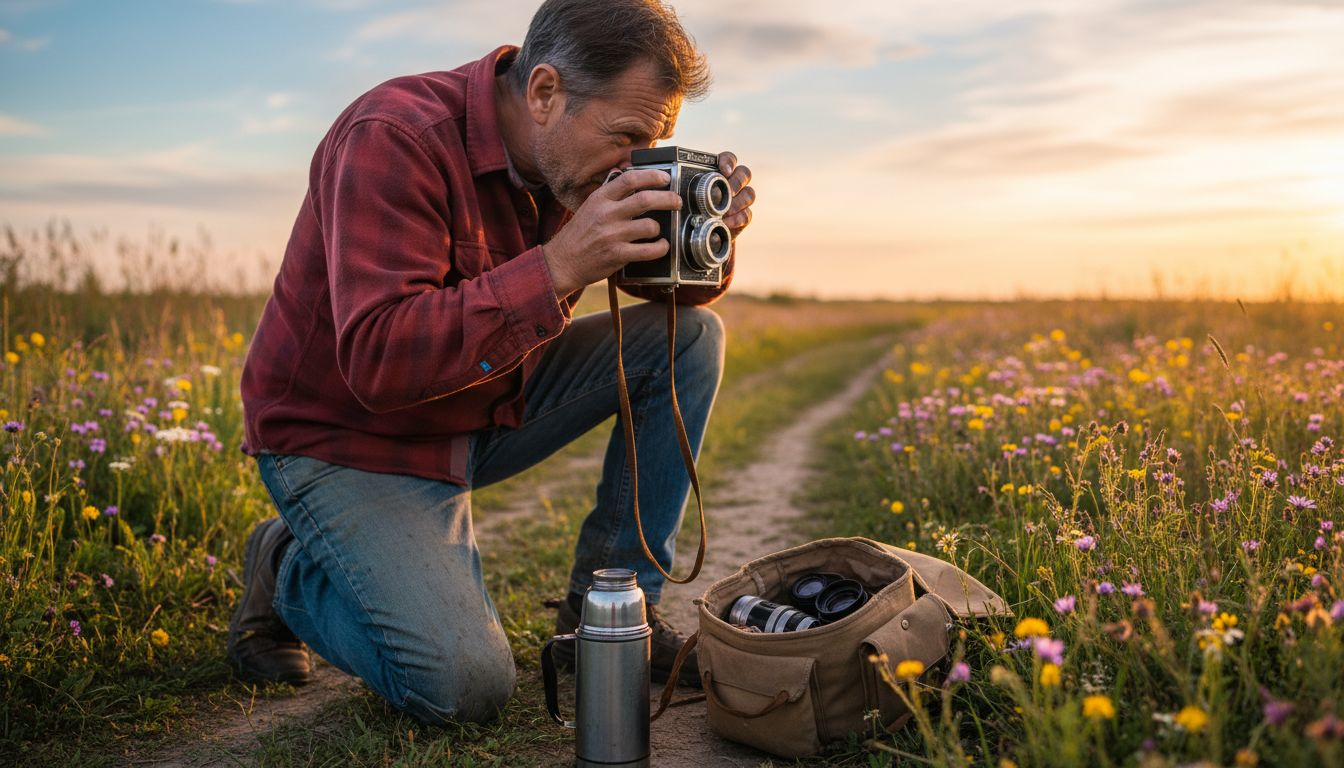
- Not preparing appropriate camera equipment in advance
Photographers can learn to mitigate these challenges by studying common photography mistakes and fixes that apply specifically to challenging lighting conditions. Proper preparation involves understanding your camera’s manual settings, practicing quick exposure adjustments, and developing a keen awareness of how sunlight transforms during golden hour.
Technical preparedness is crucial for avoiding golden hour photography errors. Photographers should master manual exposure settings, use spot metering to handle challenging light variations, and bring versatile equipment like reflectors and multiple lenses. Anticipating light changes and having a flexible shooting strategy can transform potentially problematic situations into extraordinary photographic opportunities.
Mastering golden hour photography is about embracing imperfection and being ready to adapt quickly.
Pro tip: Create a pre-shoot checklist with specific golden hour camera settings and equipment, ensuring you’re fully prepared to capture those fleeting magical moments.
Capture the Magic of Golden Hour Like a Pro
Mastering golden hour photography is an exciting challenge for every amateur photographer who wants to transform ordinary photos into breathtaking works of art. This article highlights key difficulties such as timing your shoot perfectly and adjusting your camera settings to handle the warm, soft, and rapidly changing light. Understanding concepts like warm color temperatures, soft shadows, and natural rim lighting is crucial to unlocking the full potential of this magical time.
Ready to elevate your outdoor and portrait photography skills with expert tips and practical guidance? Visit Amateur Photographer Guide to explore detailed tutorials and discover essential techniques that will help you maximize golden hour lighting. Learn how to choose the right gear, master manual settings, and avoid common pitfalls so you never miss the perfect moment. Start your journey now and turn golden hour into your favorite time to shoot by exploring our portrait lighting techniques and landscape photography tips. Your next unforgettable photo awaits!
Frequently Asked Questions
What is golden hour in photography?
Golden hour in photography refers to the period shortly after sunrise and before sunset when the sun is low on the horizon, creating soft, diffused, and warm lighting that enhances the quality of photos.
Why is golden hour considered the best time for taking photos?
Golden hour is considered the best time for photography because it produces flattering light that enhances color saturation, reduces harsh shadows, and creates a magical, painterly quality in images, making ordinary scenes extraordinary.
How long does golden hour usually last?
Golden hour typically lasts around 20-30 minutes, although this duration can vary depending on the geographical location and time of year, especially in higher latitudes.
What techniques can I use to improve my portraits during golden hour?
To improve portraits during golden hour, position your subjects with sunlight coming from behind or at a 45-degree angle, use wide aperture settings for soft background blur, and consider using natural reflectors to enhance lighting on your subject’s face.
Recommended
- The Golden Hour – Why Is It A Photographer’s Best Friend?
- Golden Ratio in Photography – Composition That Captivates
- What Is High Key Photography? Complete Guide
- High Dynamic Range: How It Elevates Photography
- The Best Glam Photo Booth Rental in San Antonio
Last update on 2026-05-21 / Affiliate links / Images from Amazon Product Advertising API
