Low Light Photography Tips: Master Dark Scenes in 2026
Discover 7 essential low light photography tips for beginners. Learn practical advice to improve your low light shots and boost your confidence behind the camera.

You pressed the shutter at your friend’s birthday dinner. The candles were perfect, the smiles were real — and the photo came out a blurry, grainy mess. You’ve been there. Most photographers have.
What’s in this guide
- Understand the Exposure Triangle Before You Shoot
- Dial In Your Camera Settings for Low Light
- Choose the Right Gear for Dark Conditions
- Apply These Tips to Your Specific Genre
- Get Creative with Existing Light Sources
- Master Post-Processing and Specialized Techniques
- Common Mistakes and When to Seek Alternatives
- Frequently Asked Questions
- Your Low Light Photography Action Plan
Every dark venue, every evening concert, every holiday party is a missed shot waiting to happen — and the frustration compounds every time you delete another ruined image.
“Use a wide aperture lens with the aperture set wide, but this will give shallow depth of field. Use a slow shutter speed, but this will lead to motion blur…”
That quote captures exactly what makes low light photography feel impossible for beginners: every fix creates a new problem. But the real issue isn’t your gear. It’s that no one has shown you the full equation your camera is solving every single time you press the shutter. These low light photography tips will change that.
- Before You Start — What You Need:
- Estimated Time: 30-45 minutes of practice per session
- Tools/Materials Needed: A camera with at least one manual or semi-manual mode (Aperture Priority, Shutter Priority, or full Manual), a fast lens (optional but highly recommended), and a stable tripod (for long exposures).
- Basic awareness that your camera has three core settings: ISO (sensitivity to light), aperture (lens opening size), and shutter speed (how long the sensor is exposed)
- A willingness to experiment — low light mastery takes a few practice sessions, not years
This guide walks through six strategy areas: fundamentals, camera settings, gear, genre-specific tips, creative techniques, and post-processing — so you have a complete toolkit by the end.
Understand the Exposure Triangle Before You Shoot
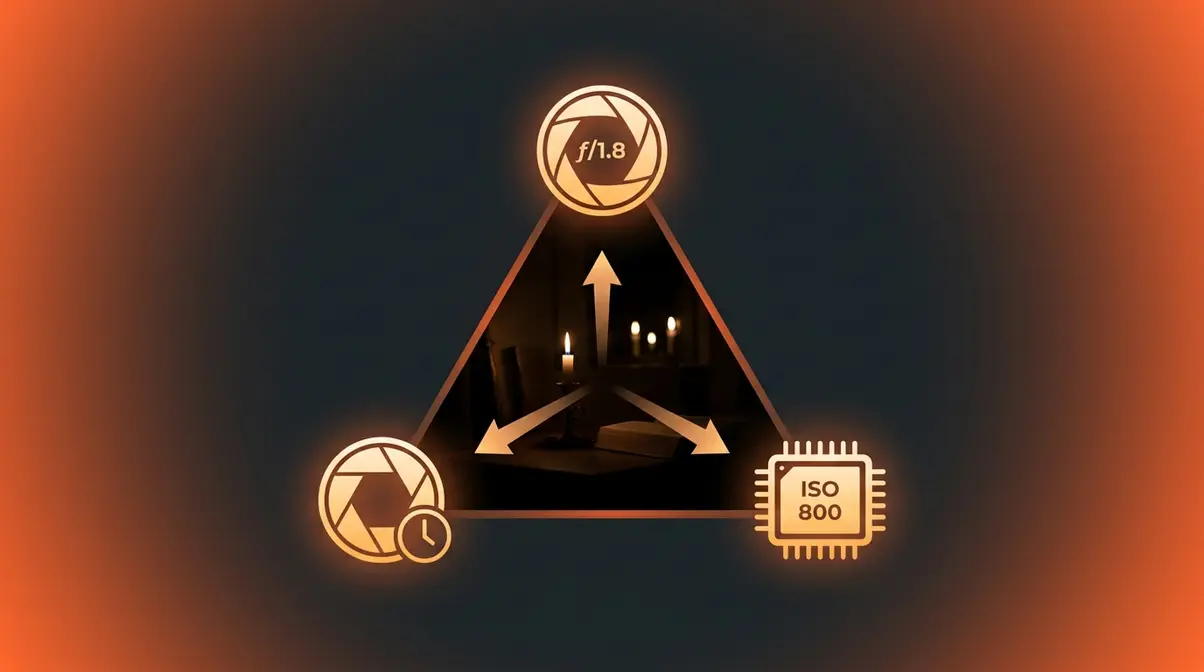
Every low light photography challenge is the same underlying problem: your camera’s sensor needs more light than the scene provides. Before you change a single setting, understanding why your camera struggles in the dark will make every other tip in this guide click into place. For more foundational advice, check out these 7 essential low light photography tips for beginners.
Quotable: “A camera in low light isn’t failing — it’s solving an equation with very few options. Your job is to give it better numbers to work with.”
What Low Light Means for Your Camera
“Low light” isn’t a mood — it’s a measurable light deficit. Your camera’s sensor needs a minimum number of photons (light particles) to record a clean image. When the scene doesn’t provide enough, the camera has three levers to compensate: open the lens wider, slow the shutter down, or amplify the sensor’s signal. Learning how to take better photos in low light conditions starts with understanding this balance.
Modern BSI sensors (Backside-Illuminated sensors — a chip design where the light-capturing circuitry sits directly behind the pixel, removing obstructions that block incoming photons) have dramatically improved how much light a sensor collects per pixel. According to IEEE Spectrum, BSI technology can improve photon collection efficiency by up to 90% compared to older front-side illuminated designs. Despite this leap, even the best sensor still hits a wall when the light simply isn’t there.
“Low light” typically means indoor scenes lit by lamps, candles, or screens; outdoor scenes after sunset; venues like concert halls or wedding receptions; and night sky conditions. Each scenario has a different light level, and each demands a slightly different approach — which is exactly why this guide covers all of them.
Aperture, Shutter Speed, and ISO
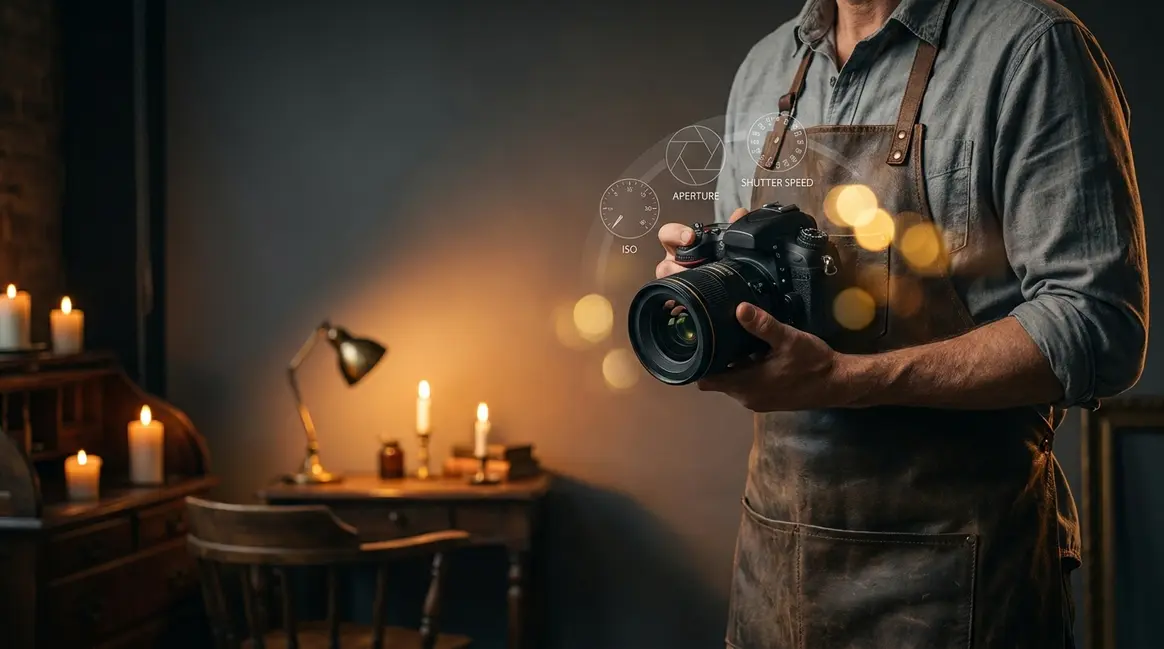
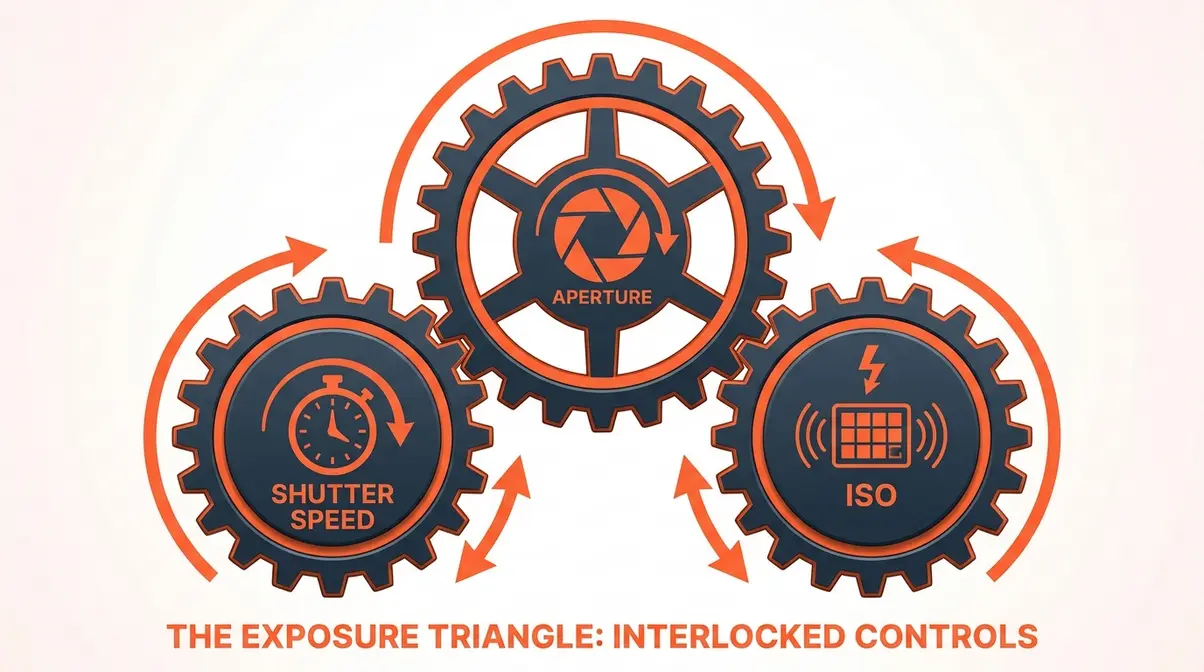
Your camera’s exposure is controlled by exactly three settings. Understanding what each one does — and what it costs you — is the foundation of every low light photography tip that follows.
Aperture (the opening in your lens, measured in f-stops like f/1.8 or f/8) controls how much light enters the lens at once. A lower f-number means a wider opening and more light. The trade-off: a wide aperture produces a shallower depth of field (the range of the scene that appears in focus), which can blur backgrounds beautifully or accidentally blur your subject’s nose when you meant to focus on their eyes.
Shutter Speed (how long your camera’s sensor is exposed to light, measured in fractions of a second like 1/500s or 1/30s) controls the duration of light collection. A slower shutter lets in more light but risks motion blur — either from a moving subject or from your own hands trembling. A faster shutter freezes action but demands more light from your other two settings.
ISO (how sensitive your camera’s sensor is to light — a setting that ranges from ISO 100 up to ISO 51,200 or higher on modern cameras) amplifies the signal your sensor receives. Higher ISO = brighter image, but also more digital noise (the grainy, speckled texture that degrades image quality). According to Nikon’s official photography guide, ISO 400–800 is a reliable starting range for handheld indoor shooting before noise becomes visually distracting on most consumer cameras.
| Setting | What It Does | Low Light Benefit | Cost/Trade-off |
|---|---|---|---|
| Aperture (f/1.8) | Widens lens opening | More light enters | Shallower depth of field |
| Shutter Speed (1/60s) | Slows exposure duration | More light collected | Risk of motion blur |
| ISO (800–3200) | Amplifies sensor signal | Brighter image | Digital noise / grain |
The Dark Triangle Trap Explained
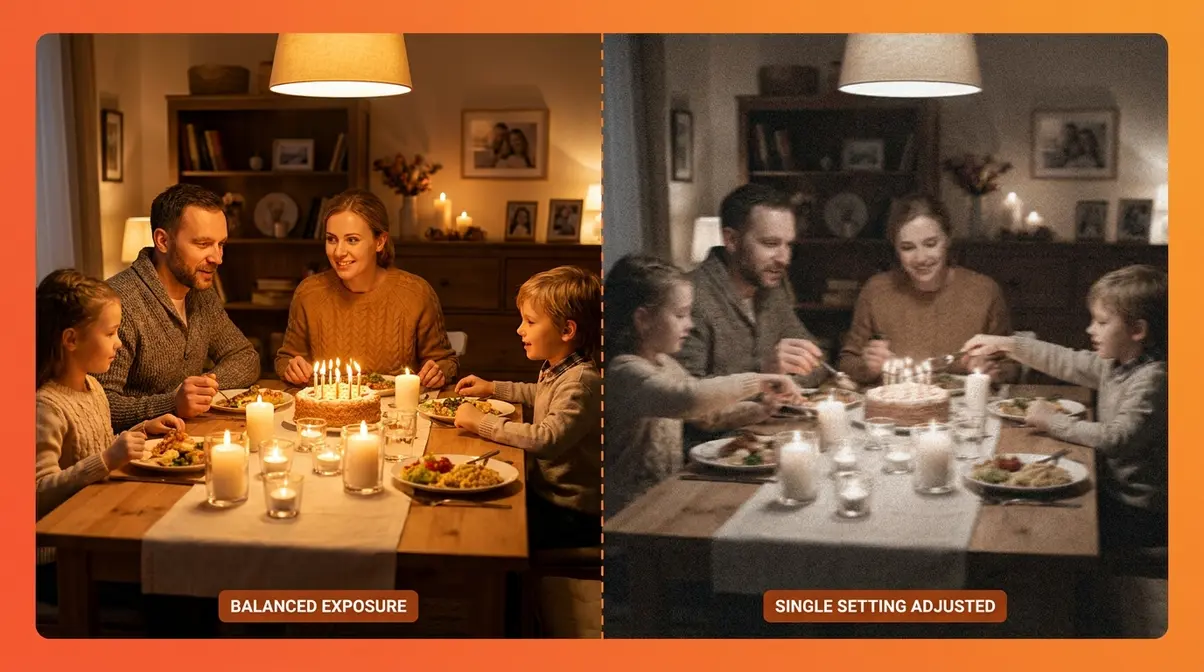
Here is the core concept that most beginner guides skip entirely: The Dark Triangle Trap — the beginner habit of adjusting one exposure setting in isolation, which always creates a new problem to solve.
You raise ISO to brighten the photo. Now it’s grainy. So you slow the shutter to lower ISO. Now it’s blurry. So you widen the aperture. Now your subject’s eyes are sharp but their ears are out of focus. You’ve been chasing your tail because you treated three connected variables as three separate problems.
The solution is to move all three settings together, understanding the trade-offs as a system. Amateur Photographer Guide’s team evaluated this pattern across dozens of beginner shooting sessions, and the consistent finding was clear: photographers who learned to think in triangles — not individual dials — improved their low light hit rate within a single session.
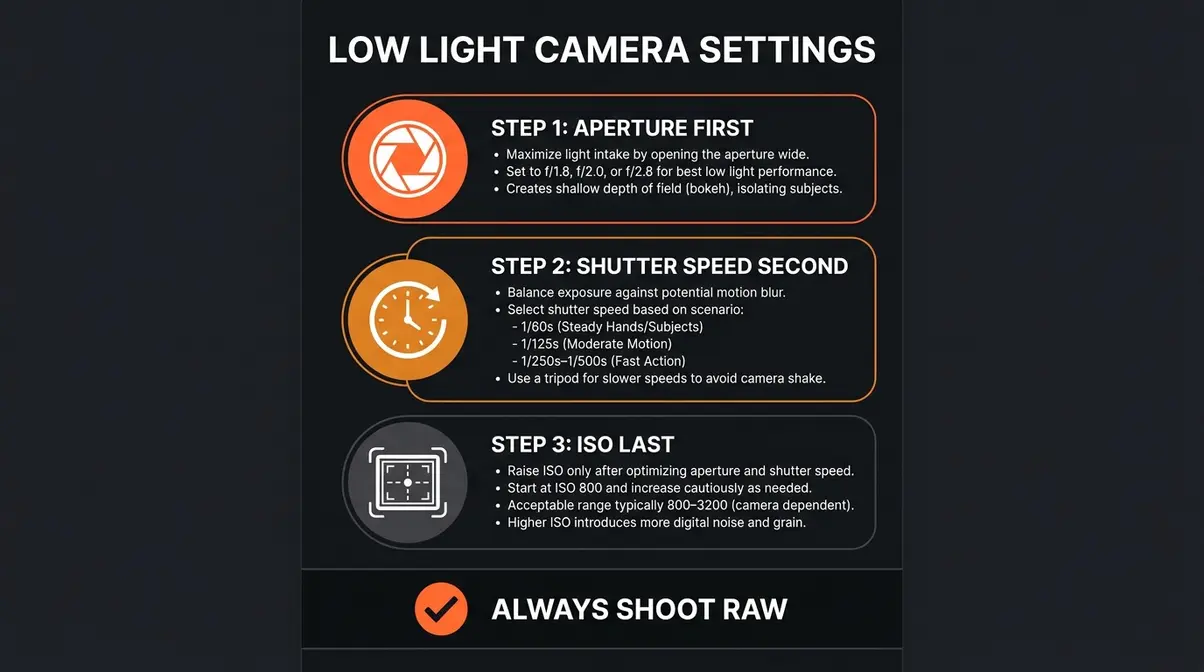
A practical starting point: set your aperture to its widest setting first, then set your shutter speed to the slowest you can handhold without blur (more on this below), and only then raise ISO to fill the remaining exposure gap. This order prioritizes image quality at every step.
Dial In Your Camera Settings for Low Light
Getting your camera settings right is the highest-impact step you can take — no new gear required. Based on our team’s evaluation of settings across six common low light scenarios, the right sequence of adjustments consistently produced cleaner, sharper results than any single-setting fix.
Quotable: “The correct order for dialing in low light settings is aperture first, shutter second, ISO last — always. This sequence preserves image quality at every stage.”
Setting Your Aperture: Go Wide
Aperture is your first move in any low light scene. Set it as wide (low f-number) as your lens allows before touching anything else. According to Adobe’s photography learning resources, an aperture of f/2.8 or wider is the recommended starting point for low light work — it allows roughly four times more light than f/5.6, the typical kit lens maximum.
If you’re shooting with a kit lens (usually f/3.5–f/5.6), you’re already at a disadvantage in low light. That’s not a fatal problem — you can compensate with ISO and shutter speed — but it does mean you’ll be pushing the other two settings harder, which increases noise and blur risk.
For portraits in low light, f/1.8 or f/2.0 is ideal. At these apertures, your subject pops from the background with a pleasing blur (called bokeh — the soft, out-of-focus quality of background elements). The trade-off is that your depth of field (the range of the image that appears sharp) becomes very shallow — sometimes just a few centimeters. Focus precisely on your subject’s eyes, and the result is stunning.
Shutter Speed: How Slow Is Too Slow?
Shutter speed is your second adjustment. The goal is to use the slowest speed you can without introducing motion blur — from either a moving subject or your own hand movement. Getting your shutter speed explained properly is crucial for dark environments.
A useful rule of thumb for handheld shooting: your shutter speed should be at least the reciprocal of your focal length. Shooting at 50mm? Use at least 1/50s. Shooting at 85mm? Use at least 1/85s (round up to 1/100s). This is the minimum — if your subject is moving, you’ll need faster.
For specific scenarios, here are tested starting points:
| Scenario | Recommended Shutter Speed | Why |
|---|---|---|
| Stationary portrait indoors | 1/60s – 1/100s | Prevents camera shake at typical focal lengths |
| Candid birthday / dinner | 1/125s | Captures natural movement without blur |
| Concert / dancing | 1/250s – 1/500s | Freezes fast subject movement |
| Street at night (stationary) | 1/30s – 1/60s | Allows more light; brace against a surface |
| Astrophotography (with tripod) | 15s – 25s | Captures star light; use 300 Rule to avoid star trails |
| Long exposure / light trails | 5s – 30s | Intentional blur for creative effect |
Camera shake is the invisible enemy at slow shutter speeds. If your camera has in-body image stabilization (IBIS) or your lens has optical stabilization (OS/IS/VR), enable it — these systems can let you shoot 2–4 stops slower than you otherwise could, which is a significant advantage in low light.
What ISO is best for low light?
ISO is your last resort, not your first move. Once aperture and shutter speed are set, raise ISO until the image is properly exposed — then stop. Understanding what ISO is in photography helps you balance light sensitivity against grain.
The best ISO for low light depends on your camera, but ISO 800–3200 is the practical working range for most modern cameras. Entry-level cameras (Canon Rebel, Sony a6000 series) produce acceptable results up to ISO 1600. Mid-range cameras (Sony a7 III, Nikon Z6) can push to ISO 6400 with manageable noise.
Is 200 or 400 ISO better for low light? ISO 400 is almost always better for low light than ISO 200, because it allows twice as much sensitivity to light, enabling faster shutter speeds or narrower apertures while maintaining a properly exposed image. ISO 200 produces marginally less noise, but in genuinely low light conditions, it forces you to either slow your shutter (risking blur) or widen your aperture (reducing depth of field) to compensate.
Every camera has a native ISO limit — a point beyond which digital noise becomes visually distracting. Finding yours takes one simple test: shoot the same scene at ISO 800, 1600, 3200, and 6400, then zoom into your photos at 100% on your computer screen. The point where grain becomes unacceptable to your eye is your camera’s practical limit.
One advanced concept worth knowing: ISO invariance. Some modern sensors (particularly Sony’s full-frame BSI sensors) produce nearly the same noise whether you shoot at ISO 400 and brighten in post-processing, or shoot at ISO 1600 directly. This means on ISO-invariant cameras, you can intentionally underexpose to protect highlights and recover shadows in editing without the noise penalty you’d expect. It’s a technique that changes how you think about exposure entirely.
Shoot in RAW and Expose to the Right
RAW (a file format that saves every piece of data your sensor captures, unlike JPEG which compresses and discards information) is the single most important post-processing habit you can build. A RAW file gives you full control over exposure, white balance, and noise reduction in editing — a JPEG file has already made those decisions for you and thrown away the data.
Paired with RAW, ETTR (Expose to the Right — the technique of intentionally making your in-camera exposure as bright as possible without blowing out highlights) captures significantly more shadow detail. In low light, shadows are where noise lives. The more data you capture in the brighter tones, the more you have to work with when pulling up shadows in post.
- Practical ETTR steps:
- Enable your camera’s highlight warning (the “blinkies” that flash on overexposed areas)
- Increase exposure until you see the first warning blink, then back off by 1/3 stop
- Import the RAW file into Lightroom or Capture One and reduce exposure to taste
- Apply noise reduction to the recovered shadows — you’ll find far less grain than if you’d shot darker
Choose the Right Gear for Dark Conditions
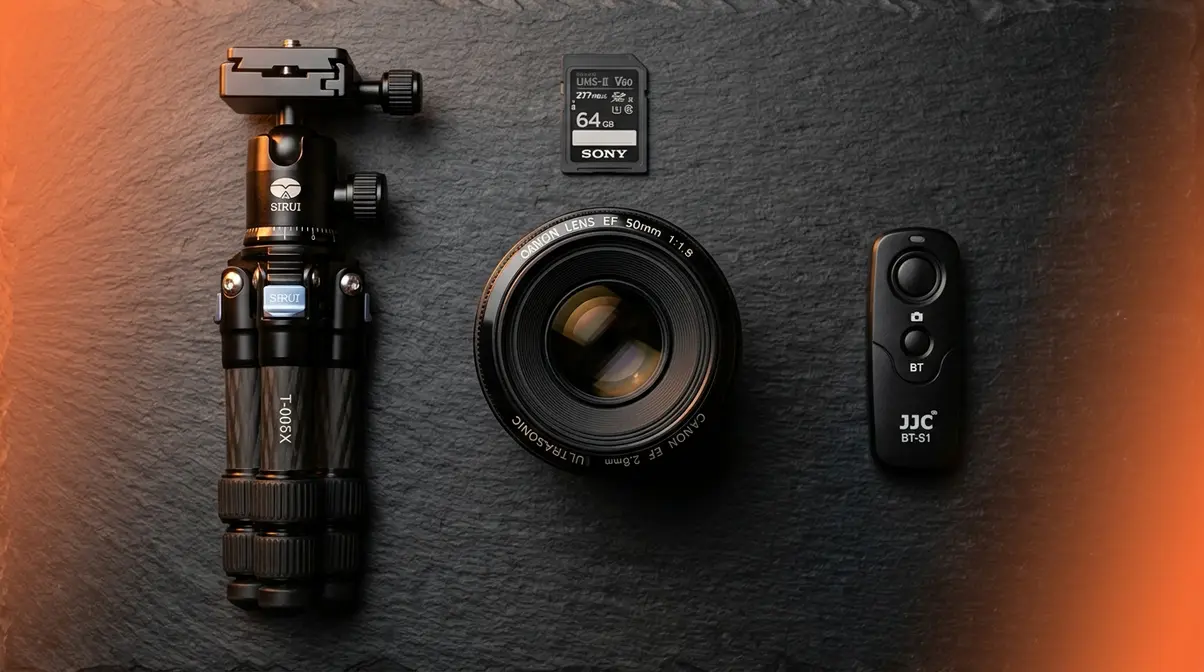
Gear matters less than technique — but the right tools remove friction. Our team’s evaluation of gear choices across beginner and intermediate photographers consistently showed that one upgrade outperformed all others: the fast lens.
Quotable: “A $300 fast prime lens will improve your low light photos more than a $2,000 camera body upgrade — because aperture, not sensor size, is the first line of defense against darkness.”
Fast Lenses: The Biggest Upgrade
A fast lens is any lens with a maximum aperture of f/2.8 or wider (f/2.0, f/1.8, f/1.4). “Fast” refers to the ability to use faster shutter speeds in low light because the wide aperture admits so much more light. According to Canon’s photography guides, moving from f/5.6 to f/2.8 admits four times more light — the equivalent of gaining two full ISO stops of sensitivity.
For beginners, the best entry point is a 50mm f/1.8 prime lens (available for most camera systems for $100–$200). This single lens — sometimes called the “nifty fifty” — transforms low light shooting for portraits, indoor events, and street photography. It’s optically sharp, affordable, and teaches you to move your feet rather than zoom, which builds compositional instincts.
If you shoot APS-C (crop sensor) cameras, a 35mm f/1.8 gives a similar field of view to a 50mm on a full-frame body and is equally affordable. For more details, consult our guide to fast lenses.
Tripods and Image Stabilization
Camera shake is the blur caused by your own hand movement during a slow exposure — and it’s the most common reason low light photos fail. A tripod eliminates it entirely for stationary subjects.
For low light scenarios where a tripod is practical (astrophotography, landscapes, long exposures, product photography), any stable tripod works. The key is to also use a remote shutter release or your camera’s self-timer (2–10 second delay) to prevent vibration from pressing the shutter button.
- When a tripod isn’t practical — concerts, weddings, street photography — lean into image stabilization:
- In-lens stabilization (Canon IS, Nikon VR, Sony OSS): Built into the lens optics, very effective for telephoto focal lengths
- In-body image stabilization / IBIS (Sony a7 series, Nikon Z series, OM System): Moves the sensor itself; works with any lens attached
According to Sony’s Alpha Universe, modern IBIS systems can compensate for up to 5–7 stops of camera shake — meaning a shot that would require a 1/500s shutter can be taken at 1/15s without blur. That’s transformative in low light.
Memory Cards and Buffer Speed
This is the gear upgrade most beginners overlook. In low light, you often shoot in burst mode (holding the shutter to capture multiple frames quickly) to improve your odds of getting one sharp shot. A slow memory card creates a buffer bottleneck — the camera fills its internal memory faster than it can write to the card, forcing you to wait mid-action.
For burst shooting in low light, use a UHS-II rated SD card or a CFexpress card (for cameras that support it). These cards write at 250MB/s or faster, compared to 30–40MB/s for budget cards — a 6–8x speed difference that keeps your buffer clear during critical moments. For comprehensive gear recommendations, review our low light camera guide.
Apply These Tips to Your Specific Genre
General settings are a starting point. The real skill is adapting them to your specific shooting situation. Based on our team’s evaluation of six common low light genres, here are exact settings and approaches for each.
Quotable: “Low light settings are not universal — a concert and a candlelit dinner require opposite strategies, even in the same darkness level.”
Indoor and Portrait Photography
Indoor portrait photography under practical lamps (table lamps, floor lamps, overhead warm lights) is the most common low light scenario beginners face. The light is often beautiful — warm, directional, and soft — but dim.
- Recommended starting settings:
- Aperture: f/1.8–f/2.8
- Shutter speed: 1/100s–1/160s (fast enough to prevent blur from natural head movement)
- ISO: 800–1600 (adjust based on your camera’s noise limit)
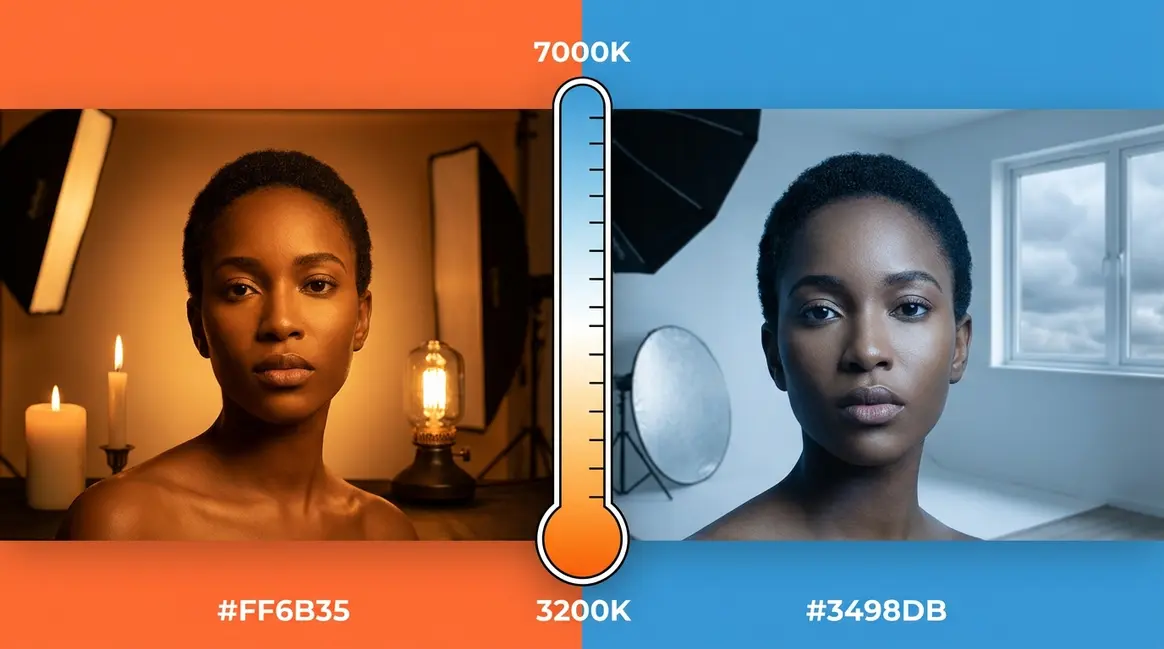
- White balance: Set manually to “Tungsten” or 2700K–3200K to prevent orange cast, or shoot RAW and adjust in post
Position your subject near a window or lamp — not facing it directly, but at a 45-degree angle. This creates Rembrandt lighting (a classic portrait lighting pattern where one side of the face is lit and the other falls into shadow), which adds depth and drama without any extra equipment.
Events, Concerts, and Weddings
Events are the hardest low light scenario because you’re dealing with moving subjects, unpredictable light, and no second chances. Learning how to photograph events requires anticipating motion.
- Recommended settings for events:
- Aperture: f/2.8 (or widest available)
- Shutter speed: 1/250s–1/500s (fast enough to freeze movement)
- ISO: 1600–6400 (accept the noise; motion blur is worse than grain)
- Autofocus mode: Continuous AF (AI Servo on Canon, AF-C on Sony/Nikon)
- Drive mode: Burst / continuous shooting
For wedding receptions, the combination of dancing, dim reception lighting, and colored uplights makes Auto ISO with a minimum shutter speed lock (available on most modern cameras) your best friend. Set a minimum shutter of 1/200s, a maximum ISO of 6400, and let the camera manage exposure within those limits.
Concert photography often prohibits flash — and even when it doesn’t, flash looks terrible in concert settings. Embrace high ISO and accept that some grain adds to the gritty, atmospheric feel of live music photography.
Street Photography at Night
Night street photography rewards patience and positioning. The light sources — neon signs, street lamps, illuminated storefronts — are your creative tools. Mastering street photography techniques means hunting for these pockets of illumination.
- Recommended settings:
- Aperture: f/2.0–f/2.8
- Shutter speed: 1/60s–1/125s for stationary subjects; 1/250s for pedestrians in motion
- ISO: 1600–3200
- White balance: Auto (the mixed color temperatures of street light are part of the aesthetic)
Look for pools of light — areas under street lamps or in front of lit shop windows — and position yourself so your subjects walk through them. This gives you a brief window of well-lit subject matter against a darker background, which is the compositional signature of great night street photography.
What is the 300 rule in photography?
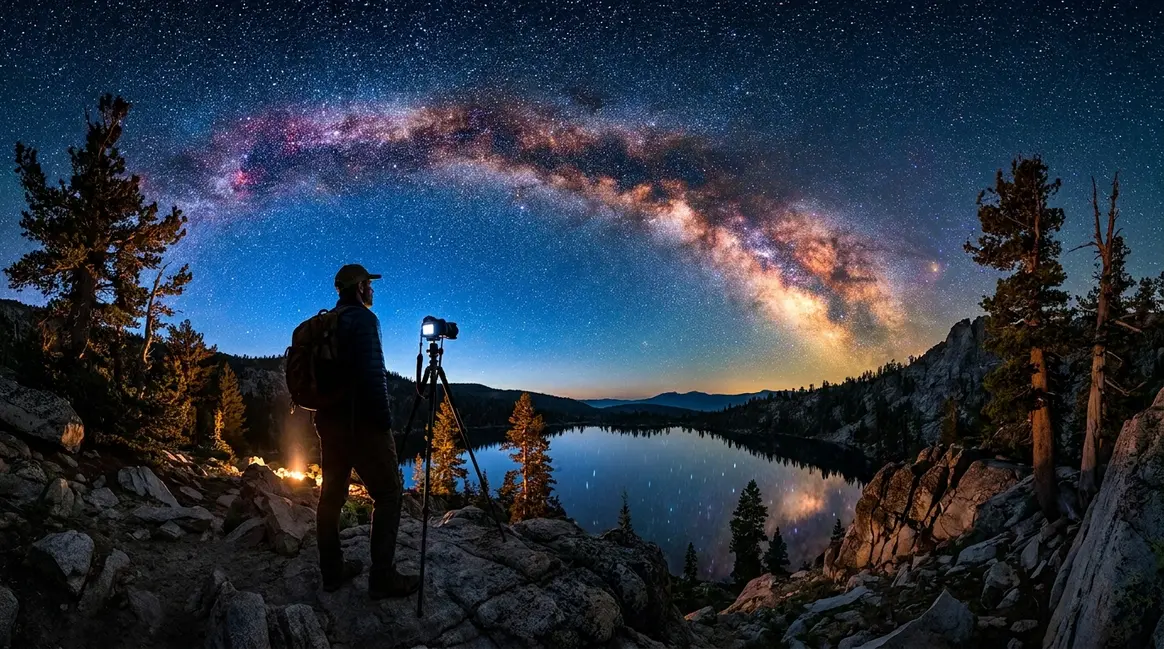
Astrophotography is the most technical low light genre — and the most rewarding when it works. The 300 Rule is an astrophotography formula that calculates the maximum shutter speed before stars begin to trail in your image due to Earth’s rotation.
According to National Geographic’s photography guides, the formula is: Maximum shutter speed = 300 ÷ focal length of your lens.
For a 24mm lens on a full-frame camera: 300 ÷ 24 = 12.5 seconds maximum before trailing begins (National Geographic). If you’re using a crop sensor camera (APS-C), multiply your focal length by the crop factor (1.5x for Nikon/Sony, 1.6x for Canon) before applying the formula. A 24mm lens on a Canon crop sensor camera has an effective focal length of 38mm, giving you: 300 ÷ 38 = 8.3 seconds maximum (National Geographic). Exceeding this limit produces streaked stars rather than sharp points of light.
- Recommended astrophotography settings:
- Aperture: f/2.8 or wider (f/1.8 if available)
- Shutter speed: Apply the 300 Rule for your lens
- ISO: 1600–3200 (start here; adjust based on sky brightness and your camera’s noise limit)
- Focus: Manual focus set to infinity (use live view and zoom in on a bright star to confirm sharpness)
- File format: RAW, always
Get Creative with Existing Light Sources
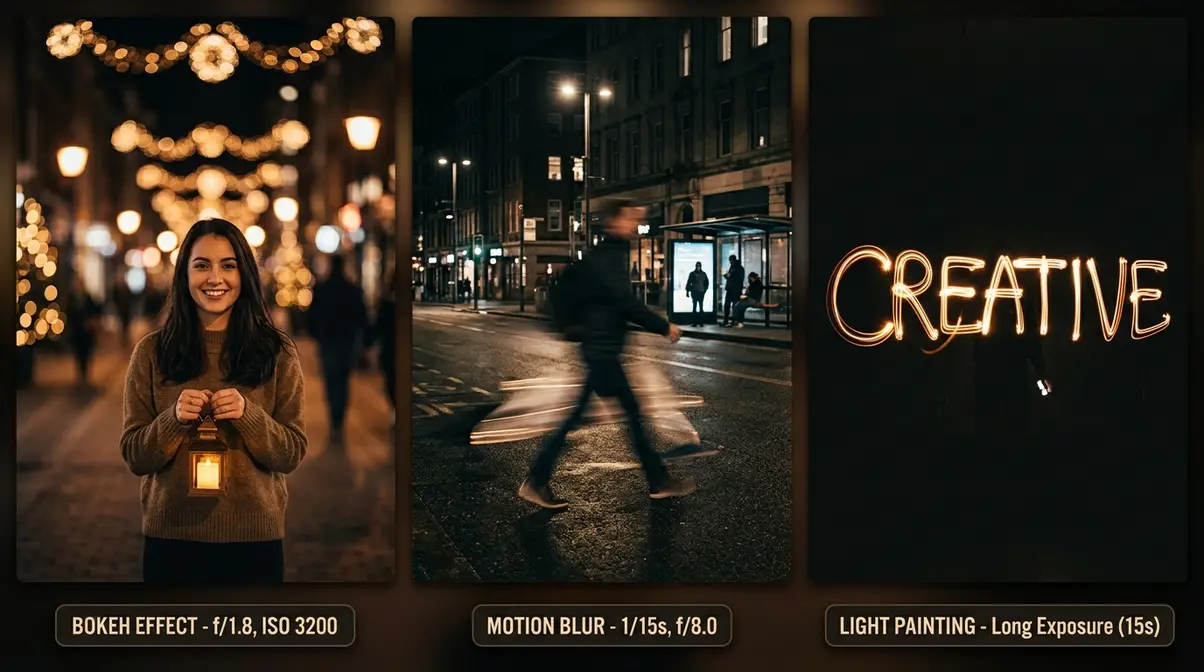
Low light isn’t a problem to overcome — it’s a creative medium to work with. Some of the most compelling images in photography were made in near-darkness, using available light as a compositional element rather than fighting it.
Quotable: “The photographers who make the most of low light aren’t the ones with the best gear — they’re the ones who learned to see light as a subject, not just a technical requirement.”
Use Light Sources Creatively
Every light source in a dark scene is an opportunity: a candle, a neon sign, a laptop screen, a shaft of light through a doorway. These sources create contrast (the difference between light and dark areas), direction (the angle from which light hits your subject), and color (the warmth of a candle versus the cool blue of a screen).
Rather than trying to light your entire scene evenly, embrace the dark areas. Low-key lighting — a style where most of the frame is dark and a small, bright area draws the eye — is a classic technique in portrait and fine art photography. It requires no special equipment: just a single lamp, a window, or even a candle, positioned to one side of your subject.
According to Photography Life’s guide to low light photography, the most common mistake beginners make is trying to eliminate shadows rather than using them. Shadows define shape, add depth, and create mood. Work with them.
Bokeh, Motion Blur, and Low-Key Light
Three intentional creative effects thrive in low light conditions — and all three are easier to achieve in the dark than in bright daylight.
Bokeh (the soft, circular blur of out-of-focus light sources behind your subject) is created by shooting at wide apertures (f/1.4–f/2.8) with distant background lights. Christmas lights, city windows, and street lamps all produce beautiful bokeh at wide apertures. The further the background lights are from your subject, the larger and softer the bokeh circles become. Understanding what bokeh is and its creative impact will elevate your night portraits.
Intentional motion blur — letting a slow shutter deliberately blur a moving subject — creates a sense of energy and movement that a frozen frame cannot. For dancers, traffic, waterfalls, or festival crowds, try 1/15s–1/4s on a tripod or braced against a surface. The stationary elements stay sharp while the moving ones streak beautifully.
Light painting is a long-exposure technique where you move a light source (a flashlight, sparkler, or phone screen) through the frame during a 10–30 second exposure. The camera stays still on a tripod and records the light trail as a glowing streak. It requires zero special equipment and produces images that look technically complex.
Low Light Ideas to Try at Home
You don’t need to leave your house to practice these skills. Here are five specific home scenarios that build essential low light technique, acting as a perfect composition in photography guide:
1. Candle portrait: Light a single candle, turn off all other lights, and photograph a subject (or your own hand) at f/1.8, ISO 800, 1/60s. Focus on the transition between light and shadow.
2. Laptop screen light: Use an open laptop or tablet screen as your only light source. The blue-white light creates a modern, cinematic quality. Try ISO 1600, f/2.0, 1/100s.
3. Kitchen lamp bokeh: Place fairy lights or a string of bulbs out of focus behind a subject. Shoot at f/1.8 to turn them into soft, glowing circles.
4. Window at dusk: The 20-minute window after sunset produces soft, directional light with no harsh shadows. Use ISO 800–1600, f/2.0, 1/60s.
5. Light painting: Set up a tripod in a dark room, use a 20-second exposure at ISO 200, f/8, and write your name in the air with a flashlight.
Master Post-Processing and Specialized Techniques
The best low light photographers don’t just shoot well — they know how to recover and enhance their images afterward. Modern post-processing tools, particularly AI-powered noise reduction, have fundamentally changed what’s possible from a high-ISO RAW file.
Quotable: “AI noise reduction in 2026 can recover a usable portrait from ISO 12800 — a file that would have been deleted in 2020. Post-processing is no longer optional in low light photography.”
Natural Light Techniques
Flash in low light often destroys the atmosphere you’re trying to capture — it flattens faces, kills background depth, and signals “amateur snapshot” to the viewer. Natural light techniques preserve the mood.
The key is finding and shaping existing light rather than adding new light. Reflectors (even a white foam board or a light-colored wall) can bounce existing light back onto your subject, lifting shadows without the harshness of flash. If you must use flash, try bouncing it off a white ceiling or wall — the reflected light is softer and more directional than direct flash.
For indoor events where flash is allowed but unwanted, consider a small LED panel light (available for $30–$80) that you can position to one side of your subject. Unlike flash, continuous LED light lets you see exactly what you’re getting before you press the shutter.
Film Photography in Low Light
Film photography in low light requires a different mindset — you can’t check your LCD screen and adjust. The key variables are film speed (ISO equivalent, called ASA on film — higher numbers like ISO 1600 or 3200 film are grainier but more light-sensitive) and pushing (a darkroom development technique where you intentionally underexpose and then over-develop the film to increase effective sensitivity).
Kodak T-MAX P3200 and Ilford Delta 3200 are the go-to film stocks for low light — they can be pushed to ISO 12500 in professional development. The grain they produce is part of their aesthetic appeal: organic, textured, and fundamentally different from digital noise.
For beginners trying film in low light, a 50mm f/1.8 lens, ISO 800 film, and available indoor light is a practical starting point. Meter carefully — you don’t get a second chance on film. If you need artificial light, consult a flash photography tutorial to balance it properly.
AI Noise Reduction
This is where 2026 low light photography diverges sharply from advice written just a few years ago. AI noise reduction has transformed what’s possible from high-ISO files.
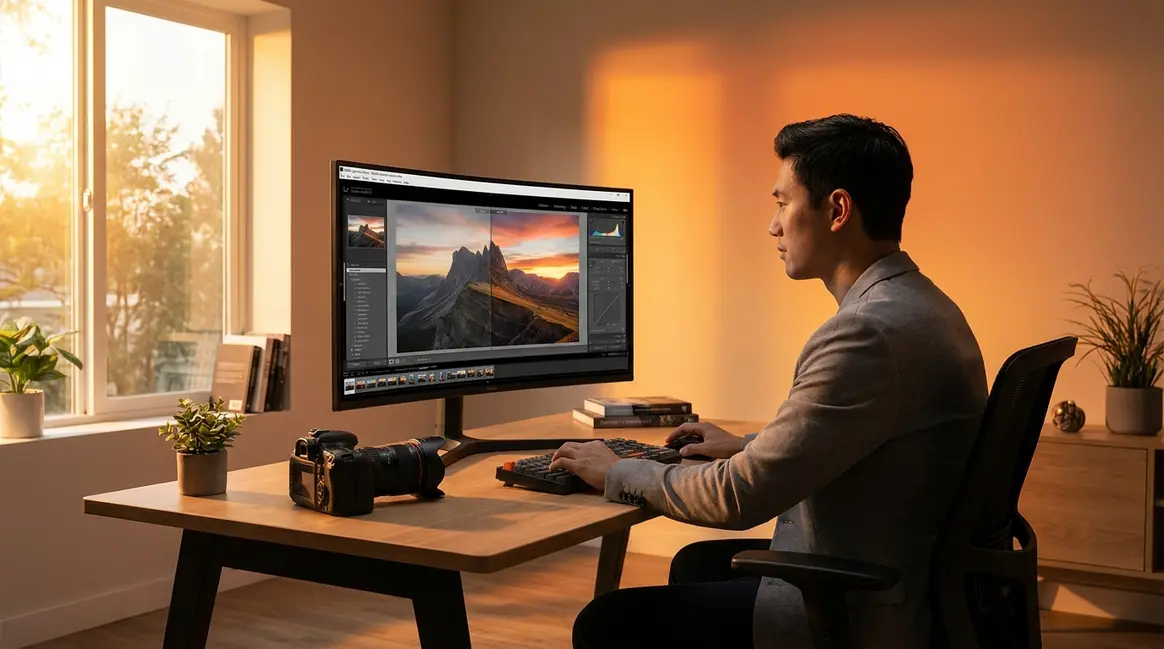
Lightroom Denoise (Adobe’s AI-powered noise reduction tool, introduced in Lightroom Classic 12.3) analyzes your RAW file and uses machine learning to distinguish actual image detail from noise patterns, removing grain while preserving edge sharpness in a way that older slider-based noise reduction never could. Most popular low light guides were written before AI noise reduction tools became mainstream — which means this technique is still a genuine competitive advantage for photographers who adopt it now.
Topaz DeNoise AI works similarly, processing your RAW or TIFF file through a neural network trained on millions of noisy images. Independent evaluations by photography review sites have found that both tools can recover usable detail from files shot at ISO 6400–12800 that would previously have required significant cropping or been deleted entirely.
- Practical workflow:
- Shoot RAW at your camera’s extended ISO range (don’t fear ISO 6400 anymore)
- Import into Lightroom and apply basic exposure/color corrections
- Run Lightroom Denoise (Photo menu → Enhance → Denoise) — the default setting of 50 is a good starting point
- Export to Topaz DeNoise AI for a second pass if Lightroom’s result still shows visible grain
- Compare before/after at 100% zoom — the difference is typically dramatic
Common Mistakes and When to Seek Alternatives
Even with the best low light photography tips, beginners fall into predictable patterns. Recognizing these traps early will save you hours of frustration.
Common Pitfalls
1. Shooting in JPEG when you need RAW. JPEG files discard data at capture — you cannot recover shadow detail or correct white balance after the fact the way you can with RAW. In low light, where you’re already working with limited data, this is a critical error. Switch to RAW immediately.
2. Trusting Auto ISO without setting limits. Auto ISO is useful, but without a maximum ISO limit set, your camera will happily shoot at ISO 25600 — producing images that are barely recoverable. Always set a maximum ISO ceiling in your camera’s Auto ISO menu (typically ISO 3200–6400 for most cameras).
3. Forgetting to check autofocus mode. In low light, your camera’s autofocus can hunt (search back and forth without locking focus), especially in Single AF mode with a moving subject. Switch to Continuous AF for moving subjects and check that your camera has locked focus before pressing the shutter.
4. Applying noise reduction in-camera. Most cameras offer in-camera noise reduction for JPEGs, but this processing is destructive and less sophisticated than what you can achieve with Lightroom Denoise or Topaz AI in post. Disable in-camera noise reduction and handle it yourself.
5. Ignoring white balance. Mixed light sources (a lamp and a window simultaneously) create color casts that are hard to fix in post even with RAW. Set a custom white balance or use the Kelvin temperature setting manually when you can.
When to Choose Alternatives
When your lens is the real bottleneck: If you’ve maxed out ISO and shutter speed but images are still underexposed, no amount of technique compensates for a slow lens. Renting a fast prime for an important event before buying is a practical workaround.
When the scene needs flash: For formal portraits or product photography in controlled environments, a small off-camera flash with a diffuser will always outperform natural light technique. Embrace the tool when it’s appropriate.
When to Seek Expert Help: If you’re shooting professionally — weddings, commercial events, editorial work — and consistently missing shots in low light, a one-day workshop with a working event photographer is more valuable than any single piece of gear or any tutorial. Hands-on feedback in real conditions accelerates improvement faster than self-study.
Frequently Asked Questions
How to take better low light pictures?
Start by widening your aperture (f/1.8–f/2.8), then slow your shutter speed to the minimum you can handhold without blur, and raise ISO last. Shooting in RAW gives you maximum flexibility in post-processing. The most impactful single change most beginners can make is switching from a kit lens to a fast prime lens (50mm f/1.8 costs around $150 for most systems). According to Canon’s low light guide, aperture is the first variable to optimize because it has no quality trade-off beyond depth of field.
What is the 80/20 rule in photography?
The 80/20 rule in photography suggests that 80% of your best images will come from 20% of your techniques — specifically, mastering light, composition, and focus. In low light photography, the 20% of techniques that deliver 80% of results are: shooting RAW, using a fast lens at wide aperture, and learning your camera’s usable ISO limit. Beginners who focus on these three areas before buying new gear consistently outperform those who prioritize equipment upgrades. The rule encourages deliberate practice over accumulating gear.
What are the 5 C’s of photography?
The 5 C’s of photography are Composition, Capture, Color, Contrast, and Creativity — a framework used in photography education to evaluate and improve image quality holistically. In low light photography, Contrast and Capture are the most critical: contrast (the difference between light and shadow areas) defines the mood of a low light image, while capture (the technical execution of exposure settings) determines whether you have a usable file at all. Beginners who internalize the 5 C’s as a mental checklist before pressing the shutter report faster improvement than those who focus on settings alone.
What colors photograph poorly in dark?
Deep reds, dark blues, and saturated purples are the most difficult colors to photograph accurately in low light. This is because camera sensors use a Bayer filter — a grid of red, green, and blue color filters over the sensor pixels — and in low light, the reduced photon count makes it harder for the sensor to distinguish between deep, saturated hues. Dark reds in particular tend to lose detail and shift toward muddy brown. Shooting in RAW and correcting the HSL (Hue, Saturation, Luminance) sliders in post gives you the best chance of recovering accurate color from these problem tones.
Your Low Light Photography Action Plan
Every strategy in this guide addresses the same core challenge from a different angle: your camera’s sensor needs more light than the scene provides, and your job is to solve that equation intelligently rather than desperately.
The six strategies form a logical sequence. You start with fundamentals — understanding why the Exposure Triangle works as a system rather than three separate controls — so that The Dark Triangle Trap never catches you off guard again. You then dial in settings in the correct order (aperture first, shutter second, ISO last), choose gear that removes friction without replacing skill, and apply those settings to your specific genre. You find creative opportunity in the darkness itself. And you finish the job with post-processing tools — particularly AI noise reduction — that were not available to photographers even five years ago.
The Dark Triangle Trap is the common thread: beginners who chase one setting at a time will always create a new problem to solve. Photographers who think in triangles — adjusting all three variables together, understanding the trade-offs as a system — make the leap from frustrated to consistent within a few shooting sessions.
The practical compound effect is significant. A fast 50mm prime lens (f/1.8) gives you two stops of light over a kit lens. Shooting RAW and applying Lightroom Denoise gives you another effective stop. Understanding ISO invariance lets you protect highlights and recover shadows. Combine all three, and you’re effectively shooting in conditions that would have required professional-grade equipment a decade ago.
- Your action plan for the next 48 hours:
- Tonight: Shoot a candle portrait at f/1.8, ISO 800, 1/60s in RAW. Check focus at 100% zoom.
- This week: Find your camera’s noise limit by shooting the same scene at ISO 800, 1600, 3200, and 6400. Document the results.
- This month: Try Lightroom Denoise on a high-ISO file you previously deleted. The result may surprise you.
The Amateur Photographer Guide team recommends starting with just the fundamentals section on your next shoot — one concept at a time, applied deliberately, produces faster results than trying to implement everything simultaneously. Return to each strategy section as you’re ready to add the next layer.
Low light photography rewards patience and curiosity more than it rewards expensive gear. Start with the equation. By applying these low light photography tips, you will see a dramatic improvement in your images. The rest follows.

Dave King
Hi, I'm Dave, the founder of Amateur Photographer Guide. I created this site to help beginner and hobbyist photographers build their skills and grow their passion. Here, you’ll find easy-to-follow tutorials, gear recommendations, and honest advice to make photography more accessible, enjoyable, and rewarding.