
Table of Contents
This blog post may contain affiliate links. As an Amazon Associate I earn from qualifying purchases.
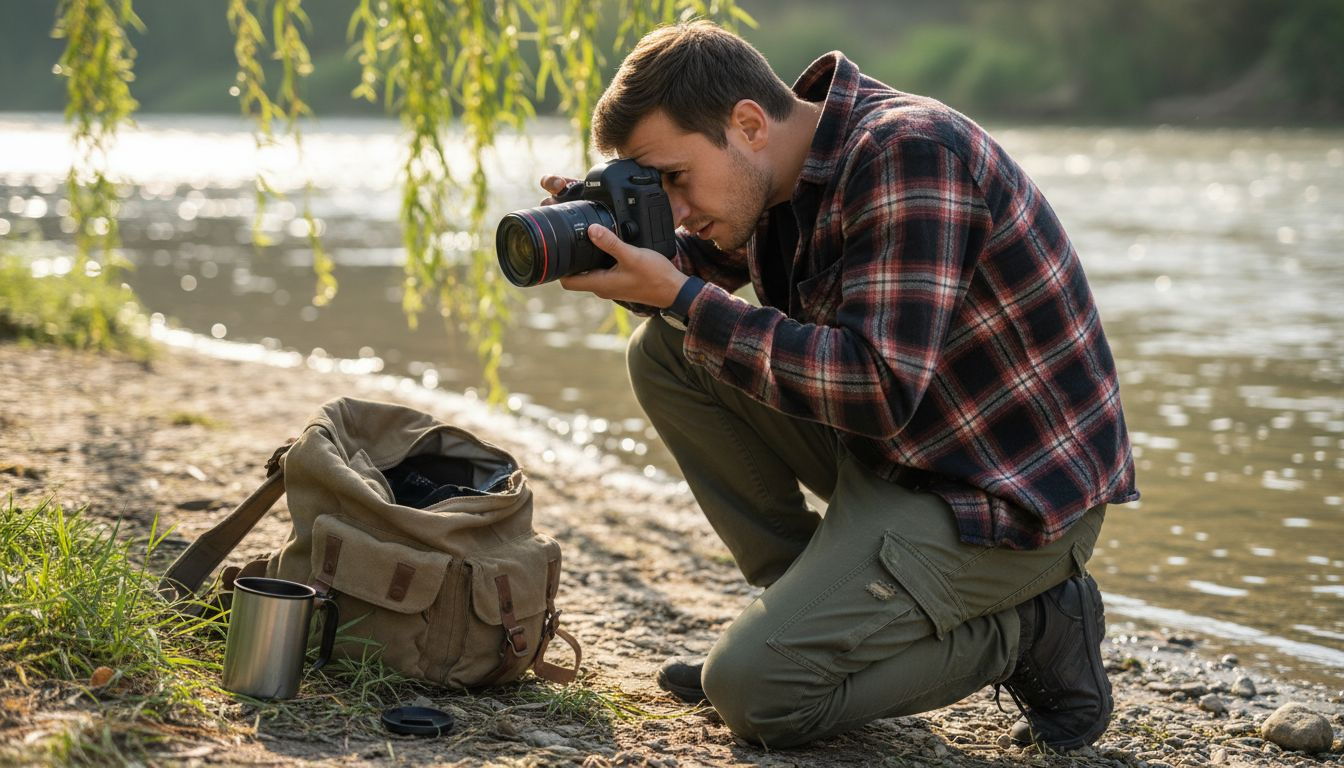
Capturing sharp and vibrant photos can feel tricky when lighting conditions keep changing, whether you are shooting in a sunny American park or inside a cozy Canadian café. Understanding the role of ISO is key to controlling exposure and minimizing unwanted noise in your images. This article gives clear, practical advice on balancing ISO with aperture and shutter speed, helping you achieve cleaner results and make the most of your camera in any environment.


Key Takeaways
| Point | Details |
|---|---|
| ISO Sensitivity | ISO measures a camera’s sensitivity to light, essential for exposure control and image quality. |
| Balance Exposure | Photographers should balance ISO with aperture and shutter speed to maintain image quality without introducing noise. |
| Category Usage | Different ISO ranges cater to various lighting conditions; use lower values in bright light and higher in low light to mitigate noise. |
| Avoiding Mistakes | Common mistakes include automatically raising ISO without alternative adjustments and neglecting camera-specific noise characteristics. |
Photography ISO Explained: Core Definition
In photography, ISO represents the camera sensor’s sensitivity to light, a fundamental setting that dramatically impacts image quality and exposure. Originally derived from the International Organization for Standardization, this setting determines how quickly your camera’s sensor can capture light in different shooting environments.
Understanding ISO involves recognizing its role in the exposure triangle alongside aperture and shutter speed. Here’s how ISO works:
- Measures light sensitivity of your camera’s digital sensor
- Lower numbers (e.g., 100-200) indicate less sensitivity, ideal for bright conditions
- Higher numbers (e.g., 800-3200) indicate increased sensitivity, useful in low light
- Each doubling of ISO number represents one “stop” of additional light sensitivity
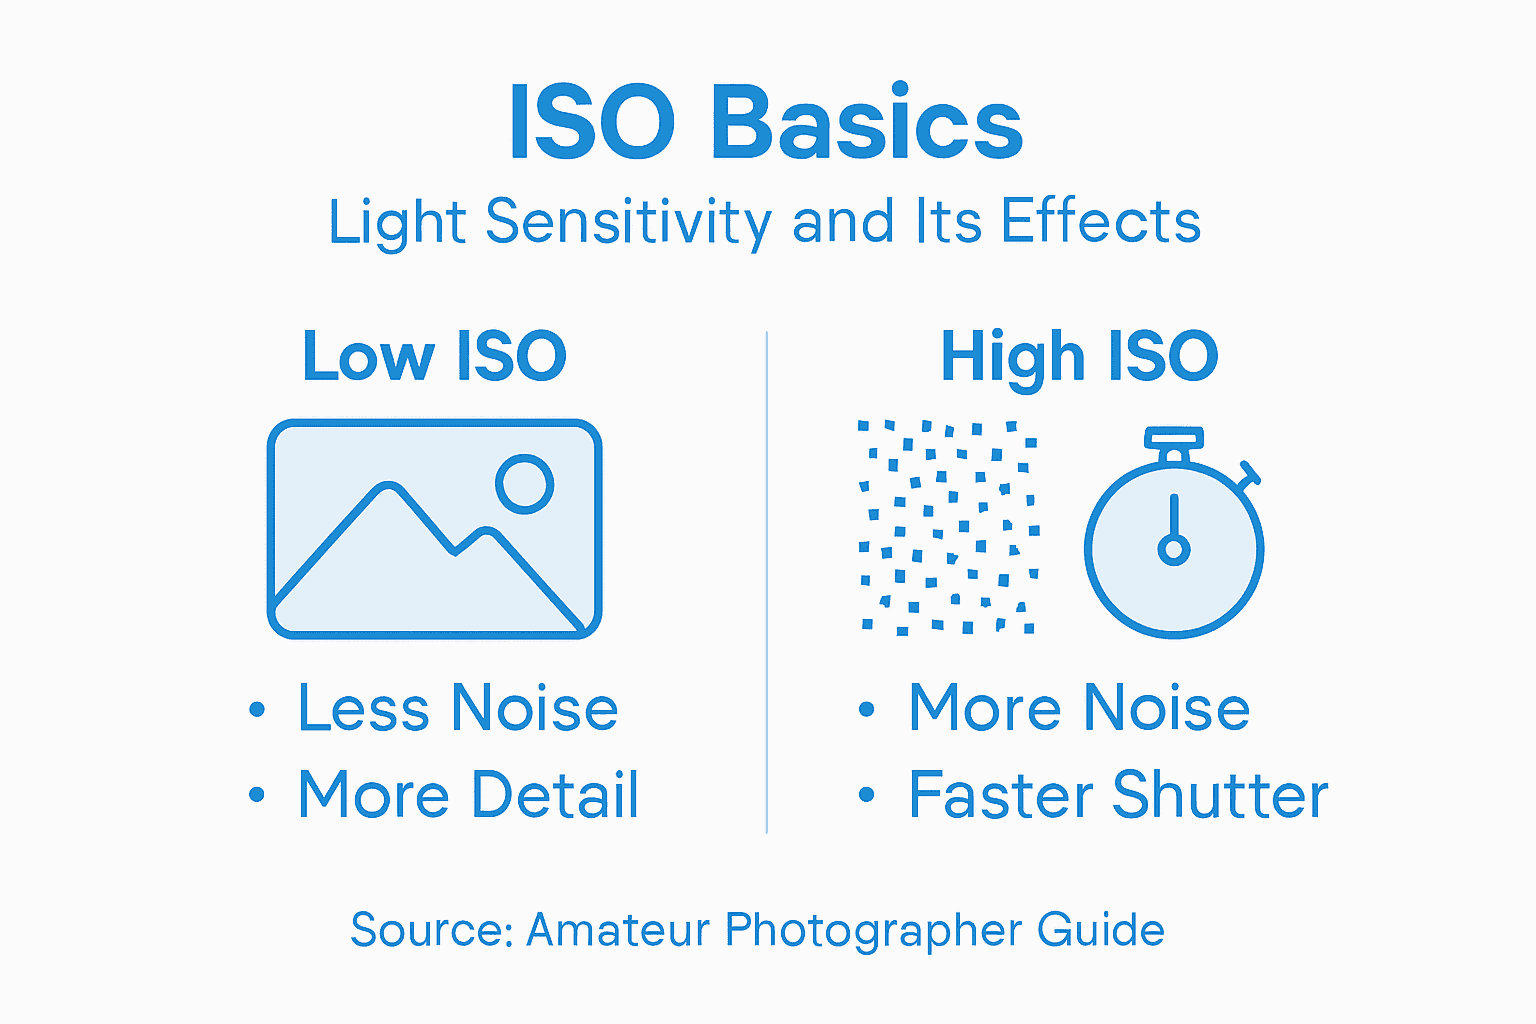
The relationship between ISO and image quality is critical. As you increase ISO, your camera amplifies the sensor’s light signal, which can introduce unwanted digital noise or grain into your photographs. Modern cameras have significantly improved high ISO performance, but the fundamental trade-off remains: higher sensitivity comes with potential image degradation.
Photographers must strategically balance ISO with other exposure settings to achieve optimal results. In bright daylight conditions, you’ll typically use lower ISO values to maintain crisp, clean image quality. Conversely, in dimmer environments like indoor settings or nighttime photography, you might need to increase ISO to capture sufficient light without requiring extremely slow shutter speeds.
Pro tip: Always start with the lowest possible ISO and only increase when absolutely necessary to maintain image sharpness and minimize digital noise.
Types of ISO Values for Cameras
Photographers navigate a wide range of ISO values that correspond to different lighting conditions and shooting scenarios. These values are typically organized into distinct categories that help guide your camera settings across various environments, from bright sunlight to dimly lit indoor spaces.
ISO values can be broadly categorized into four primary ranges:
- Low ISO: 50-200 (Ideal for bright daylight)
- Medium ISO: 400-800 (Suitable for overcast or indoor lighting)
- High ISO: 1600-3200 (Good for low light conditions)
- Ultra-High ISO: 6400 and above (Extreme low light situations)
The performance of these ISO ranges varies significantly depending on your camera’s sensor quality. Low light camera models often feature more advanced sensors that handle higher ISO values with less digital noise, allowing photographers greater flexibility in challenging lighting environments.
Higher ISO values amplify light sensitivity but introduce more digital noise, making careful selection crucial for maintaining image quality.
Understanding your camera’s specific base ISO – typically the lowest native ISO setting – is critical for achieving the highest image quality. This base ISO (usually 100 or 200) provides the cleanest, most detailed images with minimal digital artifacts. As you move beyond this baseline, each successive ISO increment introduces incrementally more digital noise, requiring a strategic approach to exposure management.
Pro tip: Experiment with your camera’s ISO performance by taking test shots at different settings and examining them at full resolution to understand your specific camera’s noise characteristics.
Here’s a summary of ISO categories and their ideal usage:
| ISO Range | Example Lighting Condition | Typical Usage Scenario |
|---|---|---|
| 50–200 (Low) | Bright sunlight | Outdoor landscapes, portraits |
| 400–800 (Medium) | Overcast, indoor daylight | Indoor events, shaded areas |
| 1600–3200 (High) | Dim interiors, dusk/night | Concerts, night street scenes |
| 6400+ (Ultra-High) | Very low light, no flash | Astrophotography, dark venues |
How ISO Works in Exposure Control
The exposure triangle represents the fundamental relationship between ISO, aperture, and shutter speed in photography. This delicate balance determines how much light reaches your camera’s sensor and ultimately shapes the final image. ISO plays a critical role by controlling the sensor’s sensitivity to incoming light, allowing photographers to adapt to various shooting conditions.
Photographers manipulate ISO to achieve proper exposure through several strategic approaches:
- Adjust light sensitivity without changing physical lighting
- Compensate for limited aperture or shutter speed options
- Enable shooting in challenging light environments
- Maintain image quality while managing brightness
Increasing ISO is like turning up the volume on your camera’s light perception – but be careful, too much amplification introduces unwanted noise.
In practical terms, ISO works by electronically amplifying the light signal captured by your camera’s sensor. Understanding exposure principles helps photographers make informed decisions about when and how to adjust ISO. For instance, in low-light scenarios where you cannot widen the aperture or slow down the shutter speed, increasing ISO becomes the primary method for capturing a properly exposed image.
The relationship between ISO and image quality is complex. While higher ISO values allow you to shoot in darker conditions, they also introduce digital noise – those grainy, speckled artifacts that can degrade image clarity. Modern cameras have significantly improved high ISO performance, but the fundamental trade-off remains: more sensitivity means potentially less pristine image quality.
Pro tip: Always start at the lowest native ISO and incrementally increase only when absolutely necessary, checking image quality at each step.
Compare how ISO adjustments affect the exposure triangle:
| Factor | Lower ISO Impact | Higher ISO Impact |
|---|---|---|
| Image Quality | Maximum detail, minimal noise | Increased grain, less sharpness |
| Shutter Speed | Requires slower shutter speeds | Allows faster shutter, freeze motion |
| Aperture Choice | Often needs wider apertures | Enables narrower apertures |
Image Quality and Noise at Different ISOs
Understanding the relationship between ISO settings and image quality is crucial for photographers seeking to capture pristine photographs. Digital noise emerges as the primary challenge when manipulating ISO, transforming what could be a perfect shot into a grainy, less detailed image. Each increment in ISO introduces potential degradation to your photograph’s overall clarity and color accuracy.
The impact of ISO on image quality varies across different sensitivity ranges:
- Low ISO (50-200): Produces cleanest images with maximum detail
- Medium ISO (400-800): Minimal noise, good for moderate lighting
- High ISO (1600-3200): Noticeable grain begins to appear
- Ultra-High ISO (6400+): Significant digital noise and color distortion
Digital noise acts like visual static – the higher the ISO, the more interference disrupts your image’s smooth appearance.
Understanding digital noise helps photographers make strategic decisions about exposure. Modern camera sensors have dramatically improved high ISO performance, with advanced noise reduction technologies mitigating image degradation. Full-frame sensors, for instance, typically handle higher ISO settings more gracefully than smaller crop sensors.
The science behind ISO-related image quality involves electronic signal amplification. As your camera increases ISO, it electronically boosts the light signal, which simultaneously increases brightness and unwanted background noise. This process is similar to turning up an audio amplifier – the sound gets louder, but so does the background hiss. Professional photographers carefully balance ISO, understanding that maintaining image quality requires a nuanced approach to light sensitivity.
Pro tip: When shooting in challenging light, bracket your shots using different ISO settings to determine the optimal balance between brightness and image clarity.
Choosing ISO: Mistakes and Best Practices
Photographers often struggle with ISO selection, making critical errors that can compromise image quality and creative vision. Understanding common pitfalls and strategic approaches helps transform ISO from a technical challenge into a powerful creative tool for capturing exceptional photographs.
Here are the most frequent mistakes photographers make with ISO:
- Automatically increasing ISO without exploring other options
- Neglecting to check image noise at higher sensitivity settings
- Using maximum ISO indiscriminately in low-light situations
- Failing to understand the relationship between ISO and other exposure settings
- Ignoring camera-specific ISO performance characteristics
Not all ISO settings are created equal – each camera has its unique noise threshold and performance curve.
Camera settings checklists recommend a systematic approach to ISO management. Before raising ISO, photographers should first consider alternative exposure strategies like adjusting aperture or shutter speed. Modern cameras often include Auto ISO features that intelligently manage sensitivity, but these should be configured carefully to prevent unexpected noise or motion blur.
Professional photographers follow a strategic hierarchy when selecting ISO. They prioritize maintaining the lowest possible ISO while ensuring proper exposure, understanding that image quality degrades exponentially with each sensitivity increment. This approach requires balancing technical constraints with creative requirements, constantly evaluating the trade-offs between light capture and digital noise.
Pro tip: Conduct a personal noise test with your specific camera model by shooting a neutral gray card at different ISO levels to understand your equipment’s unique performance characteristics.
Master Your ISO Settings and Elevate Your Photography Today
Struggling with noisy images or confused about when to adjust your ISO settings Understand how ISO fits into the exposure triangle and gain control over your camera’s light sensitivity to capture sharper photos every time. Whether you face bright sunlight or challenging low-light conditions knowing how to balance ISO with aperture and shutter speed is essential for stunning results.
Visit Amateur Photographer Guide now to dive deeper into practical advice on ISO and exposure. Explore expert tutorials and gear recommendations that help you avoid common ISO mistakes and confidently shoot in any environment. Take the next step by learning more about understanding exposure and discover best low-light camera models designed to perform when increasing ISO is unavoidable. Don’t let digital noise hold back your creativity visit today and transform your photography.
Frequently Asked Questions
What is ISO in photography?
ISO in photography refers to the sensitivity of your camera’s sensor to light, determining how well it can capture images in various lighting conditions. Lower ISO values indicate less sensitivity and are ideal for bright conditions, while higher ISO values signify greater sensitivity for low-light scenarios.
How does ISO affect image quality?
Increasing ISO amplifies the light captured by the sensor, which can introduce digital noise or grain into photographs. While modern cameras handle high ISO settings better than older models, higher sensitivity can still lead to a decrease in image clarity and detail.
When should I use a low versus a high ISO setting?
Use low ISO settings (50-200) in bright daylight to ensure clean images with minimal noise. Opt for higher ISO settings (800 and above) in low-light environments, such as concerts or nighttime photography, where you need to capture sufficient light without using slow shutter speeds.
What is the exposure triangle, and how does ISO fit into it?
The exposure triangle consists of three elements: ISO, aperture, and shutter speed. ISO controls the camera sensor’s sensitivity to light, while aperture and shutter speed dictate how much light enters the camera and for how long. A balance between these three elements is crucial for achieving proper exposure in your photographs.
Recommended
- ISO in Photography: Complete Guide for Beginners
- What Is Exposure in Photography? Complete Guide
- What Is a Stop in Photography? Complete Overview
- The Beginner’s No-Fail Guide to Manual Camera Settings [With Cheat Sheet]
Last update on 2026-03-31 / Affiliate links / Images from Amazon Product Advertising API
