Table of Contents
- Key Takeaways
- Defining Color Grading in Photography
- Types of Color Grading Techniques Explained
- Essential Color Grading Tools and Software
- Step-by-Step Color Grading Workflow
- Common Mistakes and How to Avoid Them
- Elevate Your Photos with Expert Color Grading Guidance
- Frequently Asked Questions
- Recommended Reads
This blog post may contain affiliate links. As an Amazon Associate I earn from qualifying purchases.
Most amateur photographers quickly discover that understanding color grading can make or break a photo’s impact, yet a surprising 68 percent of self-taught creators struggle with these techniques compared to their american or European peers. Mastering color grading not only breathes life into your images but also helps set your work apart with unique mood and style. This guide will unravel the real difference between color grading and basic correction, giving you practical advice to enhance your editing confidence.
Key Takeaways
| Point | Details |
|---|---|
| Understanding Color Grading | Color grading is a creative process that goes beyond basic color correction, aiming to create a visual narrative and emotional tone in photographs. |
| Techniques and Tools | Utilizing techniques like Look-Up Tables (LUTs) and color wheels allows photographers to enhance specific color ranges and establish a cohesive style. |
| Workflow Importance | Establish a systematic workflow that starts with color correction to lay a stable foundation for effective color grading. |
| Avoid Common Pitfalls | Be mindful of over-saturation and aim for accurate skin tones to maintain the natural quality and integrity of your images. |
- Improved Dual Pixel CMOS AF and eye detection AF 24.1 Megapixel CMOS (APS-C) sensor with is 100–6400 (H: 12800)
- Built-in Wi-Fi and NFC technology working temperature range: 32-104°F/0-40°C
- 9-Point AF system and AI Servo AF
- Optical Viewfinder with approx 95% viewing coverage
- Use the EOS Utility Webcam Beta Software (Mac and Windows) to turn your compatible Canon camera into a high-quality webcam
- Canon EOS 2000D DSLRCamera Body – 24.1MP APS-C CMOS Sensor, DIGIC 4+ Image Processor, 3.0″ 920k-Dot LCD Monitor, Full HD 1080/30p Video Recording, 9-Point AF with Center Cross-Type Point, ISO 100-6400, Up to 3 fps Shooting, Built-In Wi-Fi with NFC, Scene Intelligent Auto Mode , Creative Filters and Creative Auto Modes
- Canon EF-S 18-55mm F/3.5-5.6 DC III Zoom Lens – EF-S-Mount Lens/APS-C Format, 28.8-88mm (35mm Equivalent) ,Aperture Range: f/3.5 to f/38 ,One Aspherical Element ,Super Spectra Coating ,Micro Motor AF System , Rounded 6-Blade Diaphragm
- 24.1MP APS-C CMOS sensor and DIGIC 4+ image processor, which combine to provide both speed throughout the camera system as well as notable image quality. Up to 3 fps shooting is possible to suit photographing moving subjects—for up to 150 consecutive JPEGs in a burst or up to 11 consecutive raw frames—and Full HD 1080p video at 30 fps can also be recorded. For working in a variety of lighting conditions, the sensitivity range of ISO 100-6400 can be further expanded to ISO 12800
- Shoot detailed images into the night with a large 24.1 Megapixel sensor, with up to 19x more surface area than many smartphones³, Take memorable, atmospheric pictures at night with large ISO sensitivity range of ISO 100-6400 (expandable to ISO 12,800) ,See the world through the optical viewfinder and experience the creative power of interchangeable lenses, Instantly review results on the user-friendly, 6.8 cm (2.7”) LCD screen
- Extending the capabilities of the camera, Canon’s EOS Webcam Utility software lets you turn your camera into a versatile webcam by just connecting it to a computer via USB. Compatible with a variety of streaming apps, including ZOOM, YouTube Live, Microsoft Teams, and more, this software also maintains the ability to record internally while livestreaming.
- 【Upgraded 8K 64MP Digital Camera】:Capture stunning 8K videos and 64MP photos with incredible details, featuring 16X digital zoom for sharp close-ups and a detachable wide-angle lens for immersive perspectives. With factory-tuned exposure and focus, it’s easy to shoot pro-level content—ideal for travel, daily photography, and social media storytelling.
- 【8K Travel Vlogging Camera】:It captures stunning 8K footage and smooth 5K/25fps video, delivering exceptional clarity and detail.Featuring a 180° flip-up screen, this camera is ideal for travel vlogging and on-the-go content creation.Edit and share directly via the dedicated app for seamless social media publishing.
- 【User-Friendly Professional Camera】:For photo lovers, our 8K photography digital camera is a great choice. With a 52mm F1.8 lens and 64mp pixels, it offers sharpness, great bokeh & top imaging. Auto-focus is responsive even in low-light. It’s super user-friendly, point and shoot for beginners to capture life’s moments.
- 【WiFi Connection & APP Control】:Sync the video camera to your phone via WiFi for remote framing, bulk photo transfers (with next-gen speed), and instant sharing to Instagram. A dedicated tripod mount enhances stability for live streaming.
- 【Best Gift & Abundant Freebies】:The package contains a 8K camera, 52mm Wide angle & Macro lenses, 2 batteries, charger, strap, pouch, 64GB TF card set & USB cable. Loaded with accessories, no need for extra buys. This camera is a knockout gift for photo enthusiasts.
- 16 Megapixel CMOS Sensor
- 5X Optical Zoom – 28mm Wide Angle Lens
- 1080P Full HD Video – Vlogging Camera
- SD Card Compatibility: At least Class 10, no more than 512GB (SD, SDHC, SDXC)
- 2.7″ LCD Screen – Rechargeable Li-Ion Battery
- Simple 4K Video & 56MP Photo Recording:This digital camera lets you capture clear 4K videos and 56MP photos for everyday use. With its autofocus and easy operation, it works well for adults who want a basic camera for photography without complicated settings. A practical option among digital cameras for casual shooting
- Easy-to-Use 3.0″ Screen for Photos and Videos:The 3″ 180° flip screen makes it easy to see what you’re filming or photographing. Whether you’re recording short clips, daily moments, or simple vlogs, this camera can also serve as a basic vlogging camera or vlogging camera for YouTube. Great for users who want a straightforward camera for vlogging
- Lightweight Design for Travel and Everyday Carry:With its compact size, this travel camera is convenient to take on trips, weekends, or daily outings. It’s a simple, no-frills photography camera that works well for adults looking for something lightweight and easy to bring along
- 16X Digital Zoom & Helpful Shooting Modes:The 16X digital zoom lets you adjust your shot quickly, and the built-in flash supports low-light situations. This camera digital also includes modes like time-lapse, slow motion, motion detection, burst, and smile capture, giving you flexible options without being complicated
- Long Battery Life, USB Transfer & 32GB SD Card:The built-in 2000mAh battery provides enough time for casual shooting, and you can transfer photos and videos easily through USB. A 32GB SD card is included so you can start using your 4k digital camera right away. Simple to use as a youtube camera, a small 4k camera, or an everyday camera for photography
Defining Color Grading in Photography
Color grading transforms digital photographs from raw captures into visually compelling artistic statements, going far beyond basic color correction. While many amateur photographers mistake color correction for color grading, these processes represent distinctly different approaches to image manipulation. Color correction aims to restore an image to its most accurate visual representation, whereas color grading introduces intentional stylistic modifications that dramatically alter a photograph’s emotional tone and aesthetic feel.

At its core, color grading involves strategically adjusting specific color ranges within an image to create a cohesive visual narrative. Photographers typically begin by preparing images through systematic post-processing techniques, ensuring the foundational elements like white balance, exposure, and contrast are precisely tuned before applying creative color treatments. These adjustments might involve shifting shadow tones toward cooler blues, warming midtones with subtle amber hues, or creating dramatic color contrasts that draw viewers’ attention to specific image elements.
The technical process of color grading requires shooting in raw format, which provides photographers maximum flexibility for color manipulation. Professional photographers understand that raw files contain significantly more color information compared to compressed JPEG formats, allowing for nuanced adjustments without degrading image quality. By carefully modifying highlights, midtones, and shadows, photographers can craft images that communicate specific moods – from nostalgic and melancholic to vibrant and energetic – through strategic color placement and intensity.
Pro tip: Start practicing color grading by establishing a consistent editing workflow that always begins with color correction before advancing to creative color grading techniques.
Types of Color Grading Techniques Explained
Color grading encompasses several sophisticated techniques that photographers can leverage to transform their images from simple captures to compelling visual narratives. Primary color correction represents the foundational approach, where photographers balance overall color consistency and restore images to their most accurate representation. Essential editing techniques involve methodically adjusting white balance, exposure, and fundamental color relationships to create a stable starting point for more creative manipulations.
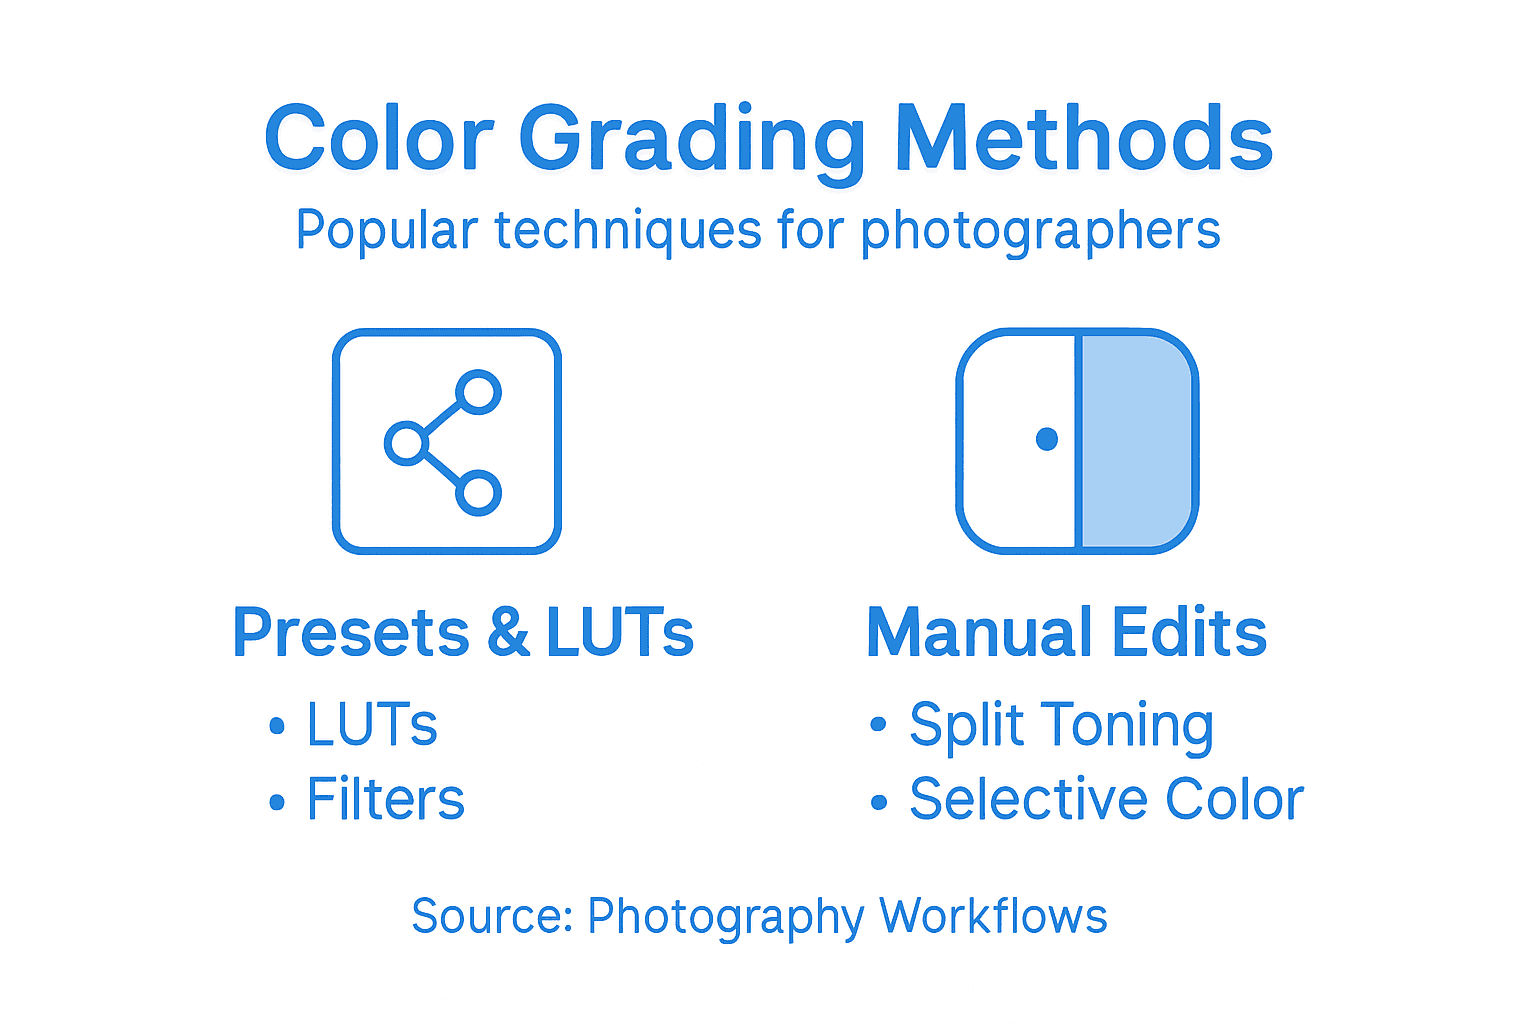
Among the most powerful color grading methods are Look-Up Tables (LUTs), which provide preset color treatment options that can dramatically alter an image’s mood and aesthetic. These digital tools allow photographers to apply complex color transformations with a single click, ranging from vintage film-like treatments to modern cinematic color palettes. Secondary color adjustments offer even more precision, enabling photographers to target and modify specific color ranges within an image – such as intensifying blues in a landscape or warming skin tones in a portrait.

Advanced color grading techniques also include split toning, a method that introduces distinct hues to an image’s highlight and shadow regions. This approach creates nuanced color effects that can evoke specific emotional responses or establish a unique visual signature. Professional photographers often utilize color wheels and curves to make granular adjustments, carefully manipulating color temperature, saturation, and contrast to craft images that communicate complex visual narratives beyond simple representation.
Pro tip: Experiment with different LUTs and color grading presets, but always adjust them to suit your specific image to maintain a personalized and authentic photographic style.
Here’s a quick comparison of color grading techniques and their applications:
| Technique | Main Purpose | Best For |
|---|---|---|
| Primary Correction | Balancing overall color and tone | Foundational edits |
| Look-Up Tables (LUTs) | Applying preset color styles | Quick mood changes |
| Secondary Adjustments | Targeting specific color ranges | Selective enhancements |
| Split Toning | Adding color to highlights/shadows | Creative mood shifts |
Essential Color Grading Tools and Software
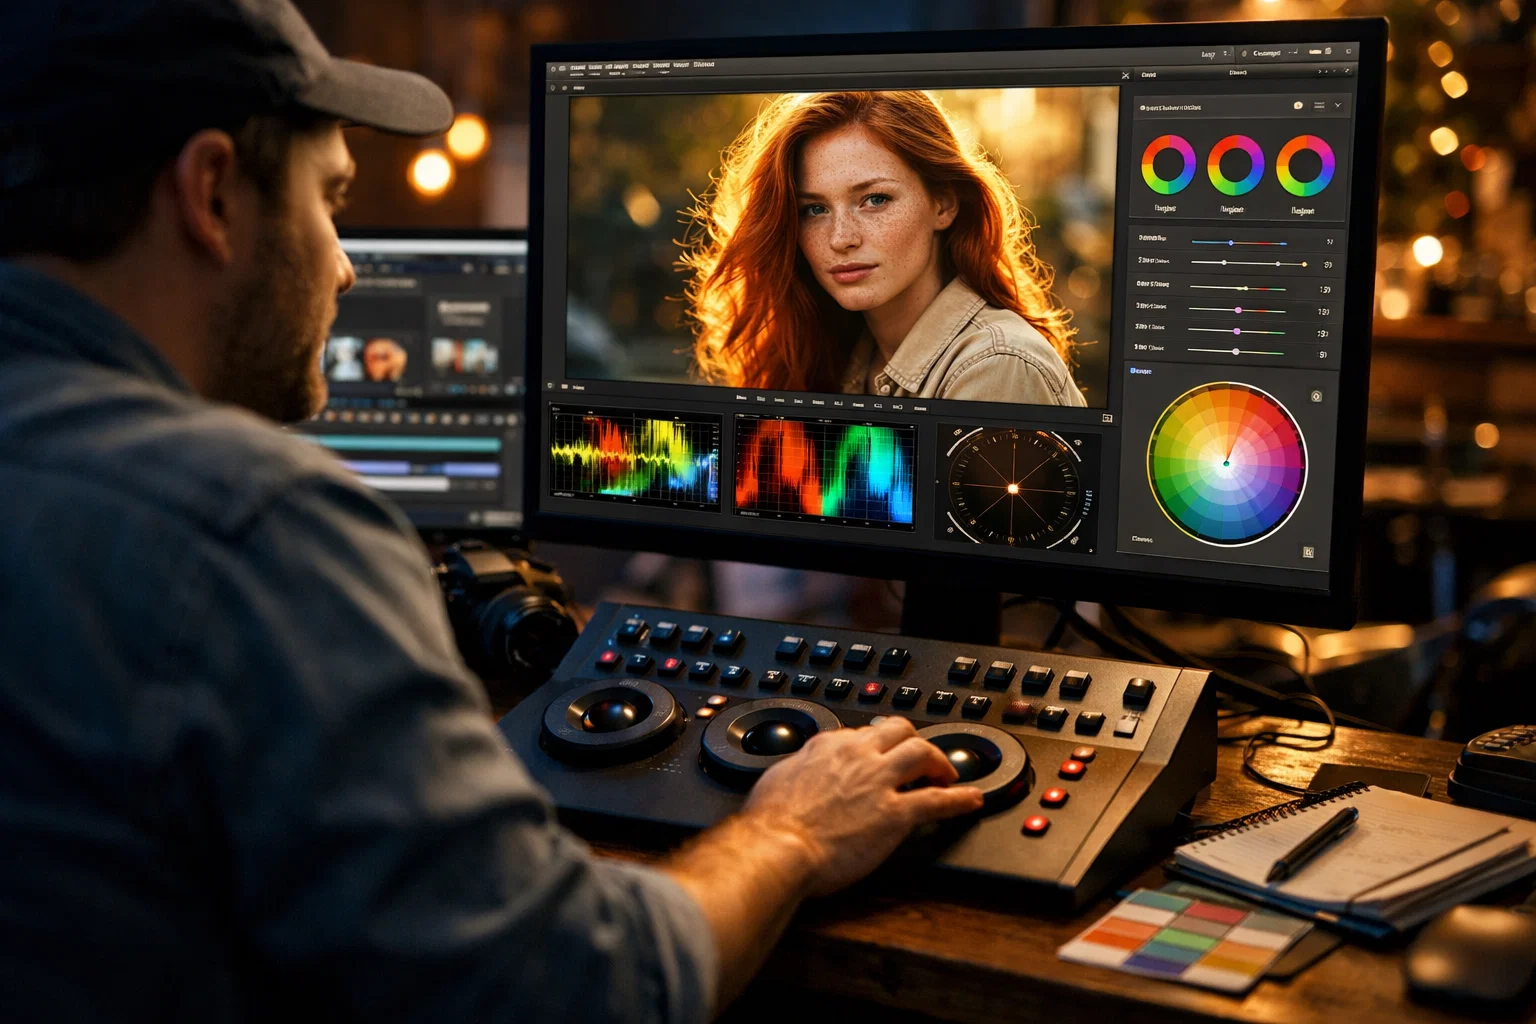
Photographers have an expanding array of powerful color grading tools that cater to different skill levels and creative requirements. Post-processing techniques have evolved dramatically, offering sophisticated software solutions that transform digital image editing. Professional-grade applications like Adobe Lightroom and DaVinci Resolve provide comprehensive color manipulation capabilities, enabling photographers to make precise adjustments across multiple dimensions of color and tone.
For amateur photographers seeking accessible color grading options, several user-friendly software platforms offer robust features without overwhelming complexity. Beginner-friendly tools like Capture One, Luminar, and VSCO provide intuitive interfaces with powerful preset filters and color wheel adjustments. These applications typically include preset looks that can be fine-tuned, allowing photographers to experiment with different color treatments while developing their personal editing style. More advanced users might explore professional-level software that offers granular control over color temperature, saturation, and individual color channel modifications.
The landscape of color grading software continues to expand, with cloud-based and mobile solutions complementing traditional desktop applications. Advanced color manipulation tools now integrate artificial intelligence and machine learning technologies, automatically suggesting color corrections and providing intelligent preset recommendations. Some software even allows photographers to create and save custom color grading presets, enabling consistent visual styling across entire photographic collections. The key is selecting a tool that matches your technical skill level while providing room for creative exploration and growth.
Pro tip: Start with software that offers both preset filters and manual adjustment tools to gradually build your color grading skills and understanding.
Below is a summary of popular color grading software and their unique features:
| Software | Skill Level | Unique Feature |
|---|---|---|
| Adobe Lightroom | Intermediate | Precision color sliders |
| DaVinci Resolve | Advanced | Film-style grading controls |
| Capture One | Beginner | Intuitive color wheels |
| Luminar | Beginner | AI-powered quick adjustments |
| VSCO | Beginner | Trendy filter presets |
Step-by-Step Color Grading Workflow
A systematic color grading workflow transforms raw photographs into visually compelling artwork through a carefully structured approach. Beginner photo editing techniques emphasize the critical first step of distinguishing between color correction and color grading. Color correction involves establishing a neutral, technically accurate baseline by adjusting white balance, exposure, and fundamental color relationships, creating a solid foundation for creative color manipulation.
The comprehensive color grading process typically follows a sequential progression of technical adjustments. Primary color corrections address overall image balance, involving precise modifications to brightness, contrast, and color saturation. Secondary adjustments then target specific color ranges, allowing photographers to selectively enhance or mute particular hues within the image. Advanced practitioners utilize color wheels and curves to make granular modifications, strategically shifting color temperatures and creating nuanced visual narratives that evoke specific emotional responses.
Professional color grading workflows integrate sophisticated techniques like Look-Up Tables (LUTs) and selective color adjustments to develop a consistent visual style. Photographers often create custom presets that can be applied across multiple images, ensuring visual coherence within a photographic series or personal portfolio. Modern color grading tools now incorporate artificial intelligence and machine learning technologies, offering intelligent suggestions and automated color matching that simplify complex editing processes while maintaining creative control.
Pro tip: Always work on a duplicate of your original image and use non-destructive editing techniques to preserve your initial photographic capture.
Common Mistakes and How to Avoid Them
Photographers frequently encounter critical errors that can derail their color grading efforts, transforming potentially stunning images into visually jarring compositions. Common photography mistakes often stem from a misunderstanding of fundamental color manipulation principles. Over-saturation represents one of the most prevalent pitfalls, where photographers dramatically intensify color levels, resulting in unrealistic and garish images that lose subtle nuance and natural visual depth.
Another significant challenge involves maintaining accurate skin tones during color grading, a subtle art that requires precise color balance and careful selective adjustments. Amateur photographers frequently make the mistake of applying global color treatments that distort natural skin complexions, creating unnatural green, orange, or overly pink renderings. Professional color grading demands a nuanced approach, utilizing tools like color wheels and selective color adjustment layers to preserve realistic skin tone representation while still achieving creative stylistic effects.
Technical limitations and inexperience can lead to additional color grading mistakes that compromise image quality. Exposure inconsistencies create significant challenges, particularly when attempting to grade images with fundamental lighting or white balance issues. Photographers must prioritize proper color correction before attempting creative color grading, ensuring a technically sound foundation. Advanced practitioners recommend using histogram and scope tools to objectively evaluate color and exposure levels, preventing subjective color adjustments that might compromise overall image integrity.
Pro tip: Always create a backup of your original image and work on duplicate layers to maintain the flexibility of non-destructive editing techniques.
Elevate Your Photos with Expert Color Grading Guidance
Struggling to bring your photographs to life through color grading can be frustrating, especially when trying to balance mood, tone, and realism. This article highlights common challenges like distinguishing color grading from basic correction, managing skin tones, and mastering tools like LUTs and color wheels to craft compelling visuals. If you want to turn your raw images into expressive works of art by learning practical post-processing techniques and avoiding common pitfalls, deepening your editing workflow is essential.

Explore detailed tutorials, expert advice, and simple step-by-step methods designed for photographers at every level at Amateur Photographer Guide. Start by learning how to effectively apply essential editing techniques and build up to advanced color grading workflows that preserve natural beauty while expressing your creative vision. Don’t miss this chance to boost your editing skills and create stunning images now. Visit Amateur Photographer Guide to begin your transformation today.
Frequently Asked Questions
What is color grading in photography?
Color grading in photography is the process of transforming digital photographs into visually compelling artistic statements by intentionally adjusting colors and tones, beyond simple color correction.
How does color grading differ from color correction?
Color correction aims to restore an image to its most accurate visual representation, while color grading introduces stylistic modifications that alter the emotional tone and aesthetic feel of the photograph.
What are Look-Up Tables (LUTs) and how are they used in color grading?
Look-Up Tables (LUTs) are preset color treatment options that can dramatically change an image’s mood and aesthetic with just one click, making them a powerful tool for photographers to quickly apply creative color styles.
Why is it important to shoot in raw format for color grading?
Shooting in raw format allows photographers maximum flexibility for color manipulation, as raw files contain significantly more color information than compressed formats like JPEG, enabling nuanced adjustments without degrading image quality.
Recommended Reads
- Color Profile Basics: Enhancing Image Accuracy
- Black and White Photography Guide: Create Stunning Monochrome Photos
- Why Use Filters in Photography: Complete Guide
- Tips For Processing Your Photos Using Software
- Role of Colour in Custom Portraits – Impact on Emotion
Last update on 2026-03-05 / Affiliate links / Images from Amazon Product Advertising API


