

Table of Contents
- Quick Summary
- Step 1: Set Up Your Editing Workspace
- Step 2: Import and Organize Photos Efficiently
- Step 3: Apply Essential Adjustments and Corrections
- Step 4: Enhance Photos with Filters and Effects
- Step 5: Export and Review Edited Images
- Master Your Photo Editing Workflow Today
- Frequently Asked Questions- How to Edit Photos
- Recommended reads
This blog post may contain affiliate links. As an Amazon Associate I earn from qualifying purchases.
Nearly every photographer knows that a cluttered editing space can slow down inspiration and productivity. With photo manipulation becoming more advanced every year, having an organized workspace is no longer just a preference—it is a technical advantage. By mastering simple changes, from arranging tools for quick access to adopting a clean layout, you set yourself up for smoother workflows and fewer frustrations. A streamlined workspace can boost editing speed by over 30 percent, helping every photographer transform average photos into standout images. This is your guide on how to edit photos!
Quick Summary
| Essential Insight | Practical Explanation |
|---|---|
| 1. Customize Your Editing Workspace | Tailor your software layout for improved workflow and quick access to tools you use most. |
| 2. Systematic Photo Organization | Establish a clear folder structure and naming conventions for easy image retrieval later. |
| 3. Use Basic Corrections First | Prioritize adjustments like exposure and white balance before adding creative effects. |
| 4. Experiment with Filters Mindfully | Apply filters to enhance mood without overshadowing the original photograph’s integrity. |
| 5. Review Exports on Multiple Devices | Check your edited images on various screens to ensure color accuracy and quality consistency. |


Step 1: Set Up Your Editing Workspace
Creating an efficient editing workspace is the foundation for smooth photo manipulation in 2025. Your workspace determines how quickly and effectively you can transform images, making the initial setup crucial for photographers of all skill levels.
Begin by selecting a photo editing software with a customizable interface. Most modern photo processing tools allow you to adjust workspace layouts to match your personal workflow. Arrange panels like histogram, layers, and adjustment tools strategically around your main image canvas. Focus on creating an intuitive setup where frequently used tools are within easy reach. Consider dedicating screen space to preview windows and adjustment panels that you access most often.
Organize your workspace with a clean background color that reduces eye strain typically light gray or neutral tones work best. Position your main monitor at eye level and ensure consistent lighting to prevent color perception distortion. If possible, use dual monitors to separate your editing canvas from tool panels maximizing screen real estate and workflow efficiency.
Here’s a comparison of workspace setups for photo editing:
| Setup Type | Key Benefit | Ideal For |
|---|---|---|
| Single Monitor | Space saving, simplicity | Beginners, small spaces |
| Dual Monitors | Greater screen real estate | Professionals, multitaskers |
| Custom Shortcuts | Faster workflow, efficiency | Power users, frequent editors |
| Neutral Colors | Reduces eye strain | Long editing sessions |
Professional tip: Configure custom keyboard shortcuts for your most frequent editing actions to dramatically reduce time spent searching through menus and increase overall productivity.
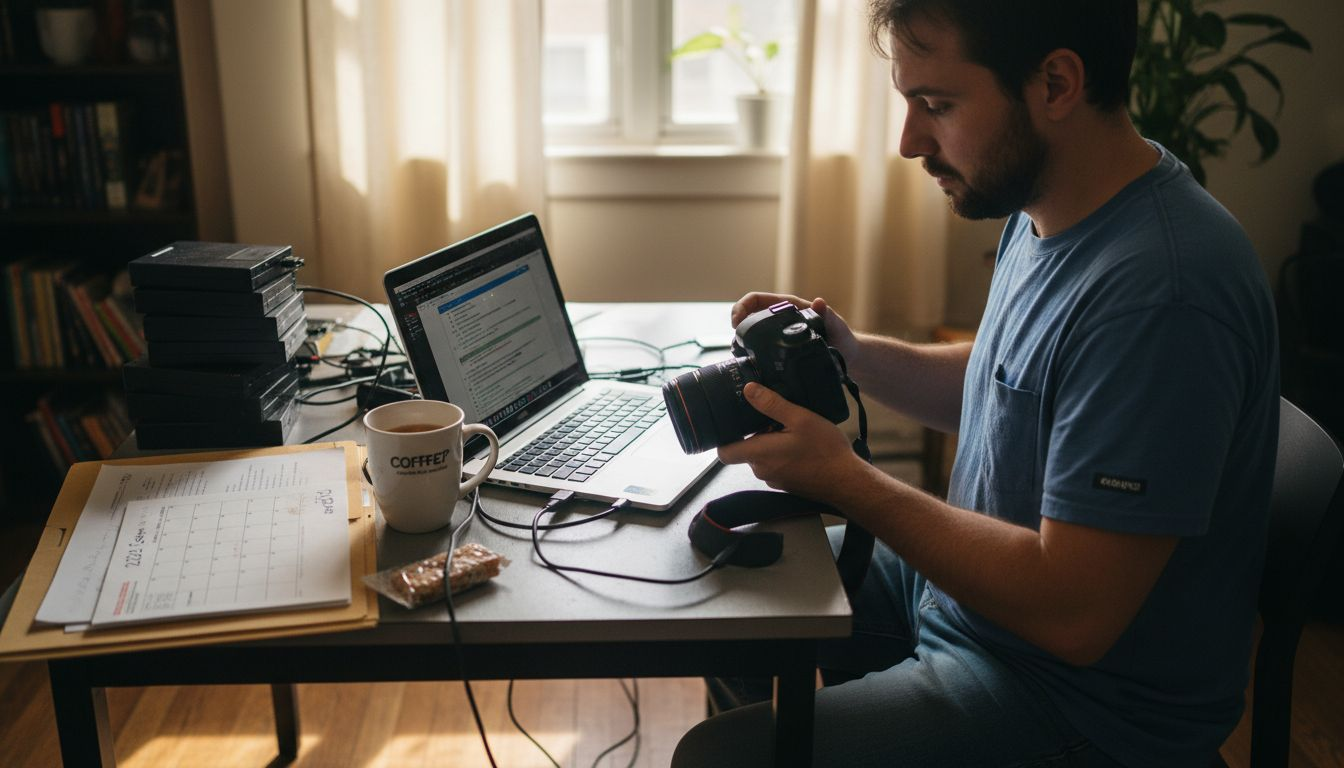
Step 2: Import and Organize Photos Efficiently
Importing and organizing your photos systematically is the key to maintaining an efficient digital photography workflow. This crucial step ensures you can easily locate and manage your images now and in the future.
Start by creating a consistent folder structure on your computer dedicated to your photography. Develop a naming convention that includes key details like date, event, or subject. For instance, use formats like “2025_01_15_WinterLandscape” or “FamilyReunion_Summer2025”. Many photographers follow structured editing workflows that emphasize clear organization from the moment images are transferred.
When importing photos, use your camera or editing software’s built-in transfer tools to move images directly to your designated folders. During this process, add metadata like keywords, location information, and copyright details. This extra step transforms your photo library from a chaotic collection into a searchable, well-organized archive. Consider using external hard drives or cloud storage solutions to create backup copies immediately after import, protecting your valuable visual memories.
Professional tip: Create an annual master folder with subfolders by month or event, allowing you to quickly navigate your growing photo collection without getting overwhelmed by excessive file complexity.
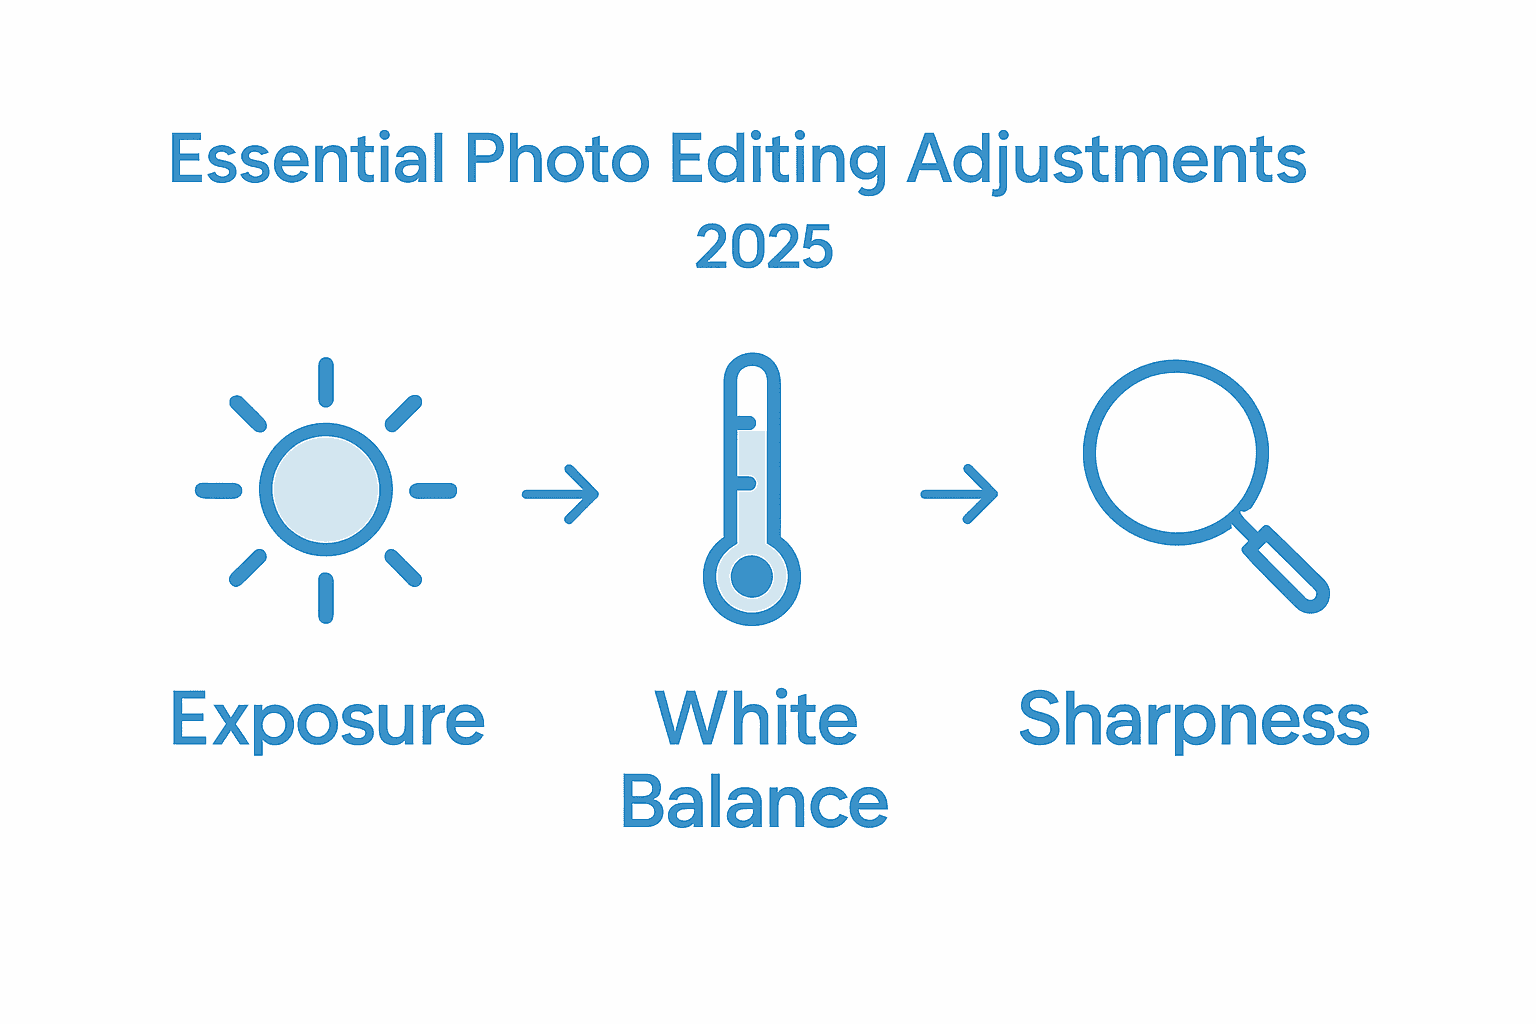
Step 3: Apply Essential Adjustments and Corrections
Transforming raw photographs into polished images requires understanding and applying fundamental editing techniques that enhance visual quality. This step will help you master the core adjustments that turn good photos into great ones.
Begin with basic corrections like exposure and white balance. Use your editing software’s histogram and levels tools to adjust brightness and contrast precisely. Experiment with curves and levels to fine-tune the tonal range of your image. Essential photo editing tips recommend starting with global adjustments before moving to more targeted corrections. Pay special attention to highlights and shadows, ensuring you maintain detail while creating a balanced look.
Next, focus on color corrections and sharpening. Adjust hue, saturation, and color balance to make your images pop while maintaining natural appearance. Use selective editing tools to target specific areas like skin tones or landscape elements. Noise reduction and subtle sharpening can dramatically improve image quality, especially for photos taken in challenging lighting conditions. Remember that subtle adjustments often produce more professional results than extreme manipulations.
Professional tip: Always work on a duplicate layer to preserve your original image, giving you the freedom to experiment without risking permanent changes to your original photograph.
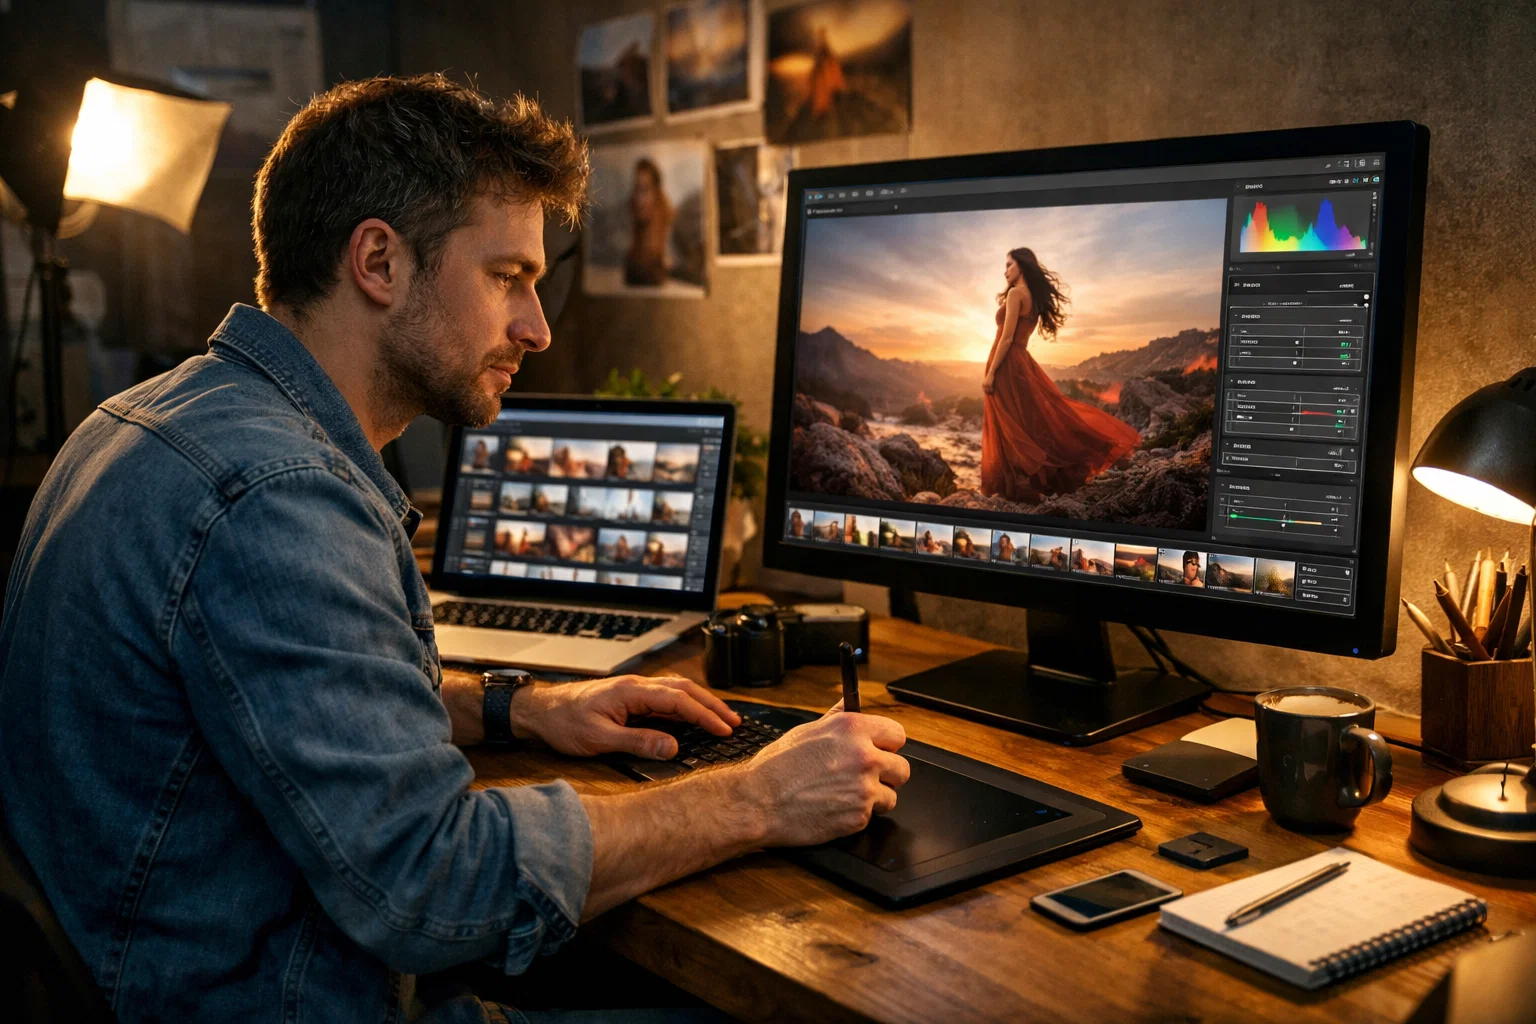
Step 4: Enhance Photos with Filters and Effects
Filters and creative effects transform ordinary photographs into stunning visual narratives, giving photographers powerful tools to express their unique artistic vision. This step will help you navigate the exciting world of digital image enhancement without losing the authentic essence of your original photograph.
Start by exploring filters in photography that complement your image’s mood and style. Modern editing software offers an incredible range of preset filters that can dramatically alter your photo’s atmosphere. Look for options that enhance rather than overwhelm your original composition. Experiment with subtle color grading, vintage effects, or black and white conversions. Pay attention to how different filters interact with your image’s lighting, contrast, and overall tone.
Advanced editing techniques allow for more nuanced effects beyond standard filters. Use layer blending modes to create unique visual textures, adjust opacity to control effect intensity, and combine multiple filters for complex looks. Modern AI-powered tools can even learn and apply personalized styles that match your photographic preferences. Remember that the best effects should enhance your photo’s storytelling potential without making the manipulation obvious.
Professional tip: Always keep a copy of your original image and apply filters on a separate layer, allowing you to dial back the effect or completely remove it without losing your initial photograph.
Step 5: Export and Review Edited Images
Finalizing your photo editing process requires careful export and critical review to ensure your images meet professional standards. This step transforms your carefully edited photographs into shareable and printable masterpieces.
Choose the appropriate file format and resolution based on your intended use. Step by step photo editing techniques recommend exporting high quality JPEG files for web sharing and TIFF or RAW formats for professional printing. Consider the destination of your image whether its social media, print publications, or personal albums when selecting export settings. Pay attention to color space settings ensuring consistent color representation across different devices and platforms.
Here is a quick reference guide to common file formats and their recommended uses in photo editing:
| File Format | Best Use Case | Advantages | Considerations |
|---|---|---|---|
| JPEG | Web sharing, social media | Small file size, wide support | Lossy compression, some quality loss |
| TIFF | Professional printing | High quality, lossless | Large file size, not ideal for web |
| RAW | Advanced post-processing | Maximum detail, editable | Requires special software |
| PNG | Graphics with transparency | Lossless, supports transparencies | Larger than JPEG, not for print |
Carefully review your exported images on multiple devices and screens to verify color accuracy and overall quality. Zoom in to check sharpness and examine details that might have been missed during initial editing. Create multiple versions with slight variations in color or exposure to give yourself options. Compare exported images side by side to identify which version best captures your creative vision and technical requirements.
Professional tip: Create a backup of your original edited file in a separate storage location before final export to protect your work against potential file corruption or accidental deletion.
Master Your Photo Editing Workflow Today
Editing photos in 2025 can feel overwhelming with so many tools and techniques to learn. This guide helps you tackle challenges like organizing your photo library, refining color balance, and applying the perfect effects while protecting your original images. If you want to build confidence and gain practical skills from the ground up, Amateur Photographer Guide offers easy-to-follow tutorials and tips specifically created for photographers just like you.
Start improving your editing workflow now with expert advice on everything from workspace setup to exporting final images. Visit Amateur Photographer Guide to explore in-depth guides on step-by-step photo editing and discover essential photo processing tools that will make your photo transformations faster and more enjoyable. Don’t wait—unlock your creative potential and bring your vision to life with the right knowledge at your fingertips.
Frequently Asked Questions- How to Edit Photos
How can I set up my editing workspace for photo editing in 2025?
To set up your editing workspace, choose customizable photo editing software and arrange the interface to suit your workflow. Position frequently used tools within easy reach and ensure your main monitor is at eye level to reduce strain.
What is the best way to import and organize my photos for efficient editing?
Create a consistent folder structure on your computer and use a clear naming convention when importing photos. For example, include the date and event in the filename; this makes it easier to locate your images later.
What essential adjustments should I apply when editing photos?
Start with basic corrections such as exposure and white balance to improve your images instantly. Adjust the histogram and levels tools, then move on to color corrections for a polished final result.
How can I enhance my photos with filters and effects effectively?
Use filters that complement your images without overwhelming them. Experiment with different effects and apply them on separate layers so you can easily adjust their intensity or remove them if needed.
What file formats should I choose when exporting my edited images?
Select file formats based on your usage needs—JPEG for web sharing, TIFF for printing, and RAW for advanced edits. Make sure to check color space settings to maintain color accuracy across platforms.
How can I ensure the quality of my exported images?
Carefully review your exported images on multiple devices to verify color accuracy and sharpness. Create multiple versions with slight variations to choose the one that best captures your artistic vision.
Recommended reads
- How to Edit Photos on iPhone/iPad: A Comprehensive Guide – Amateur Photographer Guide
- How to Edit Photos on Mac: A Comprehensive Guide for Amateur Photographers – Amateur Photographer Guide
- How to edit photos on windows – Amateur Photographer Guide
- 7 Essential Photo Editing Tips for Amateur Photographers – Amateur Photographer Guide
- How to take a Screenshot on you Mobile Device – StudioShake
Last update on 2026-07-12 / Affiliate links / Images from Amazon Product Advertising API
