

Table of Contents
- Quick Summary
- Step 1: Prepare Your Workspace and Select Photos
- Step 2: Adjust Exposure, Contrast, and White Balance
- Step 3: Crop and Straighten Your Image
- Step 4: Enhance Colors and Apply Filters
- Step 5: Retouch Details and Remove Blemishes
- Step 6: Review Edits and Save the Final Image
- Master Your Photo Editing Journey with Expert Guidance
- Frequently Asked Questions- Step by Step Photo Editing
- Recommended
This blog post may contain affiliate links. As an Amazon Associate I earn from qualifying purchases.
Over 60 percent of American photographers admit that organizing their workspace is the hardest part of starting a new editing project. Whether you are an aspiring hobbyist or a growing professional, a cluttered environment can drain your creativity fast. By learning practical strategies for organizing your workspace and selecting the most promising images, you will set yourself up for a smoother, more enjoyable photo editing journey from start to finish. This is your guide to step by step photo editing!
Quick Summary
| Key Point | Explanation |
|---|---|
| 1. Organize Your Workspace | Create a dedicated folder and tidy your desktop to enhance focus and efficiency during photo editing tasks. |
| 2. Choose Quality Photos | Be selective and identify images with strong potential for improvement, marking the best ones for editing. |
| 3. Master Exposure and Color Balance | Adjust exposure, contrast, and white balance to enhance your photos’ overall quality and visual appeal. |
| 4. Use Cropping Effectively | Crop and straighten images to eliminate distractions and improve composition, aligning with the rule of thirds. |
| 5. Retouch with Care | Use retouching tools subtly, ensuring edits enhance rather than detract from the natural look of the photographs. |
Step 1: Prepare Your Workspace and Select Photos
Creating an organized photo editing environment will streamline your workflow and help you transform images more efficiently. In this crucial first step, you’ll set up a comfortable digital workspace and select the best images for editing.
Start by clearing your computer desktop and creating a dedicated folder for your photo editing project. Arrange your screen with editing software like photo editing workflow open on one side and your photo library on the other. Ensure you have good lighting and a comfortable chair to prevent eye strain and maintain focus during longer editing sessions.
When selecting photos, be ruthless and critical. Not every image deserves extensive editing. Choose high quality shots with good composition and clear focus. Look for photos with potential technical improvements like exposure adjustment, color correction, or cropping. Pro tip: Import your images into your editing software and quickly scroll through them, marking potential candidates with a star or color tag for easy identification.
Be prepared to discard images that are blurry, poorly composed, or lack visual interest. Your editing time is valuable, so concentrate on photos that genuinely spark your creativity and have strong potential for transformation.
Step 2: Adjust Exposure, Contrast, and White Balance
Learning to manipulate exposure, contrast, and white balance can transform a good photo into an extraordinary image. These fundamental editing techniques allow you to correct and enhance your photographs with precision and creativity.
Begin by understanding exposure in photography, which determines how light or dark your image appears. Most editing software offers an exposure slider that lets you brighten or darken your image globally. Use your histogram as a guide small adjustments can make a significant difference. Contrast controls the difference between light and dark areas shifting the dynamic range of your image. Increase contrast to make details pop or reduce it for a softer look.
White balance ensures your colors look natural and accurate. If your photo appears too blue or yellow, use the white balance tools to neutralize color casts. Professional photographers recommend shooting in RAW format to maximize your editing flexibility. This allows you to make more dramatic white balance corrections without degrading image quality. Experiment with temperature and tint sliders to fine tune your image until the colors look true to the original scene.
Remember that subtle edits often produce the most professional results. Avoid over editing by making incremental changes and periodically comparing your edited image to the original. Each adjustment should serve the overall visual story of your photograph.
Step 3: Crop and Straighten Your Image
Cropping and straightening are powerful techniques that can dramatically improve your photograph’s composition and visual impact. These fundamental editing skills help you remove distracting elements and create a more polished final image.
Start by selecting the crop tool in your editing software and examining your image critically. Look for unnecessary background elements or unbalanced compositions that can be eliminated. Photo editing tips recommend using the rule of thirds grid to help you place your main subject more strategically. When cropping, consider the final aspect ratio that best showcases your image whether its a square for social media or a wide landscape format for printing.
To straighten your image, most editing programs offer an automatic straightening tool that can detect and correct tilted horizons. If automatic correction doesnt work perfectly, use the manual rotation tool. Hold down the straighten or rotate tool and align it with a key horizontal or vertical line in your image like a horizon or architectural edge. Small adjustments can make a huge difference in creating a professional looking photograph.
Pro tip: Always work on a duplicate layer or create a separate copy of your original image before cropping. This preserves your original file and gives you the flexibility to return to the unedited version if needed. Each crop and straighten adjustment should enhance the story and visual appeal of your photograph.
Step 4: Enhance Colors and Apply Filters
Color enhancement is a transformative technique that can breathe new life into your photographs, turning ordinary images into stunning visual masterpieces. This critical editing stage allows you to adjust and refine the visual mood and emotional impact of your images.
Start by exploring the color adjustment tools in your editing software. Vibrance and saturation sliders are your primary tools for enriching color depth. Vibrance intelligently boosts muted colors while protecting skin tones, making it a more nuanced option than global saturation. Experiment carefully avoid over saturating your image, which can make colors look unnatural. Understand how to use photographic filters to add creative effects or correct color temperature issues.
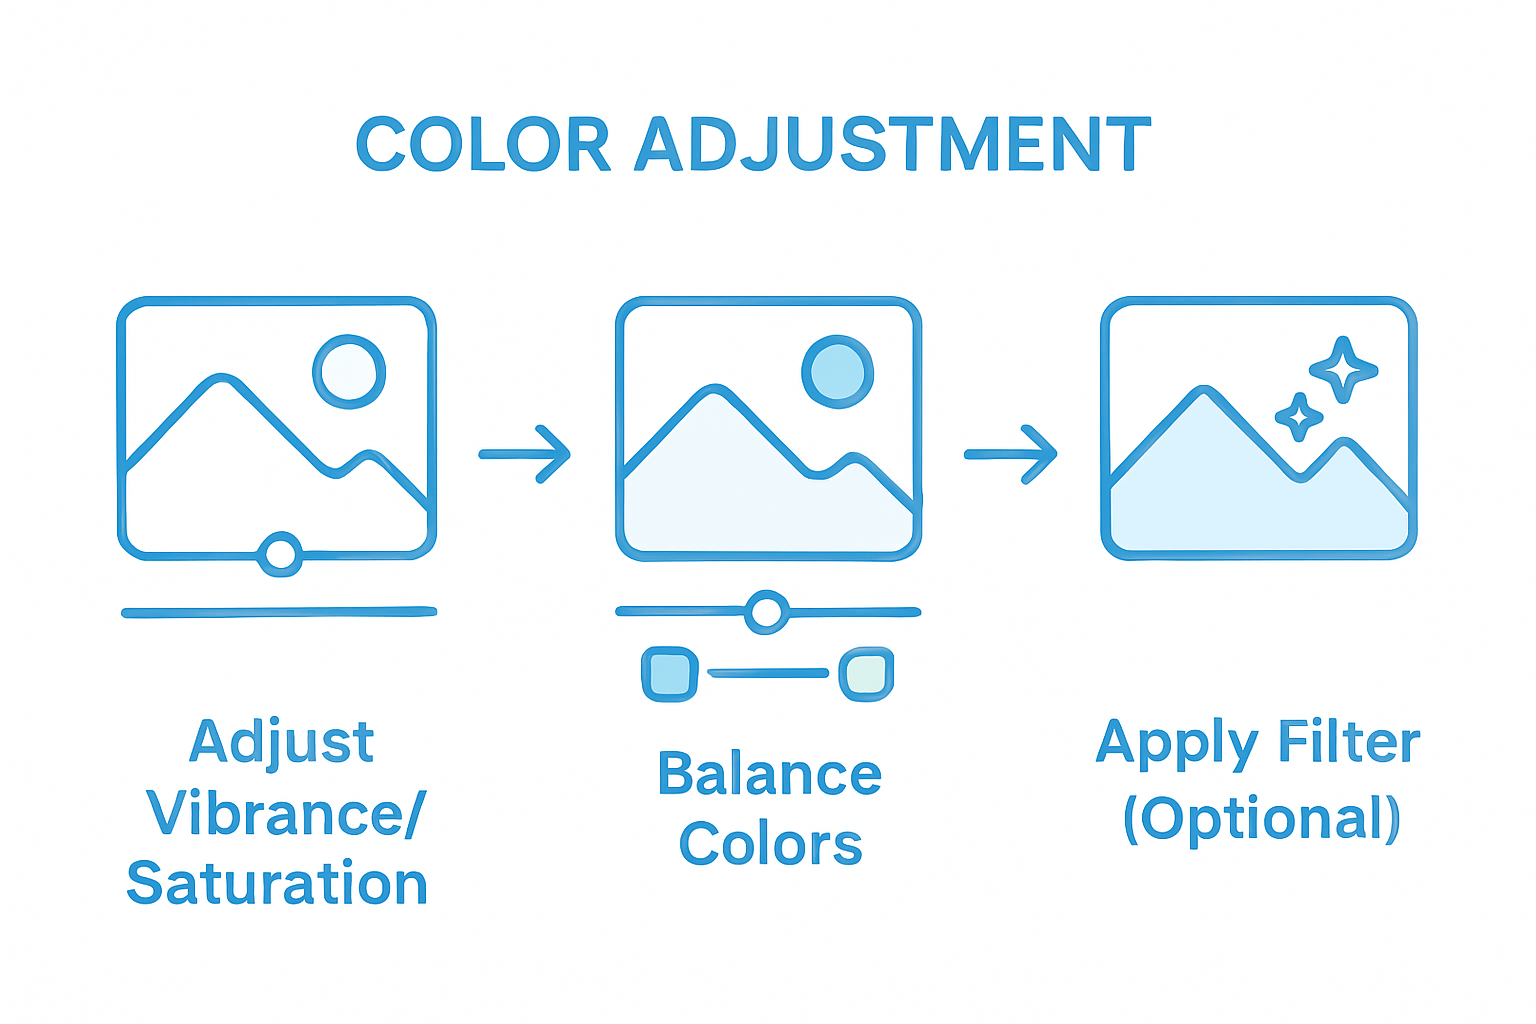
Modern photo editing software offers a wide range of preset filters and creative effects. These can quickly transform the mood of your image from vintage and moody to bright and contemporary. When applying filters, use them subtly. Start with a low intensity setting and gradually increase the effect until you achieve the desired look. Pay attention to how the filter impacts different areas of your image particularly skin tones, shadows, and highlights.
Remember that color enhancement is an art not a science. Trust your creative instinct but also be prepared to make subtle adjustments. The goal is to enhance your image without making it look overly processed or artificial. Each color adjustment should serve the emotional story you want your photograph to tell.
Step 5: Retouch Details and Remove Blemishes
Retouching photographs is an art of subtle enhancement that transforms good images into professional quality visuals. This stage allows you to refine details, smooth imperfections, and create polished photographs that look natural and compelling.
Start by selecting the right retouching tools in your editing software. The healing brush and clone stamp are your primary weapons for removing unwanted elements. For portraits, photo processing techniques recommend working carefully to maintain skin texture while reducing blemishes. Zoom in close to work precisely but periodically zoom out to ensure your edits look natural from a normal viewing distance.
When removing blemishes, use a light touch. Start with a brush size slightly larger than the imperfection and sample nearby skin areas to maintain consistent texture and color. For skin retouching, avoid completely smoothing out all details which can make your subject look artificial. The goal is to reduce distracting imperfections while preserving the unique character of your subject.
Pro tip: Always work on a duplicate layer so you can adjust the opacity of your retouching or completely revert changes. Each edit should enhance the photograph without erasing the authentic essence of the original image. The most successful retouching is often the least noticeable.
Step 6: Review Edits and Save the Final Image
The final stage of photo editing is about ensuring your creative vision is perfectly captured and preserved. This critical moment transforms your edited image from a work in progress to a finished masterpiece.
Carefully review your entire image at different zoom levels to catch any subtle imperfections. Understanding the role of editing helps you make precise final adjustments. Toggle between your original and edited versions to ensure your changes enhance rather than detract from the image. Check skin tones for natural appearance, examine edges for smoothness, and verify that color adjustments look balanced and intentional.
When saving, choose the right file format for your intended use. For print or professional work, select high quality JPEG or TIFF formats that preserve maximum image detail. For web sharing, compressed JPEG works well. Create a backup of your original file and save your edited version with a clear naming convention that indicates the editing date or version.
Remember that great photo editing is about subtlety. Your final image should look polished yet authentic. Take a moment to step back and appreciate the transformation youve achieved. Each edit should tell a story and evoke an emotion just like the original photograph did.
Master Your Photo Editing Journey with Expert Guidance

Are you ready to overcome the challenges of photo editing like exposure adjustment, color enhancement, and precise retouching? This step-by-step guide highlights the common struggles amateur photographers face when transforming their images. Whether you are looking to refine your workflow or perfect your creative vision, mastering these editing techniques can feel overwhelming without the right support. The tips on cropping, straightening, and subtle color correction are crucial to achieving professional results that tell your unique story.
Unlock the full potential of your photographs today by exploring practical advice and tutorials tailored specifically for enthusiasts like you at Amateur Photographer Guide. Start improving your skills with insights on editing workflows, exposure control, and essential photo processing methods available right now. Don’t wait to elevate your images into stunning masterpieces visit Amateur Photographer Guide and take the next confident step in your photography journey.
Frequently Asked Questions- Step by Step Photo Editing
How do I prepare my workspace for photo editing?
To prepare your workspace, clear your computer desktop and create a dedicated folder for your photo editing project. Arrange your editing software on one side of the screen and your photo library on the other to streamline your workflow.
What should I consider when selecting photos for editing?
When selecting photos, focus on quality shots with good composition and clarity. Discard any images that are blurry or poorly composed, and prioritize images that have potential for enhancement, such as exposure adjustments or color corrections.
How do I adjust exposure and contrast in my photos?
You can adjust exposure using the exposure slider in your editing software to lighten or darken your image. Compare your edits to the original image, making small adjustments to ensure your results enhance the visual story of your photograph.
What are the benefits of cropping and straightening my images?
Cropping and straightening enhance the composition of your photo by removing distractions and achieving balance. Use the crop tool to eliminate unnecessary elements and align key lines in the image for a cleaner, more polished look.
How can I enhance colors without overdoing it?
To enhance colors effectively, use the vibrance and saturation sliders sparingly to avoid unnatural appearances. Gradually increase adjustments while watching for balance and coherence in your image’s overall mood.
What steps should I take to review my edits before saving?
Before saving, review your image at various zoom levels to spot imperfections, ensuring that all edits look natural when viewed normally. Save your edited files in high-quality formats suitable for printing or web use, naming them clearly for easy identification.
Recommended
- How to Edit Photos on Mac: A Comprehensive Guide for Amateur Photographers – Amateur Photographer Guide
- How to edit photos on windows – Amateur Photographer Guide
- 7 Essential Photo Editing Tips for Amateur Photographers – Amateur Photographer Guide
- How to Edit Photos on iPhone/iPad: A Comprehensive Guide – Amateur Photographer Guide
- 7 Tips for Exciting Photography Scavenger Hunts – The Zoofamily
