
Table of Contents
- Quick Summary
- 1. Set the Right Image Quality and Format
- 2. Choose the Ideal Autofocus Mode
- 3. Adjust ISO for Brightness Control
- 4. Select the Best White Balance Setting
- 5. Pick the Correct Shooting Mode
- 6. Fine-Tune Exposure Compensation
- 7. Master Metering Modes for Balanced Shots
- Master Your Camera Settings and Capture Stunning Photos Today
- Frequently Asked Questions
- Recommended
This blog post may contain affiliate links. As an Amazon Associate I earn from qualifying purchases.
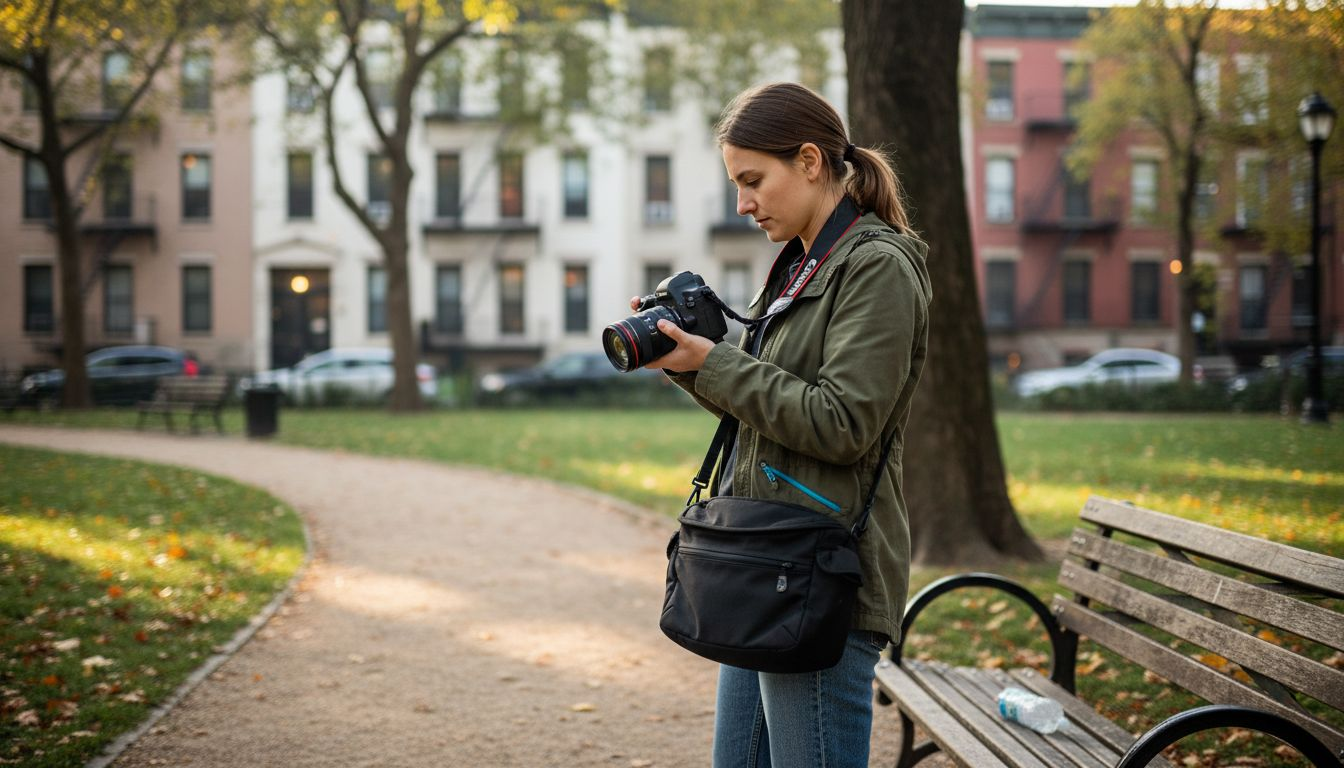
Nearly 60 percent of beginner photographers feel confused when faced with camera settings for the first time, especially compared to their American and Canadian peers who often have more hands on experience. Learning the basics like image quality, autofocus modes, and ISO is vital for anyone wanting sharper, more vibrant photos. This guide breaks down essential beginner camera settings in a simple way, helping you unlock practical techniques for instant improvement without feeling overwhelmed.
Quick Summary
| Key Message | Explanation |
|---|---|
| 1. Shoot in RAW for Flexibility | RAW files preserve image data, allowing better edits and adjustments compared to JPEGs. This enhances creative control and image quality during post processing. |
| 2. Utilize Appropriate Autofocus Modes | Different autofocus modes adjust for stationary or moving subjects, improving image sharpness and clarity based on your shooting scenario. |
| 3. Adjust ISO for Optimal Brightness | Adjust ISO to manage light sensitivity, maintaining image quality while capturing clearer photos in varying lighting conditions. |
| 4. Set Correct White Balance | Use appropriate white balance settings to ensure true color representation, eliminating unwanted color tints from various light sources. |
| 5. Experiment with Metering Modes | Different metering modes help analyze light and exposure in specific situations, enhancing the accuracy of your photographs. |


1. Set the Right Image Quality and Format
Choosing the correct image quality and format is your first critical step toward capturing stunning photographs. Your camera’s settings directly impact how much visual information gets preserved and how flexible your images will be during post processing.
Understanding image formats means recognizing the key differences between JPEG and RAW file types. JPEGs are compressed image files that work great for quick sharing and smaller file sizes. They process the image data inside your camera, creating a ready to use picture. In contrast, RAW file formats capture all the unprocessed sensor data, giving you maximum flexibility for editing and adjusting your photos later.
For beginners wanting professional quality images, shooting in RAW provides significant advantages. RAW files preserve substantially more image data compared to compressed JPEGs. This means you can rescue underexposed shots, adjust white balance, and make complex edits without losing image quality. While RAW files are larger and require post processing, they offer immense creative control.
Most digital cameras allow you to select image quality settings through menu options. Look for settings labeled as Fine, Superfine, or High Quality when choosing JPEG, and RAW or RAW+JPEG when wanting maximum editing potential. Start by experimenting with RAW format to understand its capabilities.
Pro tip: If storage space is limited, consider shooting in RAW+JPEG mode to get the best of both worlds: high quality original files and immediately shareable images.
2. Choose the Ideal Autofocus Mode
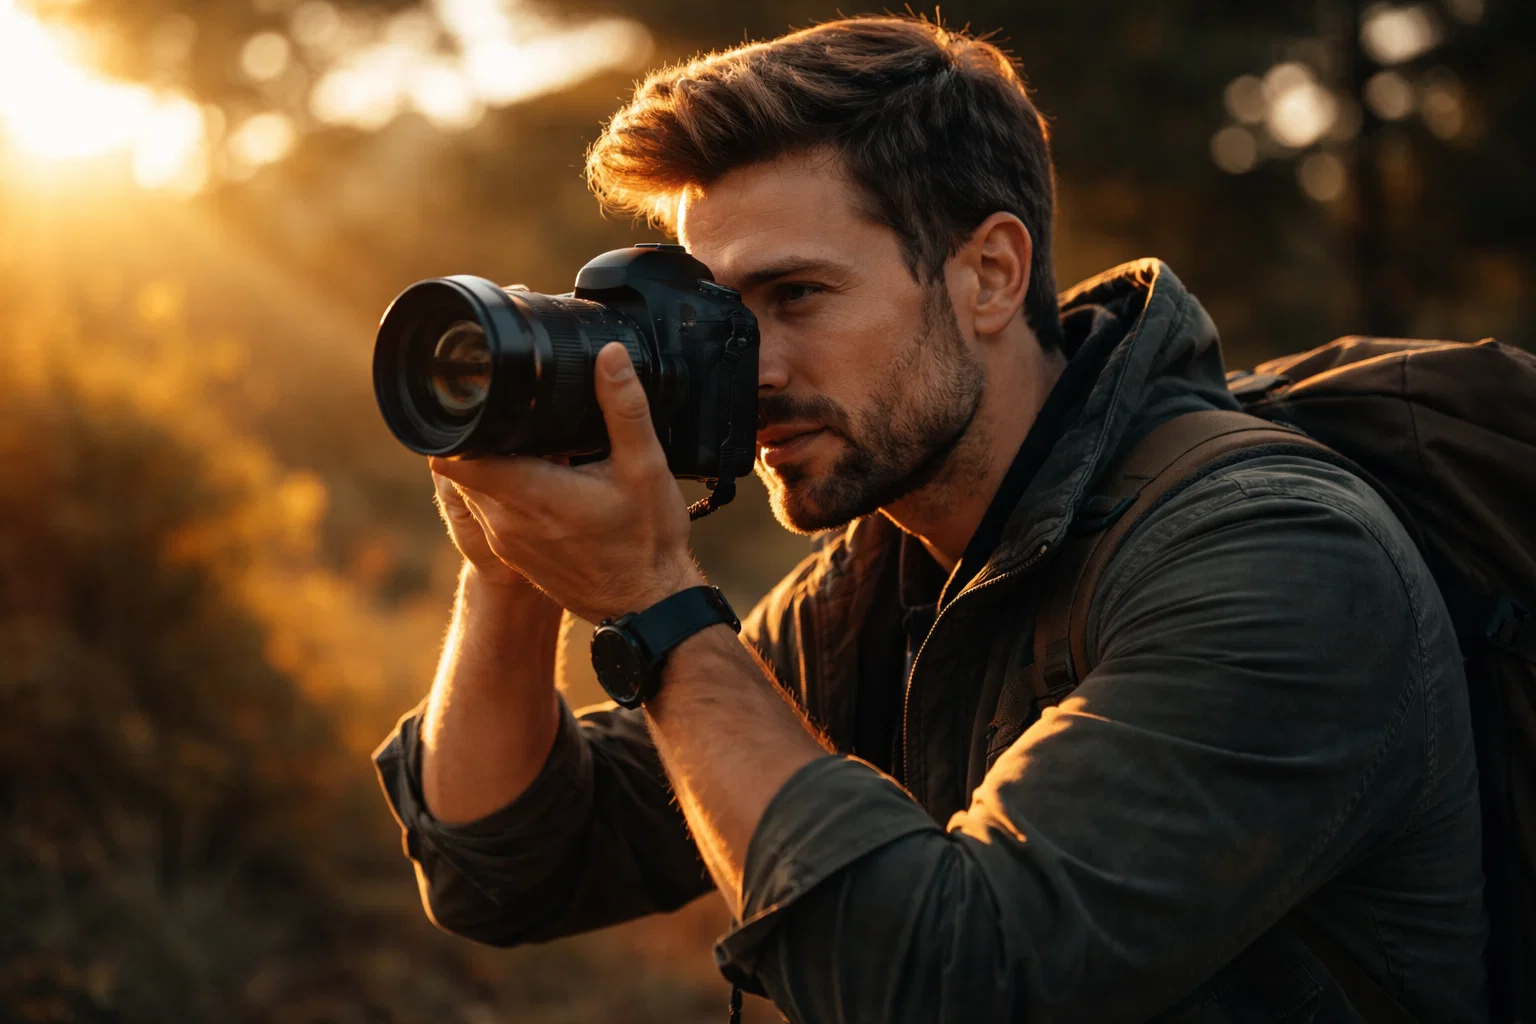
Selecting the right autofocus mode transforms your photography from blurry snapshots to crisp professional images. Your camera offers multiple autofocus settings designed to handle different shooting scenarios and subject movements.
Modern cameras typically provide three primary autofocus modes: Single AF, Continuous AF, and Auto AF. How autofocus works depends on the specific mode you choose. Single AF is perfect for stationary subjects like landscapes or portraits. When you half press the shutter, it locks focus and maintains that sharp point. Continuous AF works brilliantly for moving subjects such as sports, wildlife, or active children. This mode constantly adjusts focus to track subject movement, ensuring crisp action shots.
Auto AF represents a smart hybrid mode that automatically switches between single and continuous focus based on detected subject motion. This intelligent setting works well for unpredictable shooting environments where subjects might suddenly move. Many beginner photographers find Auto AF convenient because it adapts quickly without manual intervention.
When selecting your autofocus mode, consider your shooting scenario. Are you photographing a still landscape? Use Single AF. Capturing sports or wildlife? Switch to Continuous AF. Shooting a family event with mixed movement? Auto AF might be your best choice.
Pro tip: Practice switching between autofocus modes in different environments to understand how each performs and build muscle memory for quick adjustments.
3. Adjust ISO for Brightness Control
ISO is your camera’s secret weapon for controlling image brightness and managing challenging lighting conditions. Understanding how to adjust ISO empowers you to capture stunning photos in virtually any environment.
ISO represents your camera sensor’s light sensitivity. Lower ISO values like 100 or 200 work perfectly in bright daylight, producing crisp images with minimal digital noise. As lighting conditions darken, you can increase ISO to 800 or higher, allowing your sensor to capture more light and maintain image brightness. ISO settings fundamentally determine how much light your camera absorbs without introducing excessive graininess.
Most digital cameras offer ISO ranges from 100 to 6400, with each increment doubling the sensor’s light sensitivity. Experienced photographers recommend starting at the lowest native ISO and gradually increasing only when necessary. A general rule of thumb is to keep ISO as low as possible while maintaining proper exposure. In bright outdoor scenes, stick to ISO 100 400. For indoor or evening photography, you might need ISO 800 1600 to capture sufficient light.
When adjusting ISO, remember the noise trade-off. Higher ISO values introduce digital grain that can reduce image quality. Modern cameras handle higher ISOs more effectively, but beginners should still aim to minimize unnecessary noise by using additional light sources or stabilizing their camera.
Pro tip: Practice shooting the same scene at different ISO settings to understand how noise levels change and develop your visual sensitivity to image quality.
4. Select the Best White Balance Setting
White balance is your camera’s secret weapon for capturing true color and eliminating unwanted color tints in your photographs. Understanding how to adjust white balance ensures your images look exactly like the scene you are experiencing.
Every light source emits a unique color temperature that can dramatically alter your photo’s appearance. Sunlight, tungsten bulbs, fluorescent lights, and shade all produce different color hues that can make white objects appear blue, orange, or green if not correctly balanced. White balance settings help your camera compensate for these variations by adjusting color temperature automatically or manually.
Most digital cameras offer several preset white balance modes. Auto White Balance works well in many situations by analyzing the scene and making intelligent color corrections. Daylight mode suits outdoor photography during midday. Cloudy mode warms up images during overcast conditions. Tungsten mode counteracts the yellow orange cast of indoor lighting. Fluorescent mode corrects the greenish tint from office or commercial lighting.
For precise color control, many cameras also offer a custom white balance option. This allows you to manually set white balance by photographing a white or neutral gray object under the specific lighting conditions of your shoot. Professional photographers often use this technique to achieve perfect color accuracy in challenging lighting environments.
Pro tip: When in doubt about which white balance preset to use, take multiple shots of the same scene using different settings and compare the results to train your eye for color temperature.
5. Pick the Correct Shooting Mode
Choosing the right shooting mode can transform your photography from average snapshots to stunning images. Your camera offers multiple modes designed to help you capture better photos in different situations.
Automatic Mode works perfectly for beginners, letting the camera handle all technical settings. It analyzes the scene and selects appropriate shutter speed, aperture, and ISO. However, as you grow in skill, camera modes like Program, Aperture Priority, and Shutter Priority offer more creative control.
Program Mode provides a step up from full automatic, allowing you to adjust some settings while the camera manages overall exposure. Aperture Priority Mode lets you control depth of field by selecting your preferred aperture, with the camera automatically adjusting shutter speed. Shutter Priority Mode works best for capturing motion, enabling you to set specific shutter speeds while the camera handles other exposure settings.
For specialized scenarios, many cameras include scene modes like Portrait, Landscape, Sports, and Night that optimize settings for specific shooting conditions. These modes automatically adjust parameters to produce the best possible image in each unique environment.
Pro tip: Start in automatic mode to understand basic photography, then gradually transition to more advanced modes as you become comfortable manipulating individual camera settings.
6. Fine-Tune Exposure Compensation
Exposure compensation is your secret weapon for capturing perfectly lit photographs in challenging lighting conditions. This powerful camera setting allows you to override automatic exposure calculations and take creative control of your image brightness.
Every camera has a built-in light meter that attempts to calculate the perfect exposure, but it can sometimes get fooled by complex scenes. Positive exposure compensation brightens your image, while negative exposure compensation darkens it. Exposure compensation typically ranges from 3 stops below to 3 stops above the camera’s recommended setting, usually adjustable in one-third stop increments.
Specific scenarios demand precise exposure compensation. In backlit situations like sunset portraits, increase exposure by +1 to +2 stops to illuminate your subject. When photographing snow or beach scenes, dial down exposure by 1 to 2 stops to prevent washed-out white areas. High contrast scenes with bright backgrounds might require negative compensation to preserve details.
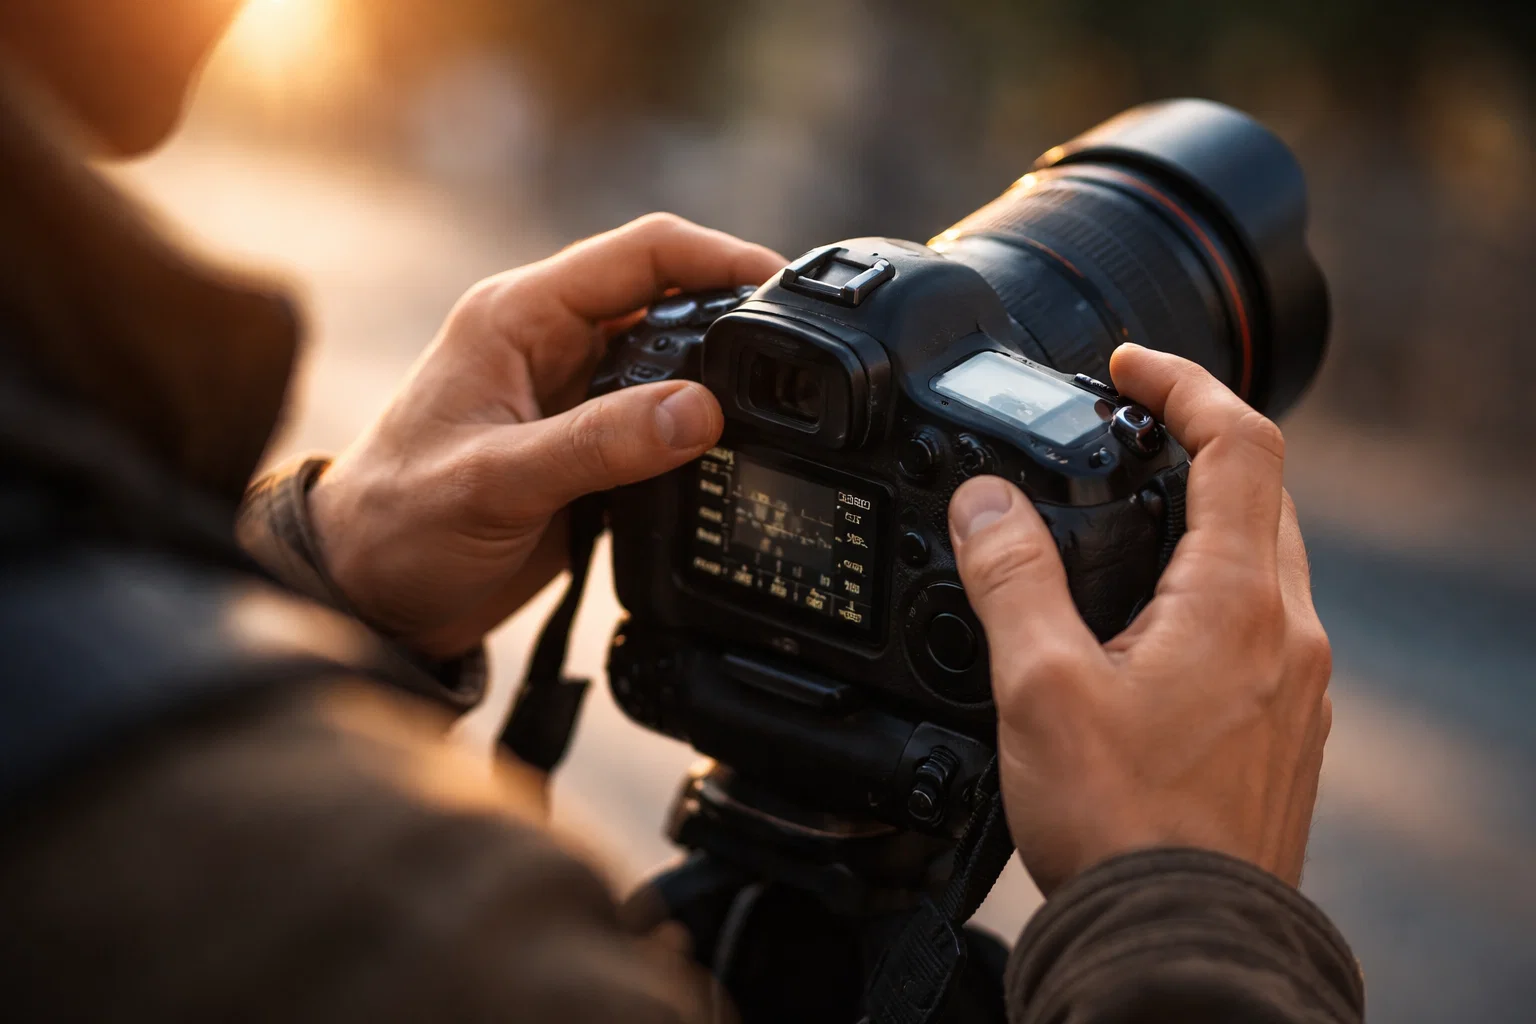
Most digital cameras display exposure compensation with a simple +/ button or dial. Look for a scale that shows incremental changes. Experiment by taking multiple shots at different compensation levels to understand how slight adjustments dramatically impact your final image.
Pro tip: Always check your camera’s LCD screen and histogram after adjusting exposure compensation to confirm you have captured the desired level of detail and brightness.
7. Master Metering Modes for Balanced Shots
Metering modes are your camera’s intelligent system for measuring light and determining the perfect exposure across different scenes. Understanding how these modes work can transform your photographs from average to extraordinary.
Digital cameras typically offer three primary metering modes: matrix (or evaluative), center weighted, and spot metering. Metering modes help your camera calculate the ideal exposure by analyzing light across different areas of the frame. Matrix metering examines multiple zones in the scene, creating a balanced exposure that works well in most situations. Center weighted metering prioritizes the central portion of the image, making it excellent for portraits where your subject is typically in the middle of the frame.
Spot metering provides the most precise control by measuring light from a tiny area typically around your focus point. This mode becomes incredibly useful in high contrast scenarios like backlit subjects or scenes with extreme light variations. For instance, when photographing a person against a bright background, spot metering allows you to expose perfectly for their face without being influenced by surrounding light.
Experienced photographers often switch between metering modes depending on the shooting environment. Start by using matrix metering for general photography, then experiment with center weighted and spot modes to understand their unique advantages in specific situations.
Pro tip: Practice switching between metering modes in different lighting conditions to develop an intuitive understanding of how each mode affects your image exposure.
Below is a comprehensive table summarizing the key strategies for mastering photography skills as described in the article.
| Topic | Details and Implementation | Benefits and Recommendations |
|---|---|---|
| Set Image Quality and Format | Choose between RAW (flexibility, post-processing) and JPEG (compact, quick sharing). Adjust settings for personal preference. | Higher image quality and adaptability to post-processing. Experiment with RAW to gauge its advantages. |
| Select Autofocus Mode | Use Auto AF (all-purpose), Single AF (stationary), or Continuous AF (dynamic subjects) based on the shooting scenario. | Enhanced focus precision. Adapt mode to subject movement. |
| Adjust ISO Setting | Adjust ISO according to light availability: low for bright conditions, high for dark environments with caution of noise levels. | Balance between brightness and noise, ensuring detailed images in varying lighting conditions. |
| Optimize White Balance | Use presets (Auto, Daylight, Tungsten) or custom settings to match the light source for accurate color representation. | Natural color replication and correction of color casts. |
| Choose Shooting Mode | Utilize modes (Automatic, Aperture Priority, Shutter Priority, Scene) for creative control over exposure and artistic effects. | Improved image quality and creative possibilities through manual settings. |
| Utilize Exposure Compensation | Adjust exposure levels for challenging lighting: positive for dark scenes, negative for overly bright ones. | Accurate brightness adjustment to suit diverse scenarios. |
| Apply Metering Modes | Employ Matrix, Center-weighted, or Spot Metering based on the subject’s light and composition. | Precision in exposure, especially under complex lighting conditions. |
Master Your Camera Settings and Capture Stunning Photos Today
Struggling to understand key camera settings like ISO, autofocus modes, and white balance? You’re not alone. Many beginner photographers feel overwhelmed by technical terms yet eager to create striking images. This guide on the “7 Essential Beginner Camera Settings for Better Photos” breaks down these challenges and helps you take control of your camera for crisp, vibrant shots every time.
Unlock the full potential of your photography skills by diving deeper into practical tips and tutorials available at Amateur Photographer Guide. Whether you want to refine your exposure compensation or explore detailed insights on camera modes, we provide clear guidance tailored to your journey. Don’t wait to elevate your images. Visit Amateur Photographer Guide now and start transforming your snapshots into works of art.
Frequently Asked Questions
What image quality should I choose for better photos?
Choosing RAW format is ideal for better photos, as it captures more image data and allows for extensive editing. Start by setting your camera to RAW, and experiment to see the difference in quality compared to JPEG.
How do I select the right autofocus mode?
To achieve crisp images, use Single AF for stationary subjects and Continuous AF for moving subjects. Switch to Auto AF if you’re dealing with unpredictable actions to allow your camera to adjust focus automatically.
How can I adjust ISO for different lighting conditions?
Adjust the ISO to suit the brightness of your environment; use lower values like 100 or 200 in bright light and increase to 800 or higher in darker conditions. Practice changing the ISO based on your shooting location to see how it affects image quality.
What white balance setting should I use for accurate color?
Utilize Auto White Balance in mixed lighting or consider presets like Daylight and Tungsten for specific conditions. Experiment with different settings to find the best match for your shooting environment, ensuring natural-looking colors in your photos.
How do I pick the correct shooting mode for my photography?
Start with Automatic Mode for easy shooting, then explore Program, Aperture Priority, and Shutter Priority modes as you gain confidence. Choose a mode based on your scene to gain control over exposure settings and enhance your photographs.
How can I use exposure compensation effectively?
Use exposure compensation to brighten or darken your images by adjusting it up to +3 or down to -3 stops. Experiment with different exposure levels on the same scene to learn how small adjustments can significantly change your final photo.
Recommended
- 7 Essential Steps in a Camera Settings Checklist for Beginners
- The Beginner’s No-Fear Guide to Basic Camera Settings [Photographer-Approved]
- 7 Essential Steps for Your Photography Basics Checklist
Last update on 2026-03-10 / Affiliate links / Images from Amazon Product Advertising API