
Table of Contents
- Quick Summary
- 1. Understand Your Camera’s Basic Settings
- 2. Practice Good Composition Every Time
- 3. Shoot Regularly to Build Consistency
- 4. Review and Reflect on Your Photographs
- 5. Learn to Use Natural and Artificial Light
- 6. Organize Your Files and Edit Thoughtfully
- 7. Seek Feedback and Keep Learning
- Master Your Photography Journey with Expert Guidance and Practical Tools
- Frequently Asked Questions- Photography Habits for Beginners
- Recommended
This blog post may contain affiliate links. As an Amazon Associate I earn from qualifying purchases.
Over one million American photographers pick up a camera each year, yet most struggle to move beyond basic point and shoot habits. Developing real photography skills unlocks creative potential and sets your images apart from the crowd. Whether you use a smartphone or a professional camera, understanding essential techniques and building good habits makes all the difference. Discover practical ways to sharpen your photography skills step by step and see your work improve with every shot. This is your ultimate guide for photography habits for beginners!
Quick Summary
| Takeaway | Explanation |
|---|---|
| 1. Master Basic Camera Settings | Understanding aperture, shutter speed, and ISO enhances your photography quality. Experiment with these core settings in manual mode to see their impact. |
| 2. Practice Good Composition Techniques | Use the Rule of Thirds and spatial relationships to create compelling images. Position subjects strategically to draw attention and maintain balance. |
| 3. Shoot Regularly for Consistency | Develop a photography routine to improve your skills and artistic voice. Experiment across different environments and lighting conditions to deepen your understanding. |
| 4. Review and Reflect on Your Work | Analyze your photographs to identify strengths and areas for improvement. Create a systematic approach for self-evaluation to inform future shoots. |
| 5. Seek Constructive Feedback | Engage with photography communities for critiques to challenge your perspective. Maintaining a growth mindset accelerates your skill development. |


Learning your camera’s basic settings is like understanding the controls of a new vehicle. Before you can drive smoothly, you need to know what each button and dial does. Your camera might look complicated, but mastering its core settings will transform your photography from random snapshots to intentional, well crafted images.
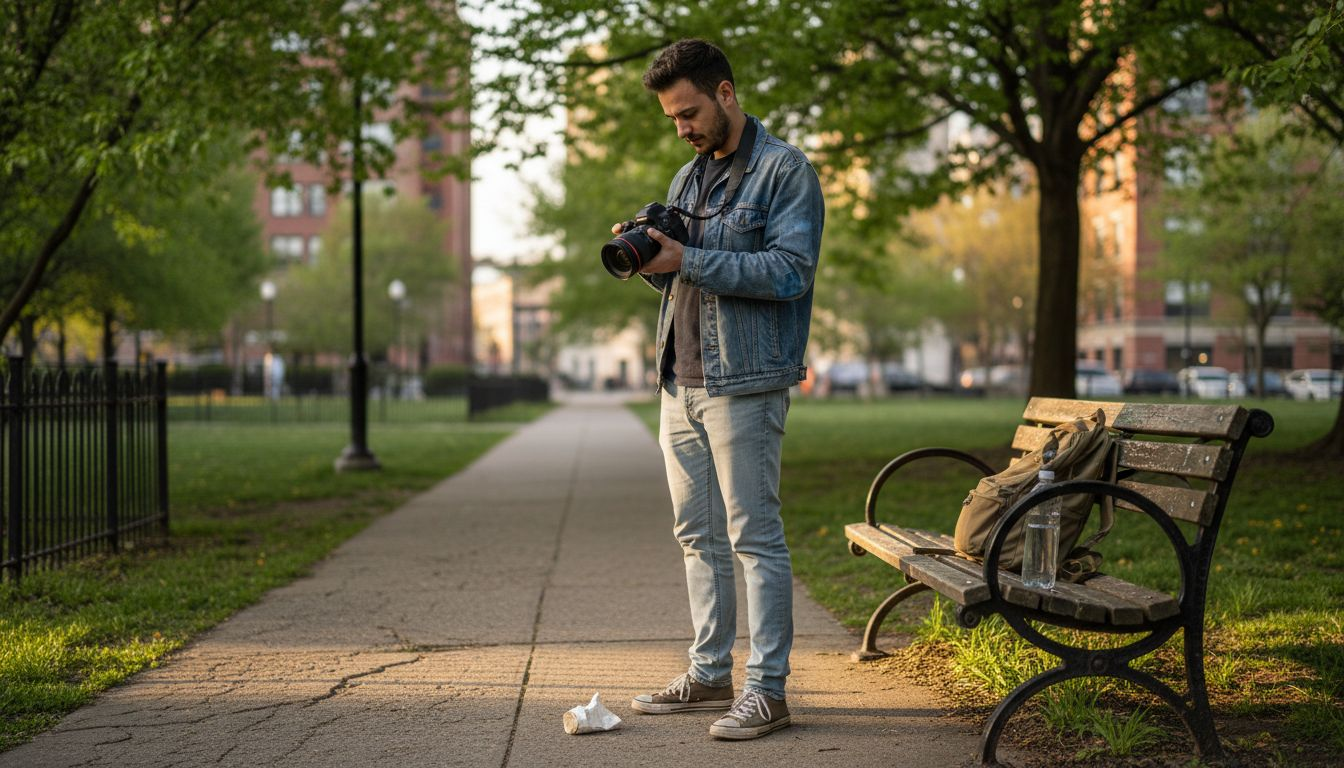
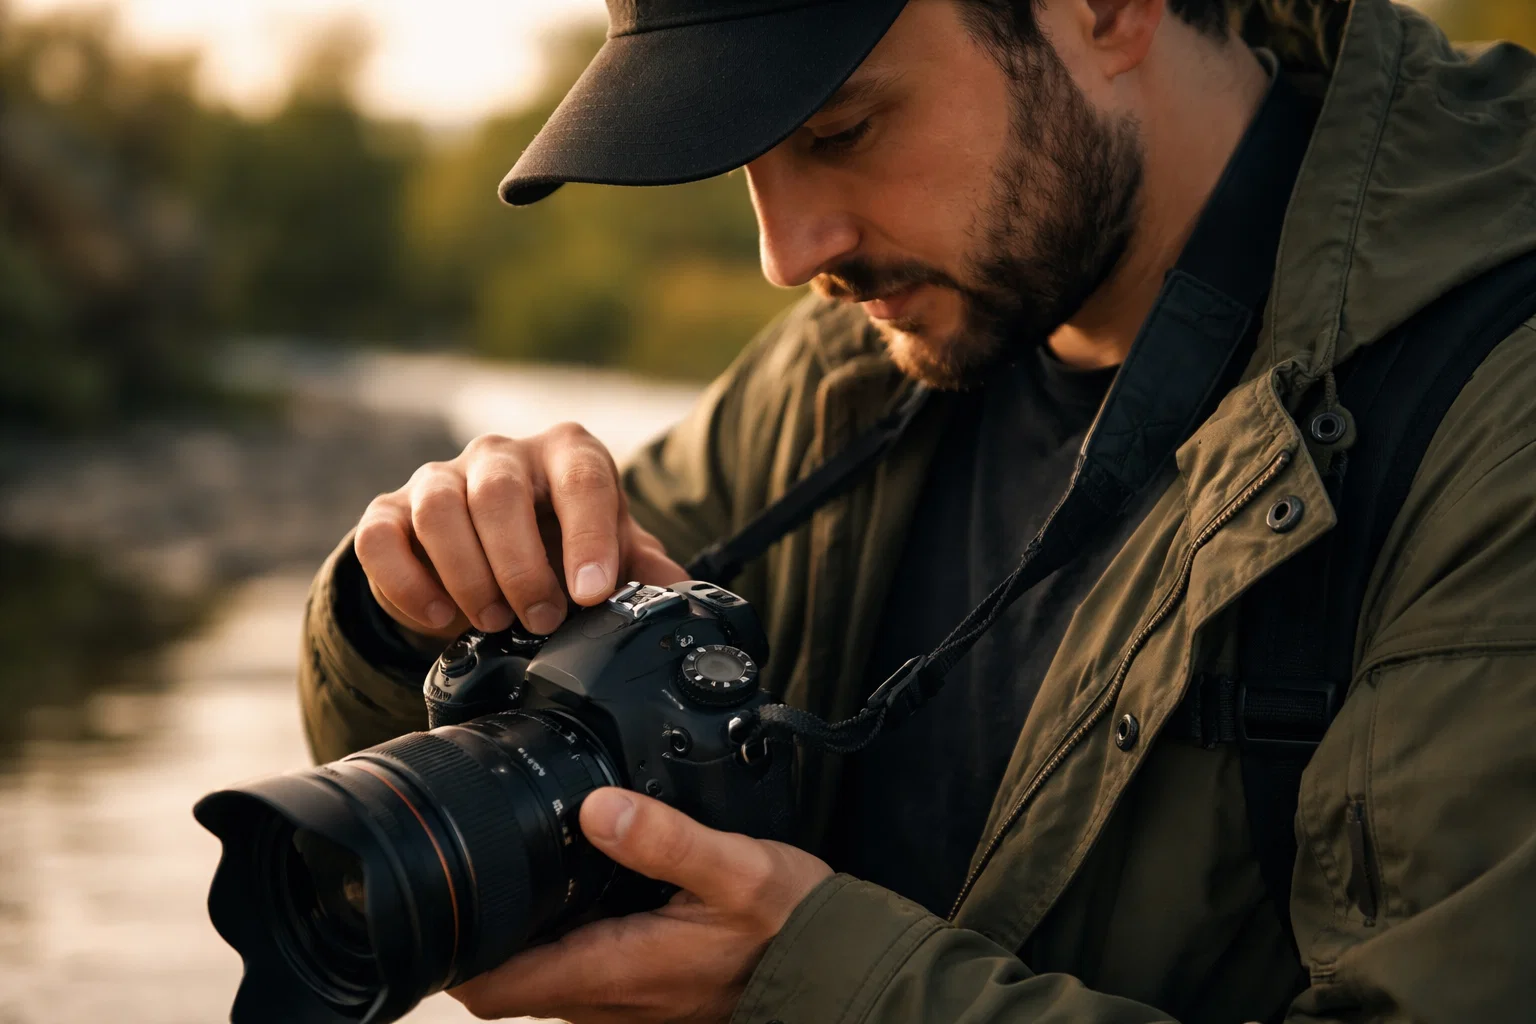
1. Understand Your Camera’s Basic Settings
At the heart of camera settings are three fundamental controls: aperture, shutter speed, and ISO. These settings form what photographers call the “exposure triangle” and directly impact how your images look. Aperture controls the amount of light entering your lens, shutter speed determines how long light hits the camera sensor, and ISO adjusts the sensor’s light sensitivity.
Most beginner photographers get overwhelmed by technical details, but understanding these settings is simpler than you might think. Start by putting your camera in manual mode and experiment. Adjust each setting individually to see how it changes your image brightness, depth of field, and potential motion blur.
Practical application means practicing with purpose. Try shooting the same scene multiple times while changing just one setting. Notice how a wider aperture creates a blurry background, while a faster shutter speed freezes motion. Your camera’s light meter is your best friend here – it provides real time feedback about your exposure settings.
Pro tip: Take a smartphone screenshot of your camera’s manual settings page for quick reference during shooting sessions, helping you remember what each button does without constantly flipping through a physical manual.
2. Practice Good Composition Every Time
Photography is about more than just pointing your camera and clicking. Good composition transforms an ordinary scene into a compelling visual story that captures viewers attention and emotion. Think of composition as the grammar of visual language where every element plays a critical role in communicating your photographic message.
The fundamental principles of composition go far beyond simply centering your subject. Research indicates that strategic spatial relationships between elements dramatically impact image perception. Photographers have several proven techniques to create visually striking images, with the Rule of Thirds being one of the most accessible and powerful methods.
Imagine dividing your frame into a 3×3 grid. Positioning key subjects along these lines or at their intersections creates natural visual tension and balance. Instead of placing your subject dead center, try offsetting them slightly. This technique draws the viewer’s eye through the image and creates more dynamic, interesting photographs.
Practical application means training your eye to see compositional opportunities everywhere. Practice by holding your camera and mentally drawing those 3×3 grid lines before taking a shot. Look for leading lines, natural frames within the scene, and interesting ways to balance visual weight. Experiment with different perspectives walk around your subject, crouch down, or find higher ground to discover unique compositional angles.
Pro tip: Before taking any photograph, pause and ask yourself how you can make the image more interesting by changing your position or reframing the shot.
3. Shoot Regularly to Build Consistency
Consistency is the secret ingredient that transforms amateur photographers into skilled visual storytellers. Just like a musician practices daily to master their instrument, photographers must develop a regular shooting habit to refine their craft and develop a unique artistic voice.
Regular practice helps you build muscle memory with your camera, making technical adjustments feel more intuitive over time. By shooting frequently, you learn to anticipate how different lighting conditions, camera settings, and compositional choices will impact your final image. Consistent practice allows you to experiment without fear, gradually expanding your technical and creative boundaries.
Practical application means setting realistic goals for yourself. Start by committing to a photography routine that fits your lifestyle. This could mean taking 10 intentional photos each week, dedicating one weekend morning to photo walks, or carrying your camera everywhere and capturing spontaneous moments. The key is making photography a regular part of your life, not an occasional activity.
Most successful photographers recommend shooting in different environments and conditions. Try capturing landscapes at sunrise, street scenes during midday, and indoor portraits in the evening. Each scenario presents unique challenges that will accelerate your learning and help you understand how light, composition, and camera settings interact.
Pro tip: Create a personal photography challenge by selecting a specific theme each month and shooting images that explore that concept from multiple perspectives.
4. Review and Reflect on Your Photographs
Photography is a continuous learning journey where every image tells a story and offers an opportunity for growth. Reviewing your photographs is not just about admiring your best shots but understanding the techniques, decisions, and moments that led to creating those images.
The process of reviewing your work goes beyond simple visual appreciation. Critical self reflection allows you to recognize patterns in your photography style, identify technical strengths and weaknesses, and track your progression over time. Photo editing workflows can help you analyze your images more systematically, providing insights into your compositional choices and technical execution.
Practical application means developing a structured approach to reviewing your photographs. Create a routine where you set aside dedicated time each week or month to examine your recent images. During this review, ask yourself specific questions. What worked well in this image? Where could I have improved composition? What technical settings contributed to the final result? Look for common themes in your successful shots and areas where you consistently struggle.
Consider organizing your photographs into categories or creating a digital portfolio that allows you to track your evolution. Many photographers find it helpful to use rating systems or create detailed notes about each image. This approach transforms review from a passive activity into an active learning experience that directly informs your future shooting strategies.
Pro tip: Create a simple spreadsheet or journal to log technical settings, shooting conditions, and personal observations for each significant photograph you take.
5. Learn to Use Natural and Artificial Light
Light is the fundamental language of photography. Understanding how to communicate through different lighting conditions will transform your images from ordinary snapshots to powerful visual narratives that evoke emotion and capture intricate details.
Photographers have two primary light sources at their disposal: natural light from the sun and artificial light from manufactured sources. Natural light changes throughout the day, offering unique qualities from soft morning light to dramatic golden hour tones. Artificial light provides consistent and controllable illumination that can be precisely manipulated to create specific moods and effects.
Practical application means learning to read and respond to different lighting scenarios. During daytime shoots, understand the role of light by observing how sunlight creates shadows, highlights, and depth. Experiment with shooting during different times of day to see how the same scene transforms. Early morning and late afternoon offer softer, more diffused light that flatters most subjects, while midday sunlight creates harsh shadows and intense contrast.
Artificial lighting opens up incredible creative possibilities. Studio lights, speedlights, and continuous lighting allow photographers to craft images with precise control. Start by understanding basic lighting techniques like front lighting, side lighting, and backlighting. Each approach produces dramatically different visual results. Front lighting illuminates subjects evenly, side lighting creates depth and texture, and backlighting can produce stunning silhouettes and rim lighting effects.
Pro tip: Create a simple lighting journal where you document the time of day, light direction, and resulting image quality during your photography sessions.
6. Organize Your Files and Edit Thoughtfully

Digital organization is the backbone of a professional photography workflow. Without a systematic approach to storing and managing your images, you will quickly find yourself drowning in a chaotic sea of unidentified files and forgotten photographs.
Establishing a consistent file management system is crucial for photographers at every skill level. Create a logical folder structure that makes sense to you typically organized by year, month, and specific shoot or event. Metadata and keywords become your best friends in this process, allowing you to quickly search and retrieve images based on content, location, or subject.
When it comes to editing, the goal is enhancement not transformation. Processing your photos should be about revealing the image’s inherent qualities rather than completely redesigning it. Start by making subtle adjustments to exposure, contrast, and color balance. Learn to use editing tools with a light touch preserving the authenticity of the original scene.
Practical application means developing a standardized editing workflow. Create presets that you can apply consistently across similar types of images, but always be willing to make individual adjustments. Avoid over editing which can make photographs look artificial. The best edits are often the ones that viewers cannot immediately detect as manipulated.
Pro tip: Create a backup system where you automatically save original files in a separate location before beginning any editing process, ensuring you always have an unaltered version of your photographs.
7. Seek Feedback and Keep Learning
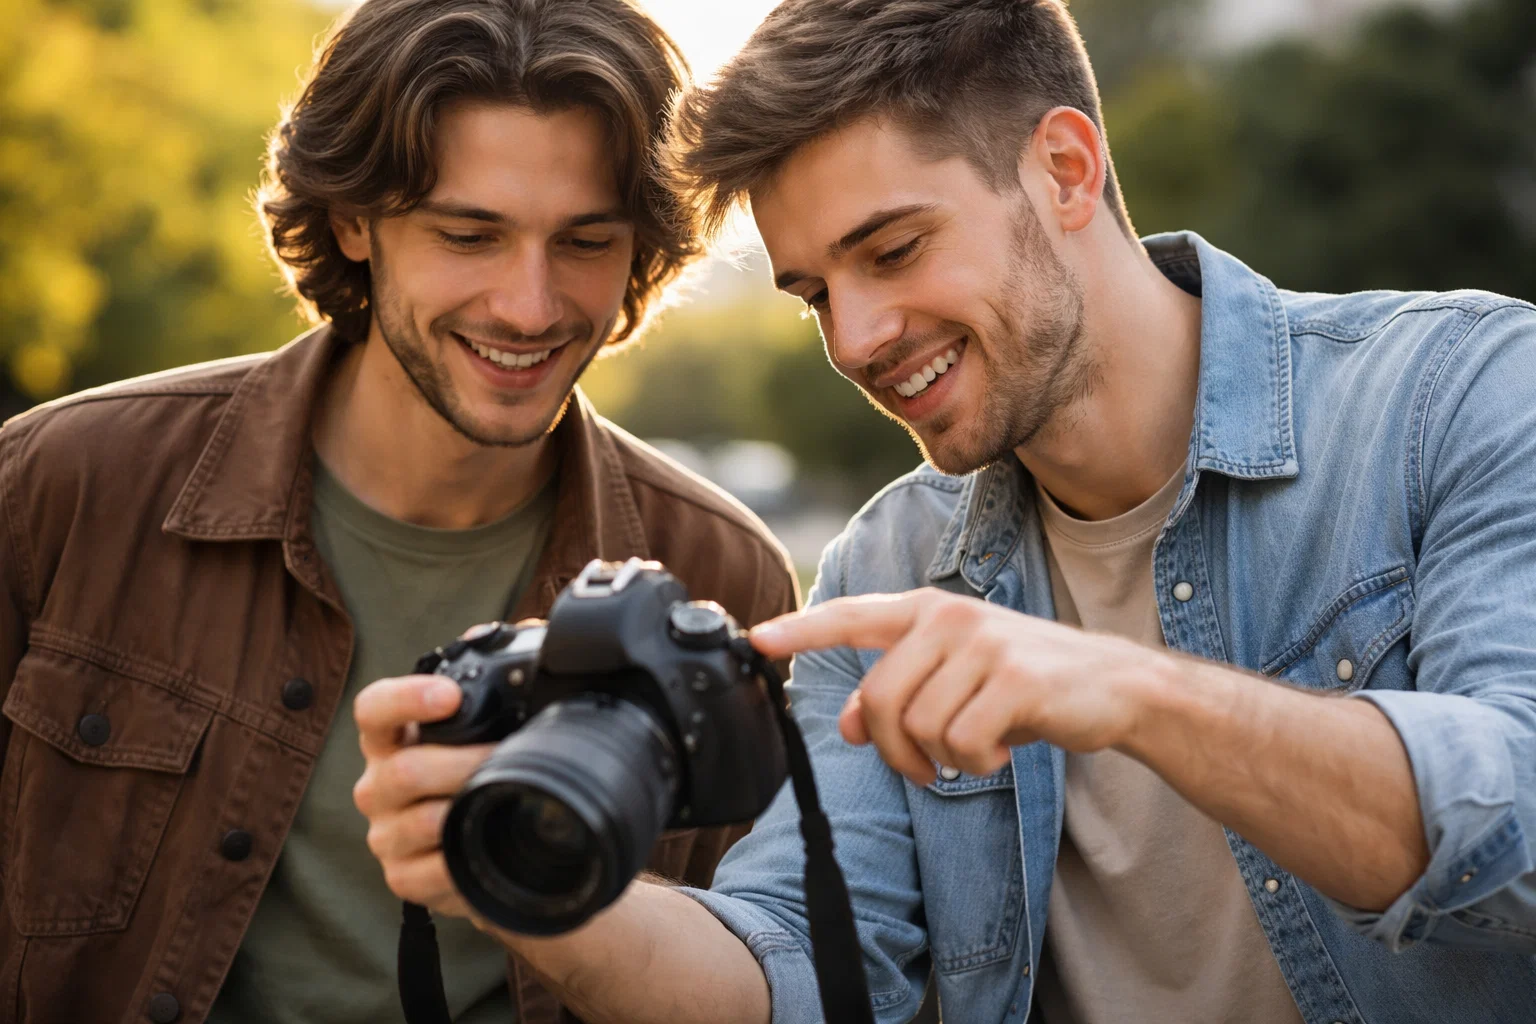
Photography is a journey of continuous improvement where growth happens through curiosity, openness, and willingness to learn from others. No photographer becomes exceptional in isolation those who excel are those who actively seek constructive criticism and remain students of their craft.
Constructive feedback is the catalyst that transforms good photographers into great ones. Professional photographers understand that every critique is an opportunity to refine their skills and expand their creative perspective. By inviting external perspectives, you gain insights that your own biased eye might miss revealing blind spots in technique, composition, and storytelling.
Practical application means actively engaging with photography communities both online and offline. Join local photography clubs, participate in online forums, and share your work with other photographers who can provide honest, technical assessments. When receiving feedback, listen carefully without becoming defensive. The most valuable critiques are those that challenge you to see your work from a different angle.
Establishing a learning mindset requires embracing vulnerability. Attend workshops, watch tutorial videos, read photography books, and study the work of photographers you admire. Every image you encounter is a potential lesson in technique, lighting, composition, or storytelling. Challenge yourself to deconstruct what makes certain photographs compelling and how you might apply those lessons to your own work.
Pro tip: Create a feedback journal where you document specific critiques and the improvements you make in response, tracking your progress and transforming each piece of advice into tangible skill development.
Below is a comprehensive table summarizing the key strategies for improving photography skills as discussed throughout the article.
| Strategy | Implementation | Benefits/Outcomes |
|---|---|---|
| Understand Camera Settings | Learn and practice the exposure triangle: aperture, shutter speed, and ISO. | Improved control over image quality and creativity. |
| Practice Good Composition | Use techniques like the Rule of Thirds and experiment with different angles. | Creates compelling visual stories and dynamic photographs. |
| Shoot Regularly | Develop a consistent photography routine and challenge yourself with new environments. | Builds technical skills and artistic voice. |
| Review and Reflect | Regularly review images for patterns and areas of improvement. | Identifies strengths and fosters continuous growth. |
| Utilize Lighting Techniques | Experiment with natural and artificial light to understand effects. | Enhances image mood and detail through varied lighting. |
| Organize and Edit | Implement a systematic file management and thoughtful editing workflow. | Maintains efficient workflow and authentic image quality. |
| Seek Feedback | Engage with communities and invite constructive criticism. | Gains external perspectives for refinement and skill advancement. |
Master Your Photography Journey with Expert Guidance and Practical Tools

Starting your photography adventure comes with challenges like understanding the exposure triangle, mastering composition, and developing regular habits that build your skills. This article highlights how beginners often struggle with technical settings, creative framing, and consistent practice. At Amateur Photographer Guide, we understand these hurdles and offer clear, actionable advice to help you overcome them. Whether you want to explore camera modes or improve your ability to use natural and artificial light, our resources are designed to simplify your learning curve.
Start turning those frustrating moments of uncertainty into confident decisions today. Visit Amateur Photographer Guide to access beginner-friendly tutorials, detailed checklists, and inspiring tips that keep your photography habits fresh and focused. Your path to capturing stunning images begins now—embrace the journey, learn continuously, and watch your passion and skills grow with every shot.
Frequently Asked Questions- Photography Habits for Beginners
What are the basic camera settings I need to learn first?
Understanding your camera’s basic settings, such as aperture, shutter speed, and ISO, is essential. Start by putting your camera in manual mode and experiment with these settings to see how they affect your images.
How can I improve my photography composition?
To improve your composition, practice using the Rule of Thirds by dividing your frame into a 3×3 grid. Position your main subjects along these lines or at their intersections to create more dynamic and interesting images.
What should I do to build a regular photography practice?
To build a regular photography practice, set a realistic goal, such as taking 10 intentional photos each week. Make photography a habit, and gradually increase your shooting frequency over time to enhance your skills.
How can I effectively review and learn from my photographs?
To effectively review your photographs, set aside dedicated time each week to analyze your recent shots. Ask yourself specific questions about what worked and what didn’t, allowing you to recognize patterns and improve your technique.
What role does lighting play in photography, and how can I use it?
Lighting is crucial in photography, affecting mood and detail in your images. Learn to observe different lighting conditions, and experiment with natural and artificial light to see how it changes your photographs.
How can I seek feedback on my photography work?
Seek feedback by joining photography communities, participating in local clubs, or sharing your work with peers. Actively listen to critiques without becoming defensive, and document the feedback to track your improvements over time.
Recommended
- 7 Essential Photography Beginner Tips for New Photographers – Amateur Photographer Guide
- 7 Essential Steps for Your Photography Basics Checklist – Amateur Photographer Guide
- 7 Essential Travel Photography Tips for Beginners – Amateur Photographer Guide
- 7 Essential Travel Photography Tips for Beginners
- What Is Event Photography and Why It Matters
Last update on 2026-05-14 / Affiliate links / Images from Amazon Product Advertising API
